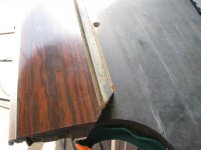
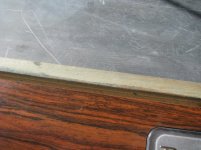
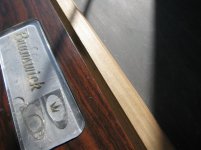
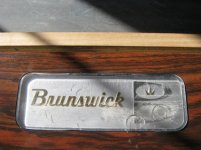
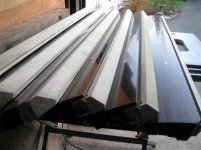
RKC...formula A+B=C...equals perfect playing cushions

Glen has got the perfect formula, and special tooling to make any pool table play absolutely dead nuts perfect.....no spring in the rails....no dead hits.....no banking short. I just did a 7ft. Diamond smart table last night for a player to gamble high on....he wanted me to put Championship cushions on the table...he said I have the same table at home with those cushions on, and it plays better then any table in the country.

I told him Glen and I are working on the perfect way to make all the tables play the same with any cushion.
I also told the guy that I wouldn't replace the cushions with anything but the Diamond black cushion from the factory. The guy said then there is no way you can make the table play as good as mine...I said I'll make the table play better than yours at home. He said not possible....well we just have to find out when I'm done.

I'm done... he wins big....after 6 hrs. of play he comes over to me and says, I have to hand it to you...this table is the best playing table I've ever played on.

Everyone in the poolroom hit some balls on the table and just absolutely loved the table.

Thank you Glen for the info, and the special tooling you had me build to make this the best a table can play.

The guy paid for the job, and tipped on top after the match....said I was going to tip you for a perfect table....win or lose.

Wow...what a great playing Diamond Table....:smile::smile::smile:

Thank you Glen for your help, and tooling advice.....:grin-square::grin-square:

Mark Gregory
 
I told you that new tooling of mine was the "tripple nuts"...as fatboy would say;) Wait until you see the pictures of this GC1 I rebuilt the rails on for Malarkeys Pool & Brew in Tacoma, WA. I'll post pictures of the rail rebuild later on, maybe even today. I even replaced all the wood in the cloth relief dado, the rails look brand new, with Artemis K55 cushions;)

Glen
 
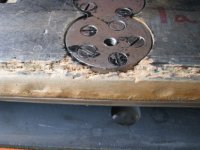
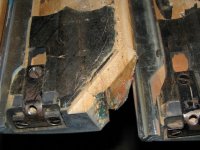
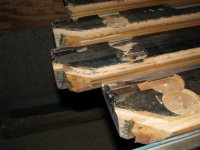
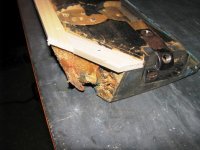
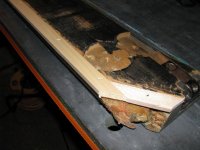
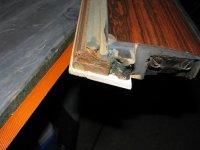
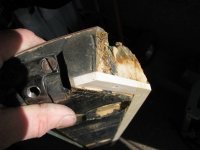
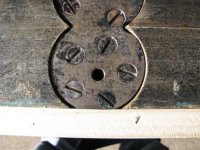
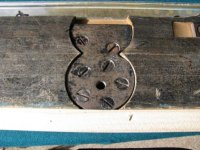
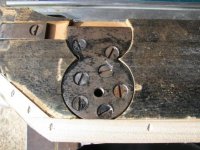
This is what I had to start with on these GC1 rails.

Stappled out rails.JPG

Stappled out rails (2).JPG

Stappled out rails (3).JPG
 
Last edited:
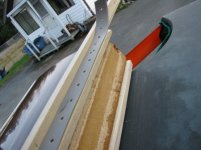
The first thing you have to do is remove the nut plates, then dado out the worm wood so you can get down to some solid wood.

Dado new cloth relief (9).JPG

Dado new cloth relief (2).JPG
 
Mark and I'll be comparing notes on this once I'm done I'm sure;) After you've cleaned out all the worm wood, then you have to add back in new replacement wood, but not flush to the bottom of the rail, a 1/16" lower as to give you back that cloth relief dado.

Replace wood.JPG

Replace wood (2).JPG

Replace wood (5).JPG
 
Nice work.

Just a small technicality on the woodworking terms.... What you machined on the first picture is called a rabbit, not a dado.
 
Once my glue has dried, then I disk sand back the overhang from the new wood at the end of the rails and in the pocket miter cut so that it's flush with the edges.

Sand flush with the  rail end and miter cut.JPG

Sand flush with the  rail end and miter cut (2).JPG

Sand flush with the  rail end and miter cut (3).JPG
 
Then I grind back the curve of the nut plates so that they'll fit back in place without having to remove any of the new wood that I staple the cloth to, I don't like having to staple around the steel plate to install the new cloth because it forces you to either side step the plate, or staple to close to the edge of the rail.

Grinding back the nut plates.jpg

Grinding back the nut plates (2).jpg

Grinding back the nut plates (3).jpg
 
With the bottom end of the rails rebuilt, now it's time to bolt the rails to the slate and calibrate the sub-rail thickness to 1 11/16" thick from the surface of the slate with my special tooling. If you look at these pictures you can still see the dirty wood at the top of the sub-rail, at this point I don't know if the rails are to thick or thin, but as I re-surface the top of the sub-rails, my tooling will either take off wood to make them 1 11/16" thick, or not take any wood off if they're to short.

Sub rails to thick.JPG

Sub rails to thick (2).JPG

Sub rails to thick (3).JPG
 
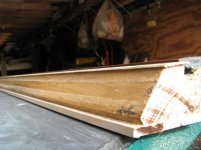
Well, as it turned out, 4 of the rails were thicker than 1 11/16"ths so after running my tooling over the top of the sub-rail it cut them down to a perfect thickness of 1 11/16"ths, which is the thickness I'm after to align my cushions in a perfect relationship with the 1 29/64"ths nose height. So in these first 2 pictures you can see how clean the sub-rails turned out.

To thick (4).JPG

To thick (5).JPG

In these next 3 pictures you can see where the sub-rail had wood removed by the clean looking wood, and where the sub-rails had been belt sanded down to fit the Artemis K66 cushions that I'm replacing. Keep in mind that because these 2 rails have different thickness sub-rails, that also means they all wouldn't play the same, because the cushions are lined up with the top of the sub-rails, meaning different cushion nose heights on the rails.

To thin (2).JPG

To thin (3).JPG

To thin (10).JPG
 
In order to correct the thin sub-rails, what you have to do is add a spacer between the rail and the slate, in this case I added a 1/16" spacer which was enough to raise the rail up high enough to be able to cut the top of the sub-rail flat. With that done, I then added a back board to the feather strip dado so that I could line up my replacement wood, glue it and staple it in place until dry. I use this strapping tape because it makes it easier to pull the tape up pulling the staples with it. Once the glue has dried, I then re-bolt the rail to the slate, then re-cut the top of the sub-rail to give me the flat surface, and 1 11/16"ths I'm looking for to match up with the other rails. This process is the only way that rails can be accurately rebuilt because unless the rails are bolted down to the slate you have no way of making sure the sub-rails are going to be the exact same thickness from one rail to the next. The rails are not measured in their thickness, they're measured for height from the playing surface of the slate to the top of the sub-rails. Bolting the rails to the slate before any sub-rail thickness corrections are done, insures that the rails are dead straight to the flatness of the slate, which also means any twists or turns of the rails are gone once that rail is bolted down.

Repair top of subrail (6).JPG

Repair top of subrail (10).JPG

Repair top of subrail (16).JPG
 
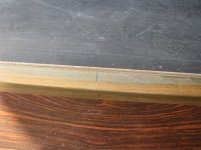
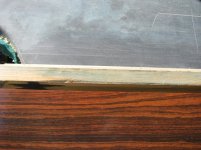
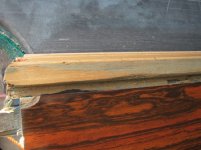
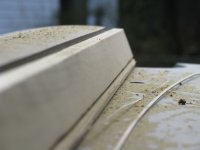
With the thickness of the rails all calibrated to be the same, I'm now ready to re-cut the bevel of the sub-rails to fit the Artemis Intercontinental K55 cushions. What I'm going to do is take the first rail and cut the bevel so that when the nose height of the cushions is 1 29/64"ths from the surface of the slate. Once my tooling is set to cut that bevel, then I'll adjust it to cut the sub-rail width to 3/4" measured from the Formica finish to the edge of the down angle. With that measurement, added to the 1 1/4" cushion width I'll end up with my target width of 2" from nose of cushion to the finish of the rail. This is easy to do because my tooling uses the feather strip dado as the guide to make sure my bevel cut is perfectly aligned to the finish of the rails. In the first picture you can see that little strip of wood laying there, that was how thin the overhang was of my added on wood to the top of the sub-rail, and how clean my tooling cut the extra wood off;)

Once again, with the rails bolted to the slate, my cushion bevel is in perfect relationship to the surface of the slate.

Re-cut the  bevel.JPG

Re-cut the  bevel (2).JPG

Re-cut the  bevel (3).JPG
 
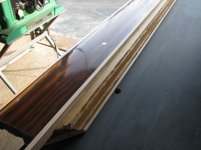
After all this correcting of the rails is done, then you go back to the table saw and cut the backward angle at the bottom of the rails, add the wood to extend the rails to tighten the pockets, bondo the nail holes at the ends of the rails where nails were used to install the drop pockets instead of machine screws like the castings were designed for, and there you have it....ready for new....correct cushions. Right now, Mark Gregory is the only other mechanic in the country with my special tooling to rebuild rails, but there are several other mechanics on my list to receive the same tooling with the same teaching on how to use it that Mark received, but it's going to take some time to get to everyone on my list:D

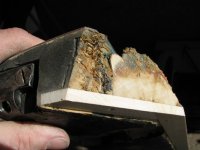
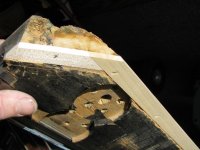
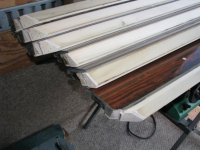
In the first picture you can clearly see the wood I added to build up the thickness of the sub-rail so that it would match up with the other 5 rails.

Finished sub-rails 004.JPG

Finished sub-rails 001.JPG

Finished sub-rails 011.JPG

Glen, the "Realkingcobra"
 
Well, the rails look great, and they should play.....I would say perfect, that gets me in trouble.....I'll say as close to perfect as one can get. Wow, so much easier when you know what you're trying to accomplish on the job done right.

Your tooling makes everything so fast and perfect.....there I go again with perfect.....I mean right.
I'm sure the table will play....well you know the word.

I got some tables to rebuild this week, GC3's....let ya know how they turn out, although I'm more than sure you know already. Good job Glen, but enough with the pics. lol

The only bad thing about what we're doing is the old tables are still going to be around for sometime.
How could you not want to play on that table????

Mark Gregory
 
I saw somebody ask...

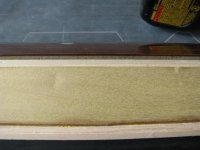
I saw somebody ask "What constitutes a perfect rail?" I would say one of the factors is how the balls react to the diamond system. RKC did my table and the cueball goes exactly where it is supposed to without having to adjust by hitting the shot a bit longer or shorter 'depending on the table'.
 
Well, the rails look great, and they should play.....I would say perfect, that gets me in trouble.....I'll say as close to perfect as one can get. Wow, so much easier when you know what you're trying to accomplish on the job done right.

Your tooling makes everything so fast and perfect.....there I go again with perfect.....I mean right.
I'm sure the table will play....well you know the word.

I got some tables to rebuild this week, GC3's....let ya know how they turn out, although I'm more than sure you know already. Good job Glen, but enough with the pics. lol

The only bad thing about what we're doing is the old tables are still going to be around for sometime.
How could you not want to play on that table????

Mark Gregory
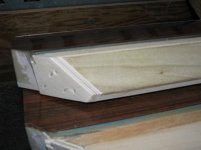
All the pic's are a secret road map for you to know how to rebuild rails....haven't you figured that out yet?....they're "Perfect":rotflmao1:

Glen
 
Back
Top