My home-made ball polisher.

mattman

Registered User
Silver Member
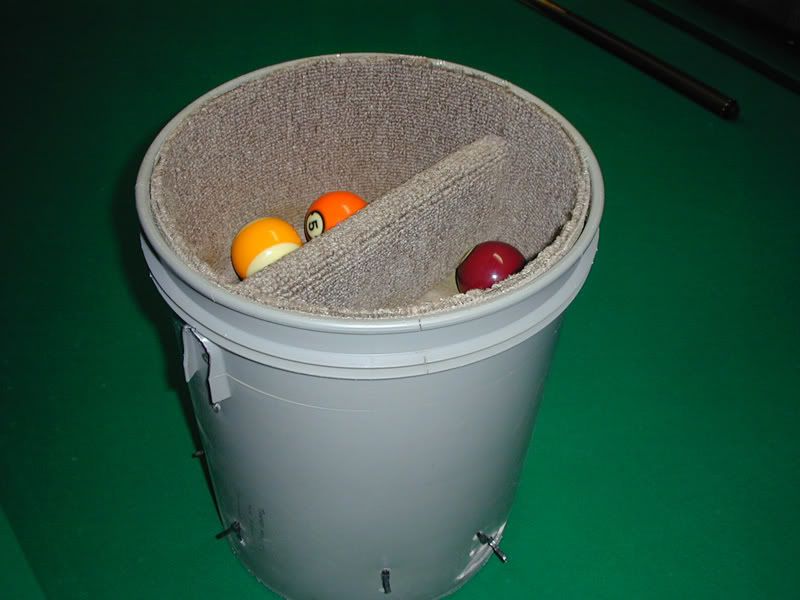
Here are some pics of my home-made ball poslisher. The Ryobi buffer/polisher cost $25 from Home Depot. I had the two buckets and carpet. I polish 8 balls at a time, but it will hold about 12 or so at one time. I got the idea from somebody here on this site....I think it was Strokerz....something like that. I used two buckets instead of one though. The top one is a little smaller. I did this so that the motore could breath. This first time I used it, it worked very well. The balls looked like that were new and fresh out of the box.

Pic one is the complete set-up.
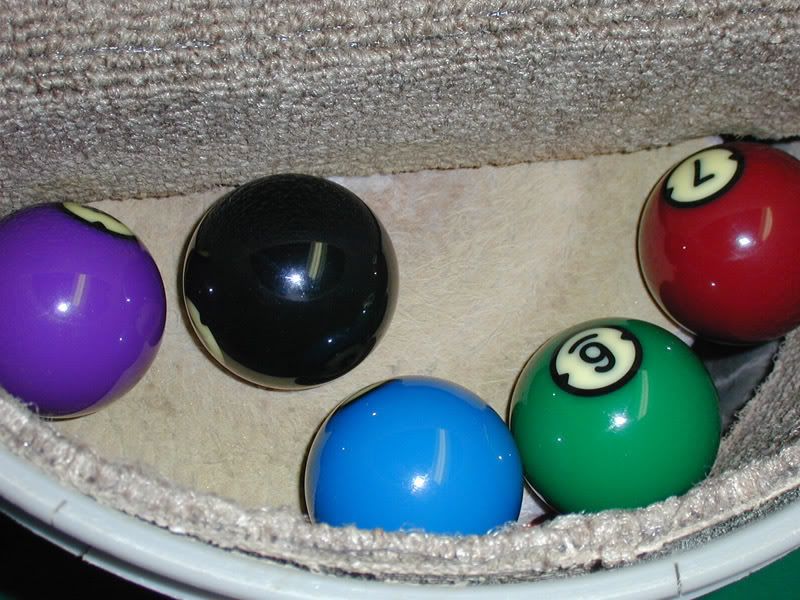
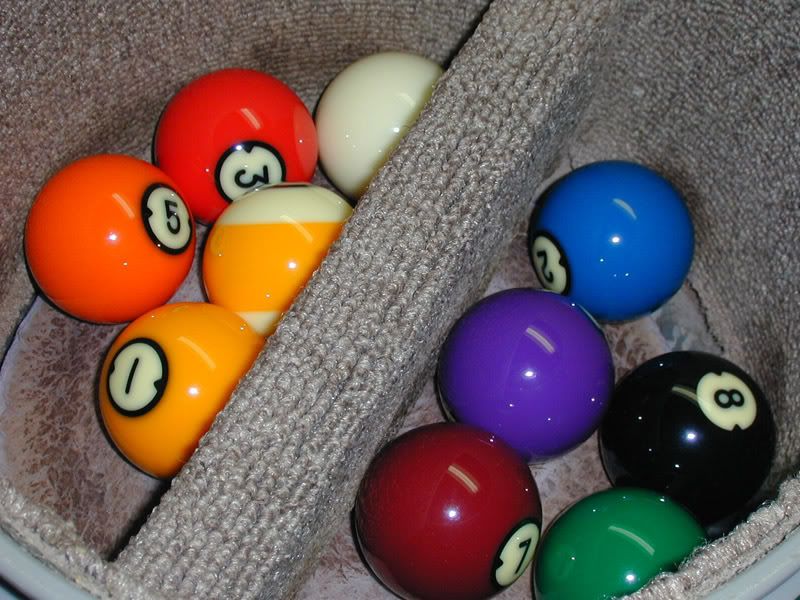
 

Attachments

  • Polisher1.jpg
    Polisher1.jpg
    72.5 KB · Views: 7,742
This pic is of the bottom bucket. You can see the vent holes that I cut.
 

Attachments

  • polisher2.jpg
    polisher2.jpg
    72.9 KB · Views: 7,778
And here is the third and last pic. The top bucket from the bottom view of the motor hanging out.
 

Attachments

  • polisher3.jpg
    polisher3.jpg
    35.6 KB · Views: 7,669
All I did was took a bucket, cut the hole in the bottom and then another hole were the cord goes through. Put the polisher in there, upside down. Took some carpet, cut to the diameter of the inside of the bucket. I spent $6 for some contact cement from Home Depot and glued in on there. If you want to use a one bucket design, omit the cutting the hole in the bottom. I used a compass to outline the diameter of the hole. You can see how I did the second bucket. When you put the polisher in there upside down, make sure you turn on the switch before. All you have to do is plug it in to make it go. It took me about an hour to make, once I gather all the materials. I couldn't wait for the glue to dry before trying it out, but is was ok. Later I will use some Gorilla glue and glue the buckets to each other. I took the handle off the bottom bucket, but left the handle on the top bucket.

The bad thing about the one bucket design is that the motor vent holes, sits right on the bucket itself. I probably wouldn't have a problem overheating, but I didn't want to take that chance.
 
Last edited:
corvette1340 said:
I think McGuyver did this in episode 37.
Actually it was episode 38:D

One more pic, from the top.
 

Attachments

  • polisher4.jpg
    polisher4.jpg
    79.2 KB · Views: 7,624
Does it matter that the balls will hit each other while polishing?

Also
I have always wondered do you clean the balls before putting them in or does it do it all?

What type polish do you recommend?
 
Wow!!

What you have done is certainly interesting. I'm going to see if I have the buckets to make one myself.

Thanks for the idea!

Stephen
 
frankncali said:
Does it matter that the balls will hit each other while polishing?

Also
I have always wondered do you clean the balls before putting them in or does it do it all?

What type polish do you recommend?
Actually, they probably do touch each other, but they are all going in the same direction and you only have to leave them in there for a minute or two. What I do is put 8 balls in there and go through with some Aramith ball cleaner and just put one or two drops on each ball and the let 'er rip.
 
Nice! You will have to keep us posted as to how this works out for you! I think I might have just thought of another way to improve the design, but I will have to do some checking at my wife's favorite store Hobby Lobby!
 
Some of these I have seen had a cross of wood wrapped in carpet to separate the balls. I am sure you could make some type of devider that would hang from the top of the bucket if you wanted. Chris
 
Chris Byrne said:
Some of these I have seen had a cross of wood wrapped in carpet to separate the balls. I am sure you could make some type of devider that would hang from the top of the bucket if you wanted. Chris
Yeah...I though about putting some diverders in it to keep the balls from touching each other, but didn't want to spend that much time on it when it's 100+ degrees outside. Most of the time, they run around in a circle with a gap between them. I promise that the balls endure much more impact with each other on the table than in the contraption.
 
Hey, that looks just like the one I made haha... I cut two slits in mine, slide a wooden yardstick through the slits just above the buffer wheel, and while sliding it through, I put a 9" paint roller on the yardstick and then pushed the yardstick out the other side.

the balls bounce around better that way. I also cut a round carpet piece and plywood top to sit on top of the balls.
 
3andstop said:
Hey, that looks just like the one I made haha... I cut two slits in mine, slide a wooden yardstick through the slits just above the buffer wheel, and while sliding it through, I put a 9" paint roller on the yardstick and then pushed the yardstick out the other side.

the balls bounce around better that way. I also cut a round carpet piece and plywood top to sit on top of the balls.


Do you use these at the same time or not?

I am trying to picture the roller hanging just into the balls and cant see where the carpeted plywood cover goes.

I think one day I will make one of these. I need a table first :rolleyes: I have the balls :D
 
frankncali said:
Does it matter that the balls will hit each other while polishing?

Also
I have always wondered do you clean the balls before putting them in or does it do it all?

What type polish do you recommend?

I think Frank in Cali's avatar would make a nice home made ball polisher:D :D
 
you might have got the idea from me...............

one bucket, 20$ orbital buffer (harbor freight), 3m spray glue,carpet, piece of wood, some long wood screws, tie straps.............

cleaner1.jpg


cleaner3.jpg


cleaner2.jpg
 
frankncali said:
Do you use these at the same time or not?

I am trying to picture the roller hanging just into the balls and cant see where the carpeted plywood cover goes.

I think one day I will make one of these. I need a table first :rolleyes: I have the balls :D


Well, I have absolutely no clue how you guys insert pictures since its asking for a link. So, I'll try this ...

austinp


Nope .... <sigh>

ok .. how about this

http://www.putfile.com/austinp


The carpeted plywood cover (not shown) just sits inside the polisher as a weight so the balls can contact it also. Just a round piece of plywood with carpet glued to it.
 
Last edited:
Back
Top