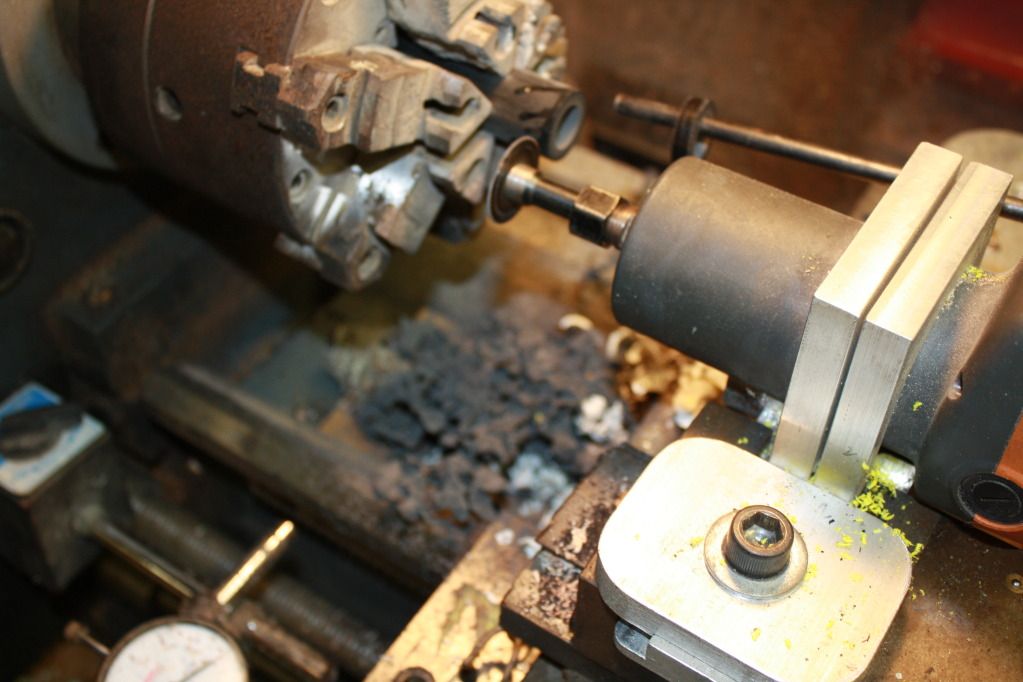
I made a little fixture to hold my remelt to cut my rings with, but it bogs down and doesn't seem to be very efficient, so I'm thinking about buying a router and using some larger slitting saw blades. Has anyone else tried this? I'm kinda worried that the speed of the router is more than the blades will be rated for.
Joe
Joe