Hell Week

Club Billiards

Absolute Billiard Service
Silver Member
Hell week table 1 -

We had a hell of a week last week. On top of being jam packed with routine residential work, we had some doozies. It was fun to have an opportunity to implement almost everything we learned at the Alsip convention, and then some, all in one week. Check them out:

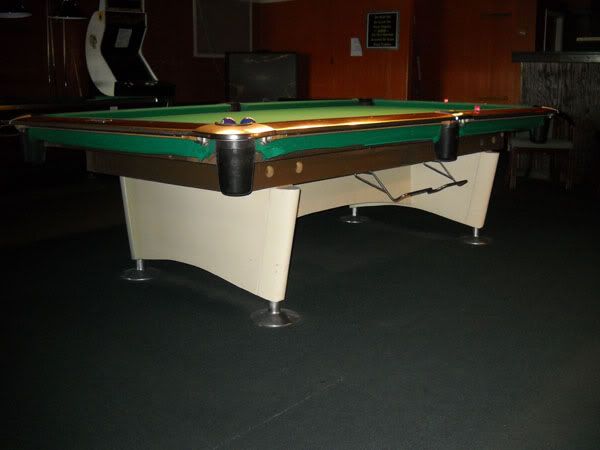
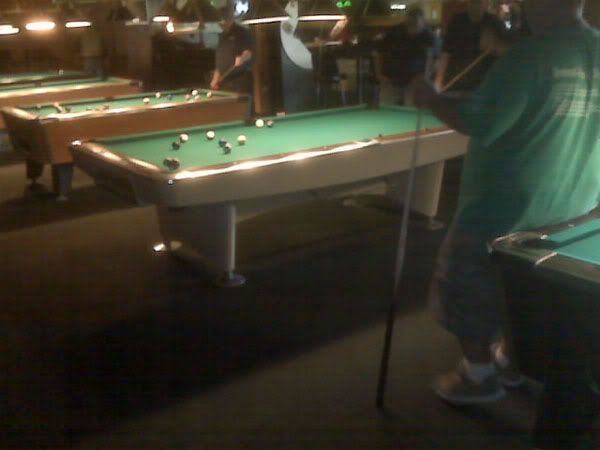
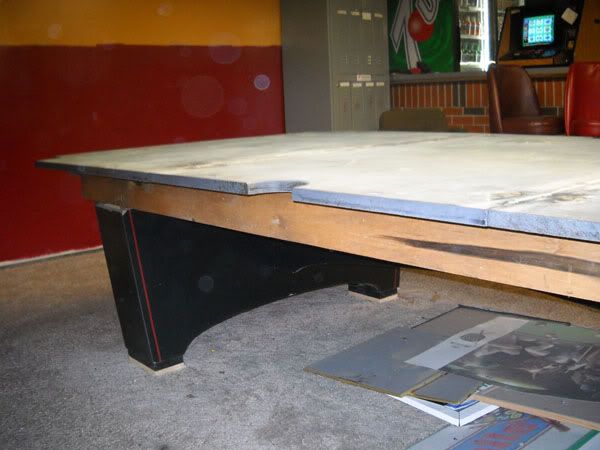
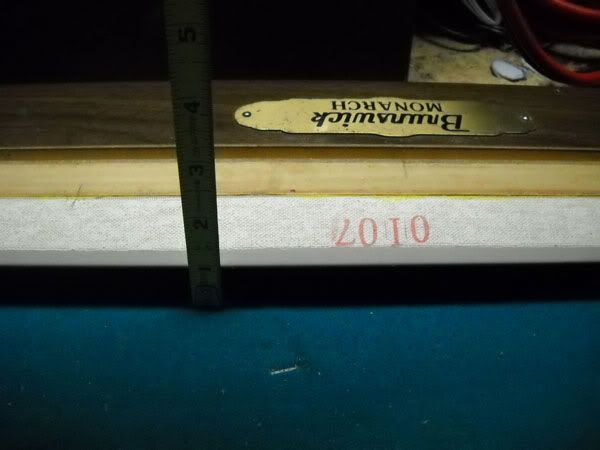
This is a Gold Crown that we recovered in King's Table in Beavercreek, Ohio.

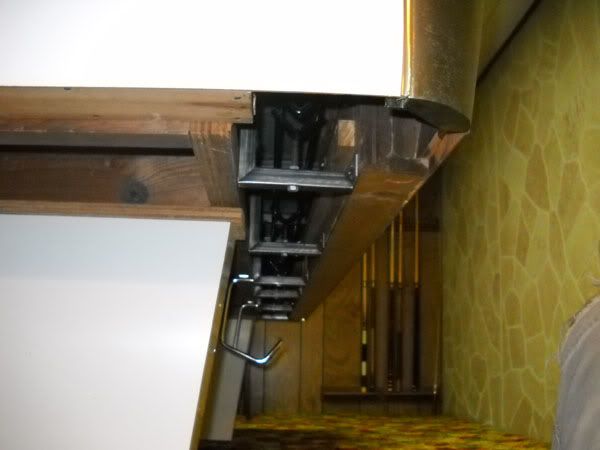
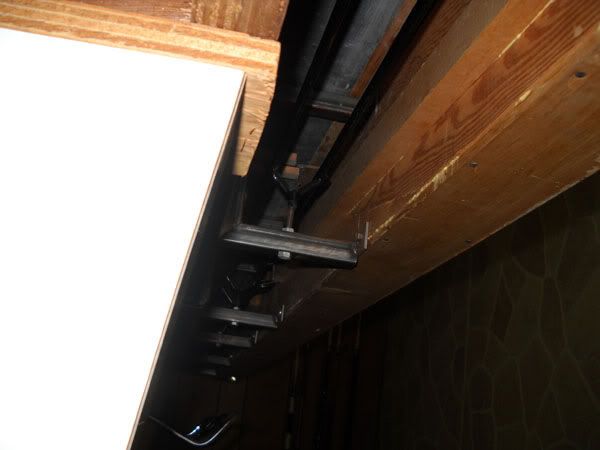
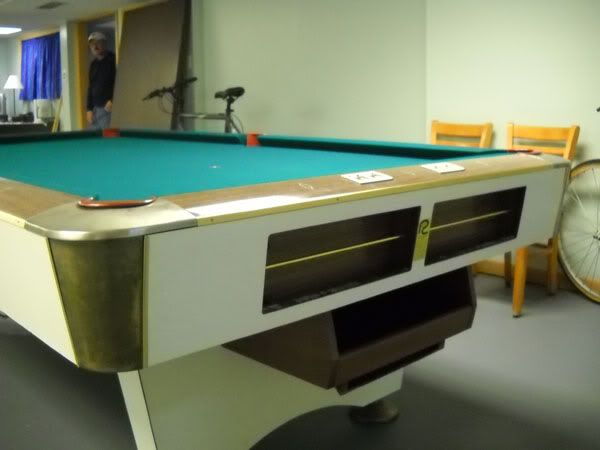
When we got to it, it didn't have the sides on the table because of bent blind hinges:

Before.jpg


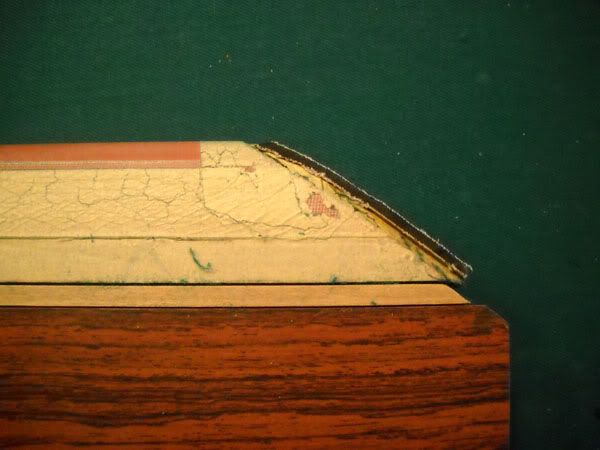
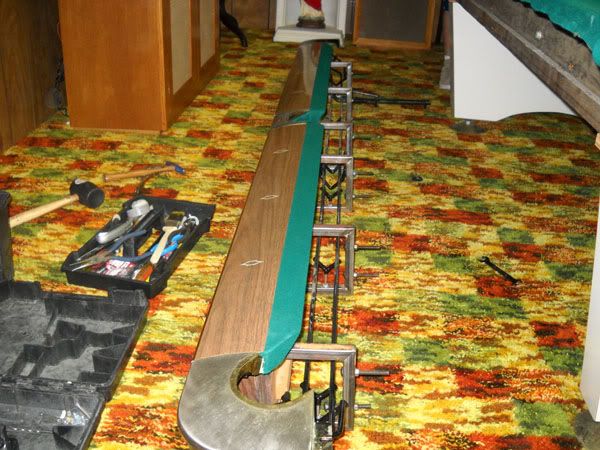
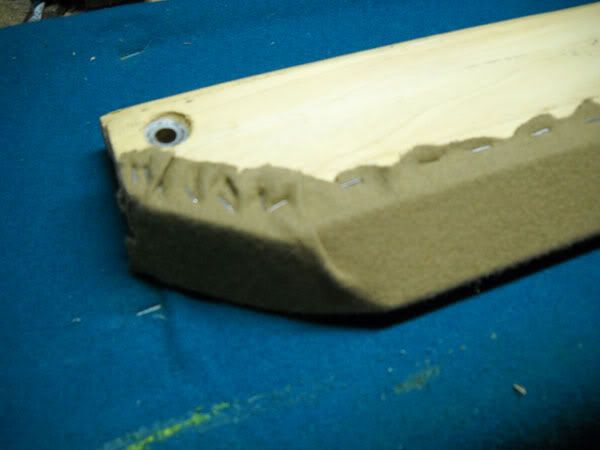
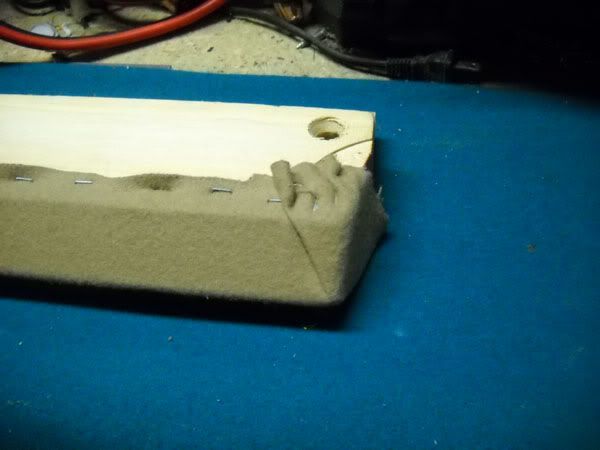
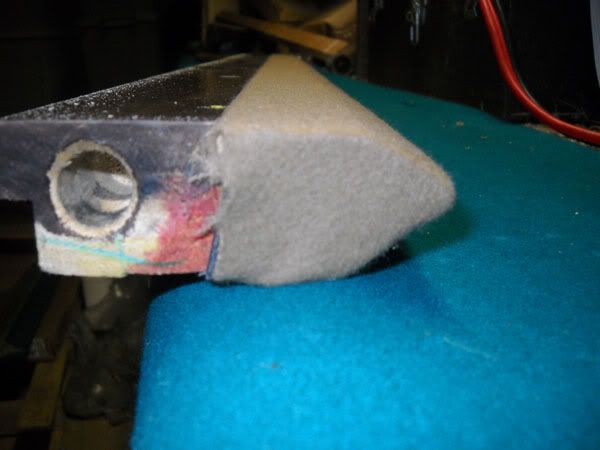
It had plenty of wrinkles and stretch marks in the rails:

Railwrinkles.jpg


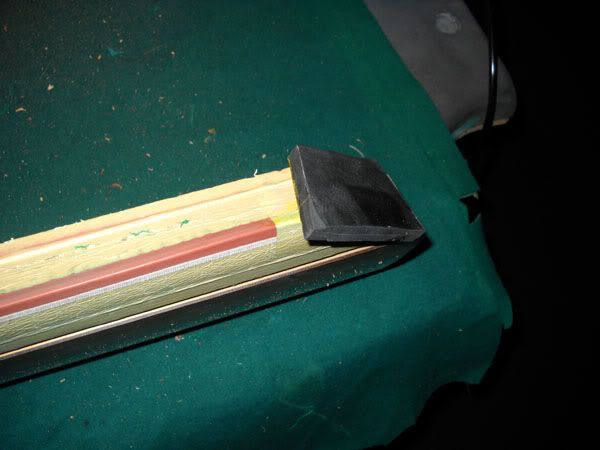
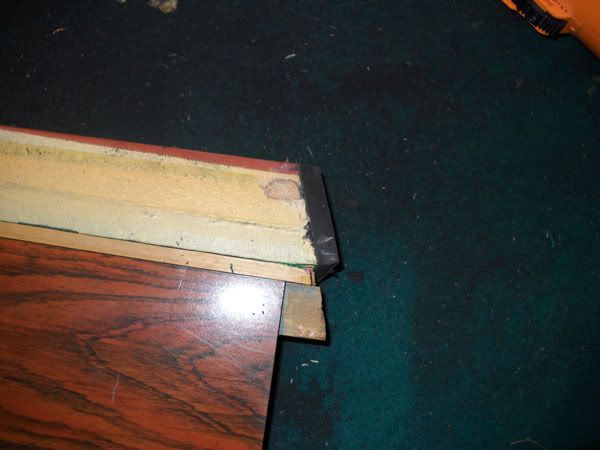
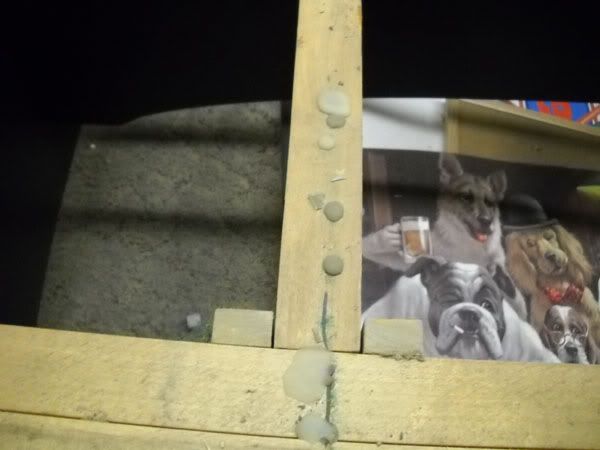
Possibly from stretching over these poorly finished facings? LOL

Facings-Top.jpg


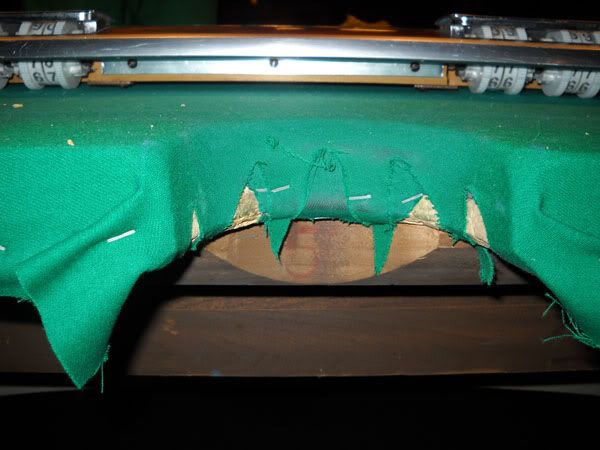
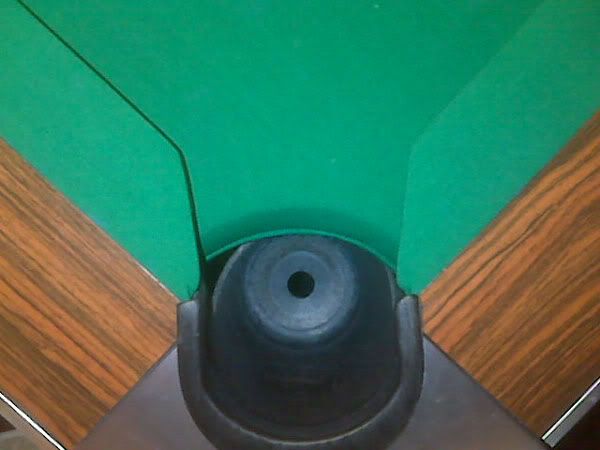
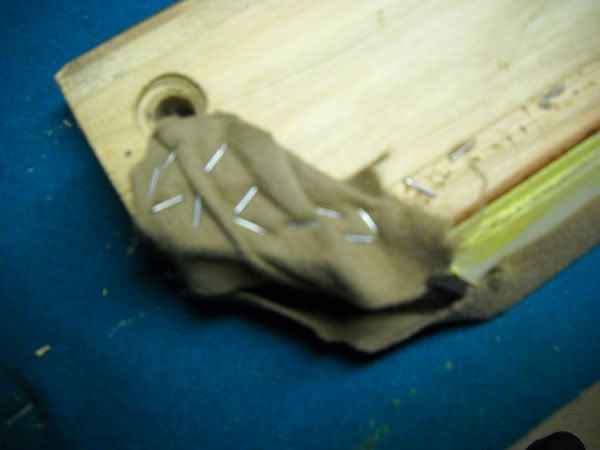
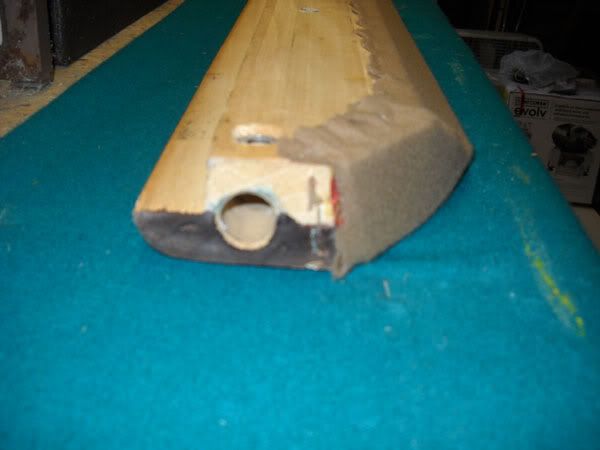
The pockets looked like this:

Side-Before.jpg


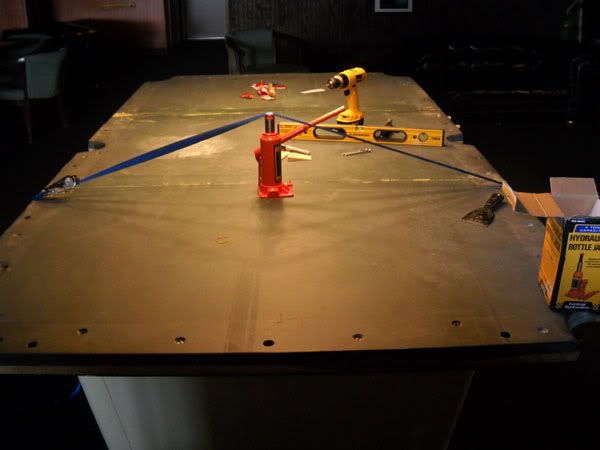
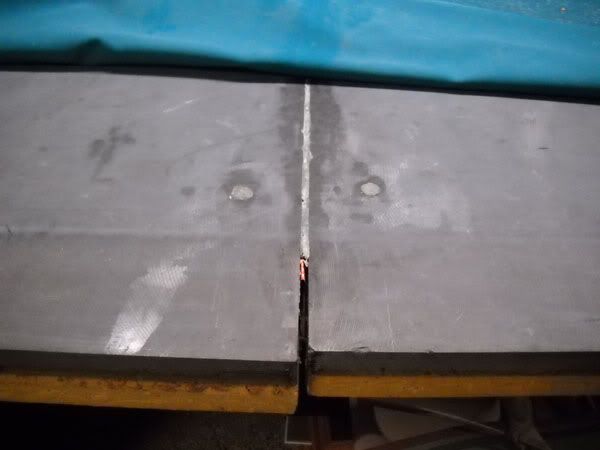
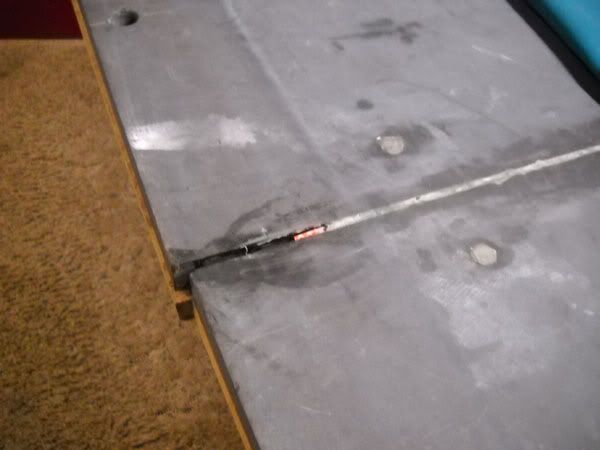
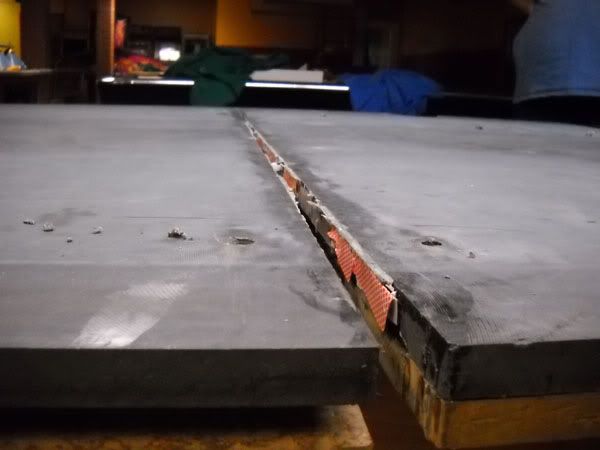
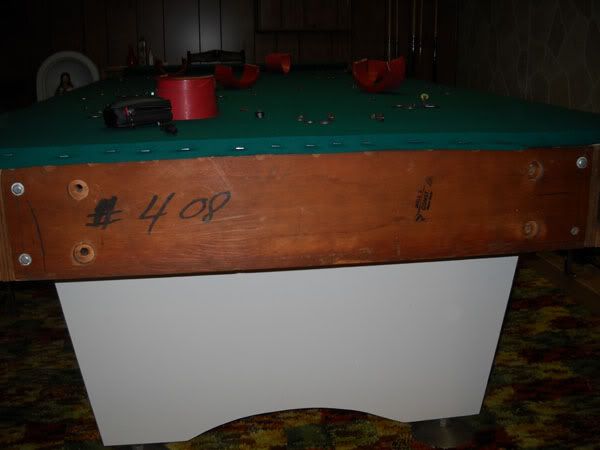
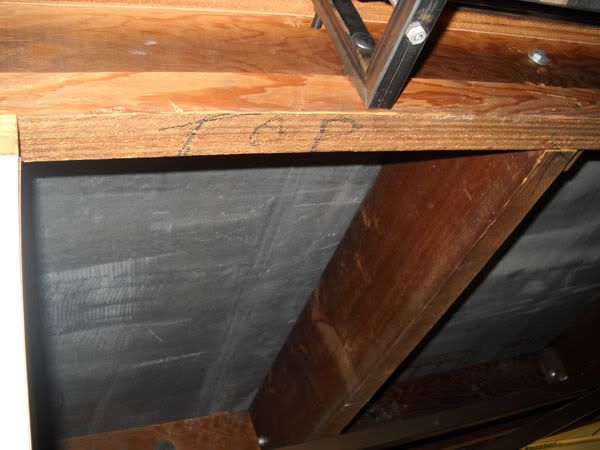
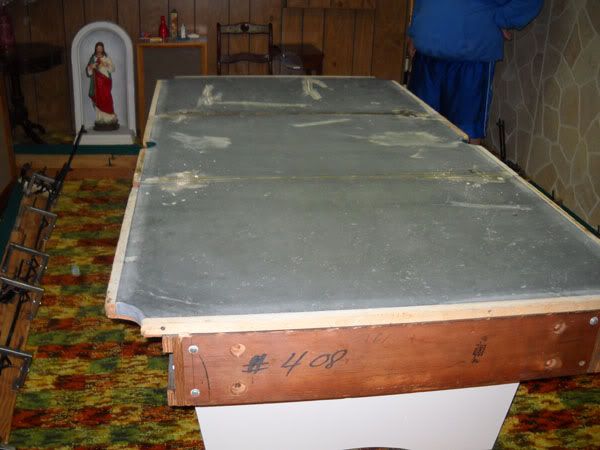
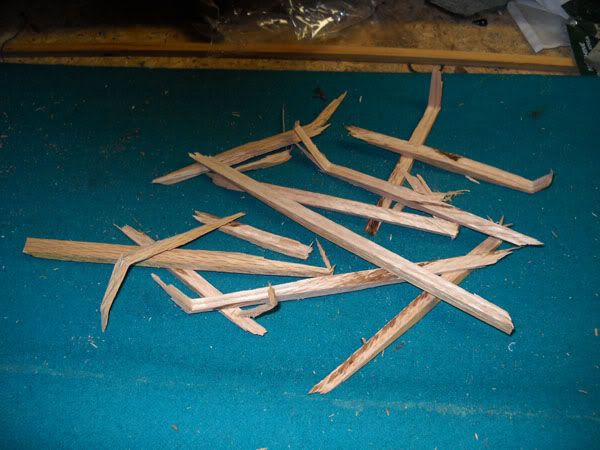
There was also a crowned slate, blowouts in the back of the ball box where it screwed into the frame, and the ends of the frame were weak.

We ended up tearing the table down to the bare frame and reinforcing it like how we learned in Alsip. Then we reinstalled the slate, levelled it and repaired the crown:

Jackseams.jpg


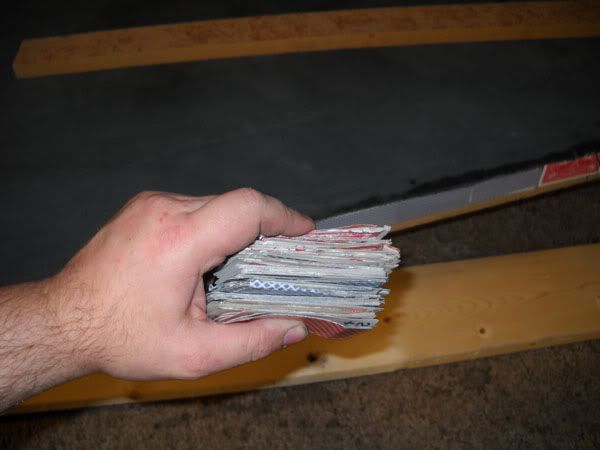
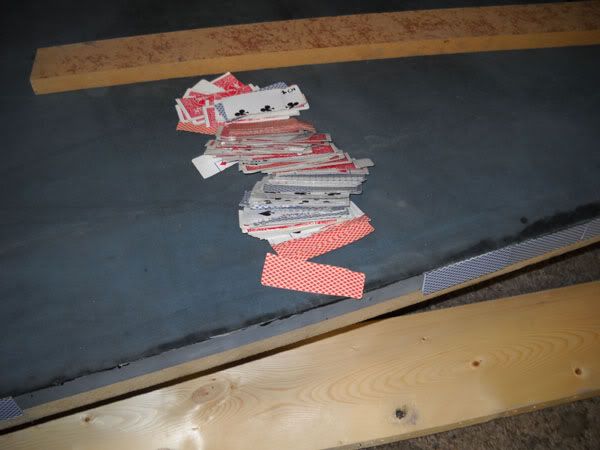
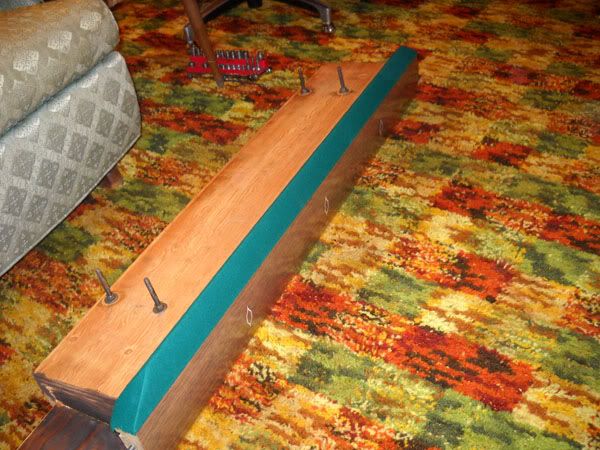
Also pulled the old ratty facings and replaced them with 3/8" neoprene. (That stuff is the nuts!)

Newfacings.jpg


Facings-After.jpg


Ball box went back together nicely with the new back, and I have to thank O'Reilly Auto for having a pretty good match to the original paint!

Foot-After.jpg


I still need a little practice with the pocket finishing, but I think they look much better than the before pictures:

PocketAfter.jpg


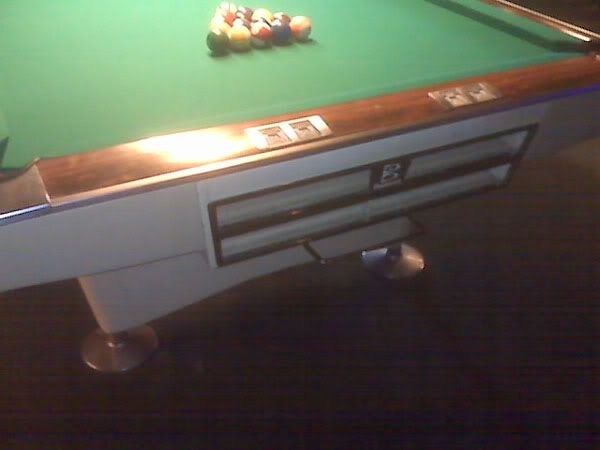
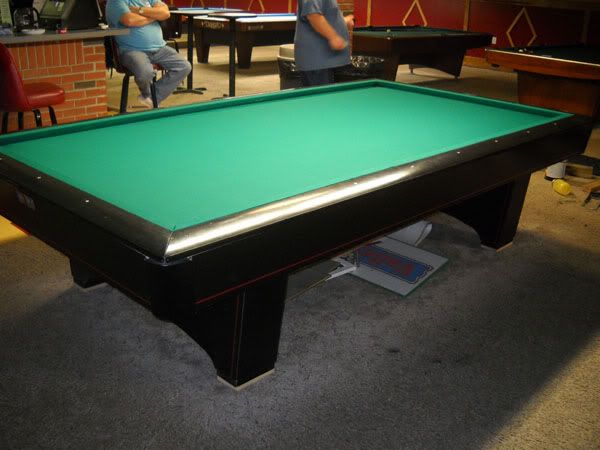
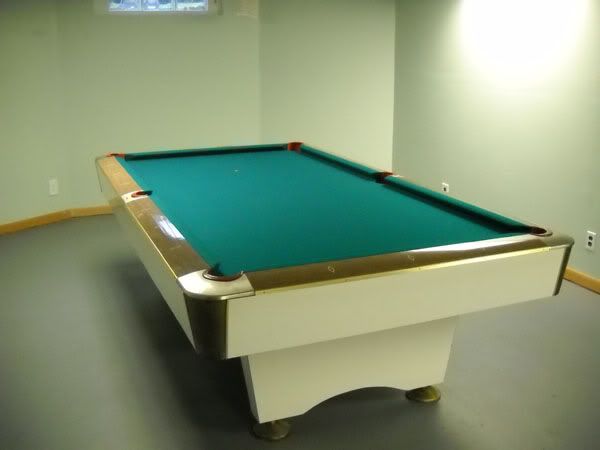
And here's the finished product after some work to the blind brackets:

Done.jpg


So there's one of the monsters we worked on this week. Ended up putting about 11 hours into it, including all the work to the slate, frame, facings, blinds and rebuilding the ball box.
 
Hell Week Table 2 -

This one was pretty much the same deal. It's a 10' Sterling snooker table with billiard conversion rails. The rails were pretty bad with broken feather strips that were all nailed into the channel with the cloth pulling out of them. Nothing I haven't encountered before. When we got down to the slate though, WOW! This is how it was on the table:

SlateAlignment.jpg


Slatealignment2.jpg


not only was it aligned this bad on top, but underneath, half of the screws missed the frame:

Slatescrews2.jpg


The seams were AWESOME...

Seams.jpg


A little gap allows a lot of wax to run through!

Waxdrips.jpg


Seams were filled in and the slate was levelled all with playing cards. I believe there were two entire red decks and a blue deck. LOL

3decks.jpg


Cards.jpg


If you look closely in those last two pictures, you'll see the warped, cracked slate backing that fell off of the slate when we took it off the table.

After a little thought, we and the room owner decided to strip all of the backing off the slate, since we were using Glen's glue method to install the cloth anyway. We had to add blocks to the frame to bring the playing surface back up within BCA spec.

Reinstalled the slate (centered and squared on the frame of course LOL) without the backing:

Unbacked.jpg


Carpet is being replaced next week, so the room owner is planning on spraying the blocks to match the rest of the table before the old carpet goes away. We got them to match up pretty good though, so I think once they're sprayed, no one will ever notice they've been modified.

Slate levelled and back together. And I emphasize TOGETHER. LOL

Slateon.jpg


Some glue, some Simonis 300 Rapide and some rails later, now the room owner has a table that looks and plays right!

Done1.jpg
 
Hell Week table 3 -

Ok, this one was actually kind of fun once we figured it out.

It is an old Rozel Gold Cup made in Chicago. I had never seen or heard of one. Looked at it, crawled around under it, scratched our heads, and called Glen to see if he had heard of it. Tough to describe over the phone, but from my explanation, he had never heard of it. The smart*ss's response I believe was "well that's what makes a good mechanic...you'll figure it out." I honestly think I could hear the smirk through the phone. LOL So now that I had been challenged, I was determined to figure out how this table came apart.

Here's how it looked from underneath:

Underrails.jpg


Ballreturn-1.jpg


L Shaped brackets were attached to the bottom of the ball return. There were bolts out through the side of the return, but the vertical bolts were in the way of pulling them out. It took some serious looking but we realized the rails came off different that any table we had ever seen:

Siderail.jpg


Siderailoff.jpg


The whole rail, return, blind, brackets and all came off in one big sturdy bulky piece. Pretty cool how it all went together.

You can see here how the end goes on and it just gets a washer and nut on the back on the inside of the frame:

EndRail.jpg


End.jpg


Thought this was funny when I was looking up from underneath to take the nuts off:

Lookingup.jpg


The slate had inserts all the way around the side like T-rail style, but smaller for this border to bolt into it from the side. Cloth was stapled on this slate edge.

Slateborder.jpg


Once we figured out how it came apart, it was EASY to get it back together. Only one way to do it, so if it was together at all, it was together right. LOL

Doneend.jpg


Finished.jpg


This one was actually a really fun table to work on. I'll tell you one thing though, I'm glad we didn't have to recover it!!!!
 
Hell Week table 4 -

This is one that the customer brought me the rails to work on. When he called he told me that another place in town had replaced his rubber recently and now balls were hopping off the rails. It is a newer style Brunswick Monarch:

NamePlate-3.jpg


This is the way the rails were covered:

cornerfold.jpg


wrinkles.jpg


sidefold.jpg


staples.jpg


Awesome trim work on the ends of the rails too:

cornertrim.jpg


Sidetrim.jpg


Feather strips looked like Red Oak and were a little over-sized in my opinion. I say that because they came out like this:

oakfeatherstrips.jpg


So I haven't seen the rails ON the table, but from the downward slope of the rubber, I could tell it didn't have the right profile on it. K66 Master Speed was what was on it. And the tape confirms it:

Railheight.jpg


In case you can't tell in the picture, the nose is under 1" off the bench. Now I obviously haven't seen it ALL, based on that Rozel Gold Cup, but I hesitate to believe that bolting and tightening the rails on the table will raise them to the proper height. LOL

Anyway, with the rubber stripped off, the face of the rail is almost completely vertical. How does someone (even a hack like the one that worked on this table) put K66 on it and sleep at night for charging someone for the work?

I feel like I can safely assume the hack has never heard of Century rubber (Brunsiwck now calls it Centennial rubber), but that's what I've ordered and what's going on it.

'After' pictures to follow when the new rubber comes in.

Hell of a week, eh? It's been fun!

Glen, we owe you a TON for the knowledge you shared with us on this board and especially in Chicago. I'm not saying we couldn't have done it without everything you've taught us, but I think this week really WOULD have been hell if we hadn't been equipped with the tools and knowledge to deal with it.

Sincerest thanks. We can't wait to work with you again soon.
 
That is a pretty tough set of jobs there. Looks like any tables you will be working on from now on will be relatively easy,lol..
 
Oh man that billiard table had me laughing my ass off.

I also had a few laughs over the last set of rails that you posted. The work on the side pockets was too funny.
 
The last one. Did he tell you who did that. Was it a friend of his or did he actually pay someone. I'd love to know who did that i'm in Cincy and that is priceless.
 
Hard to understand how people accept shoddy work as shown in the photos.
Nice work to make em right Josh.
 
The last one. Did he tell you who did that. Was it a friend of his or did he actually pay someone. I'd love to know who did that i'm in Cincy and that is priceless.

Not to call out a hack, but apparently it was ASAP in Troy. Another of those retailers that subs out their work to just anybody, I guess. Not to worry, they won't be taking away any of your business in Cincy, I'd say! LOL
 
Thanks, Ian. Did you ever get your Diamond? I assume since I didn't hear from you that your light made it home ok. ;)

Haha, that was one scary ass ride home. Yeah it made it fine. I stripped off all the finish, but havent restained it yet. My basement ceiling is too low in this house for it anyway.

Heres a pic of my Diamond. I took the whole table to the factory and they redid everything including rails.

101_1981.jpg
 
Last edited:
Haha, that was one scary ass ride home. Yeah it made it fine. I stripped off all the finish, but havent restained it yet. My basement ceiling is too low in this house for it anyway.

Heres a pic of my Diamond. I took the whole table to the factory and they redid everything including rails.

101_1981.jpg

You say your restaining a light. Is it a diamond light?
 
Josh,
Thx for sharing and great work, hard to believe the way some folks can butcher a table like that!?!
 
Some guy's have all the fun and you got a card game going too.
Looks like you did an outstanding job.

Thank you. The Gold Crown was about an 11 hour job. The snooker table was about a 12 hour job. That Rozel Gold Cup took about 5 hours. The customers really appreciate when you take that kind of time and pride to get the job done.
 
See, I told you you'd figure out that table...if you're a GOOD mechanic:grin:...and YES....I WAS laughing in the background:grin:

Glen
 
Back
Top