Tony's Cue Progress Pics
Tony,
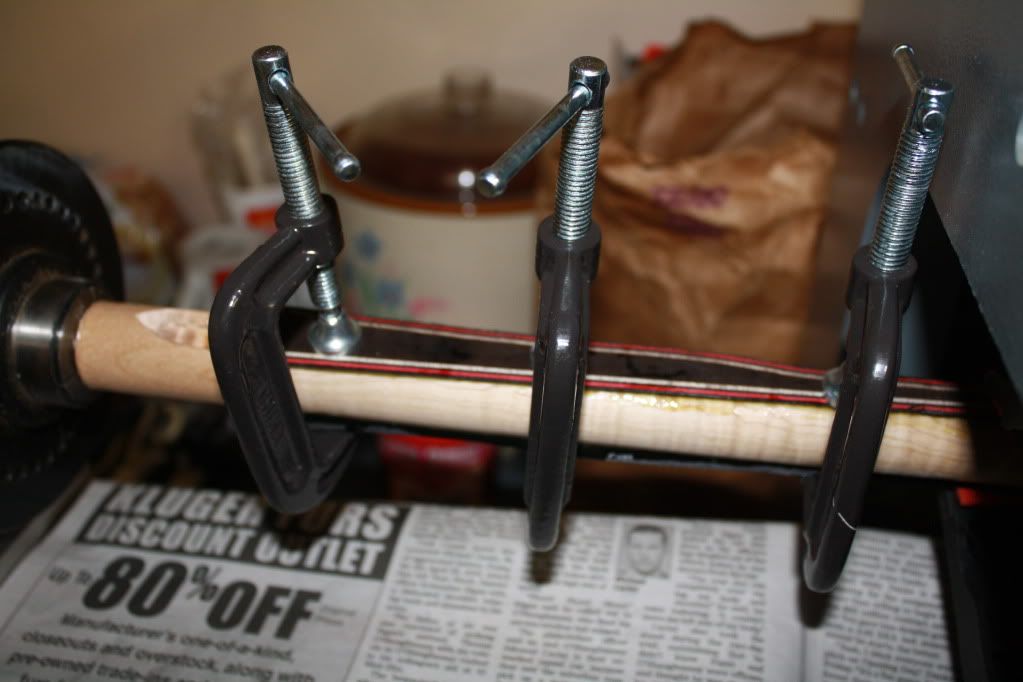
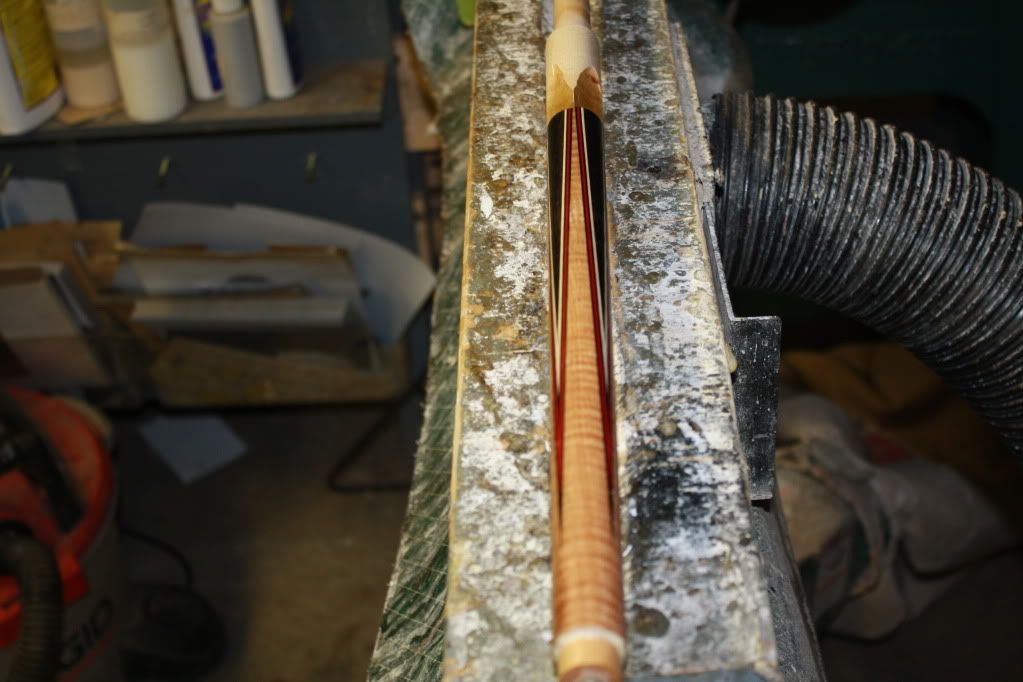
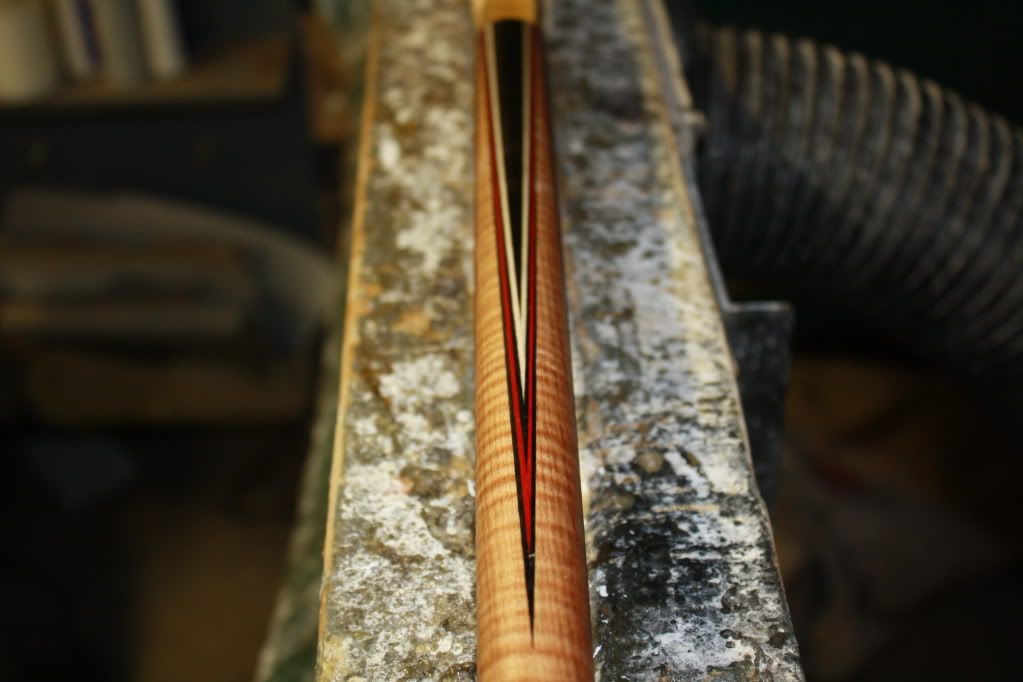
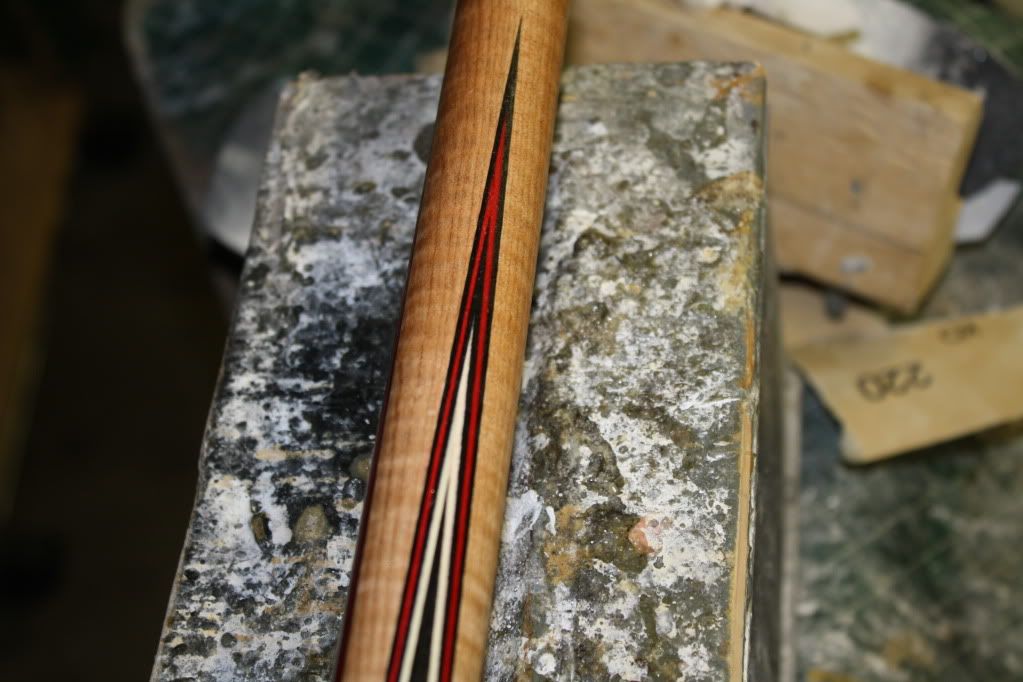
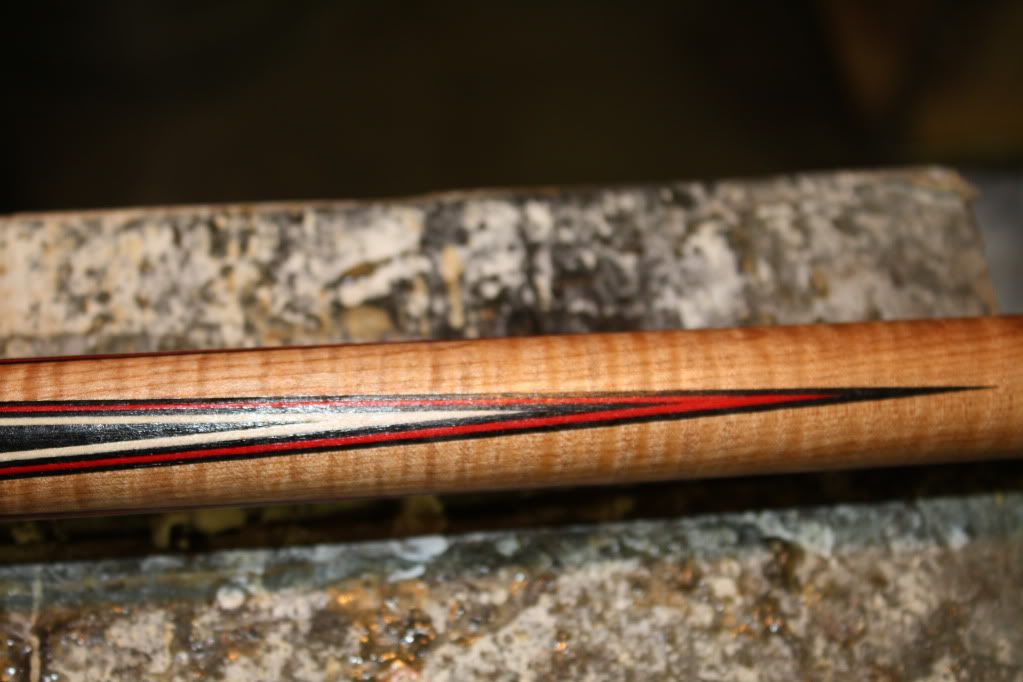
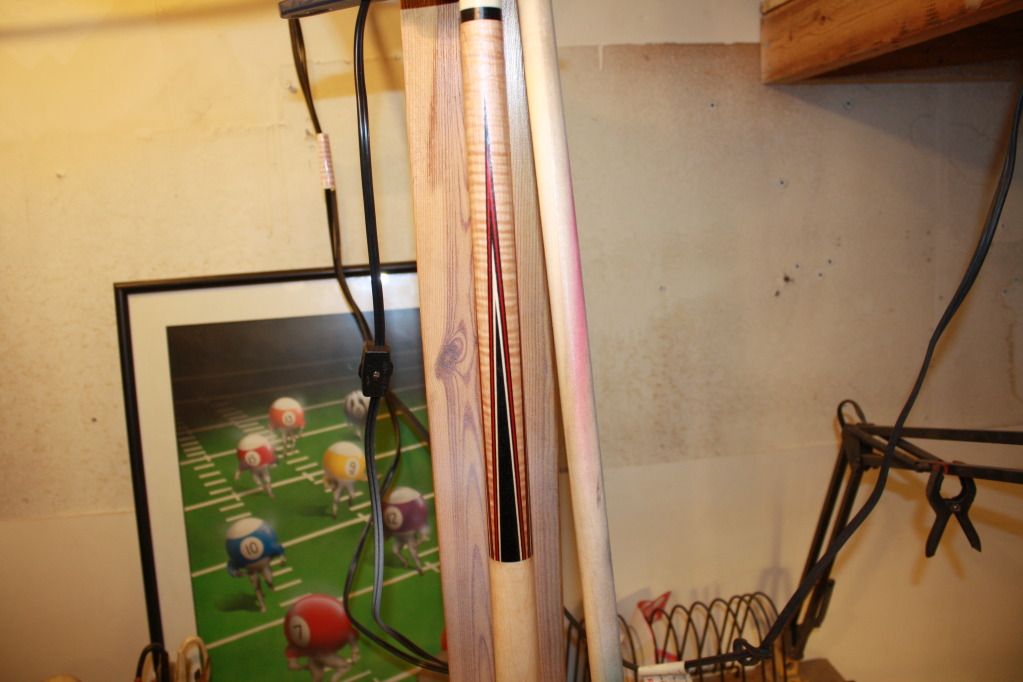
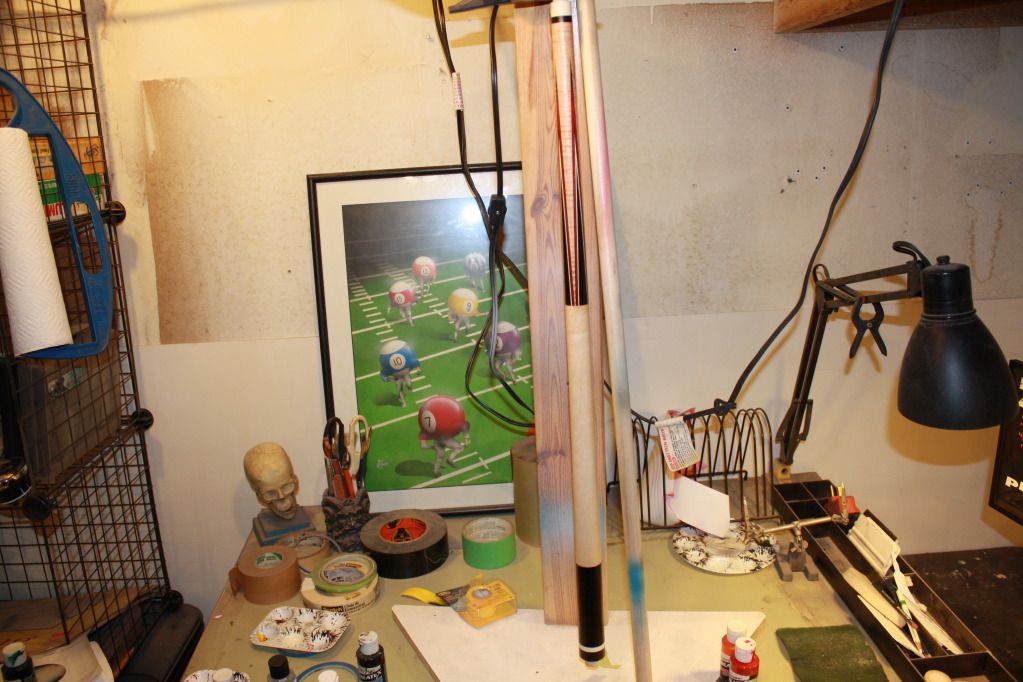
Here is the curly front cored and glued to the dowel. The veneers will be here tomorrow and I will be making up the points.
Tony,
Here is the curly front cored and glued to the dowel. The veneers will be here tomorrow and I will be making up the points.
Last edited:


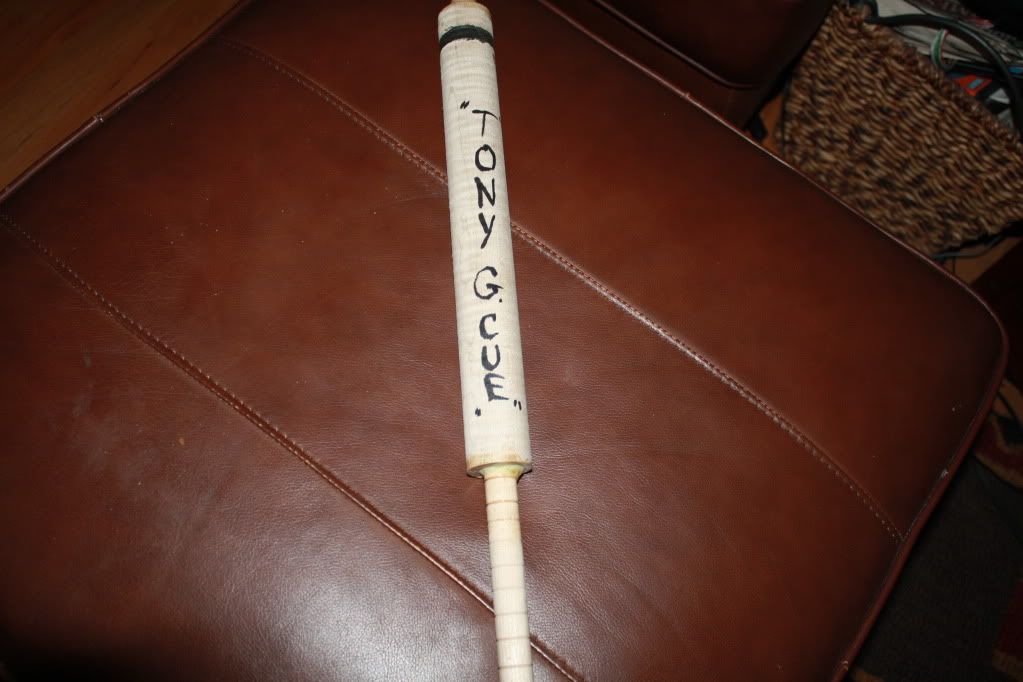
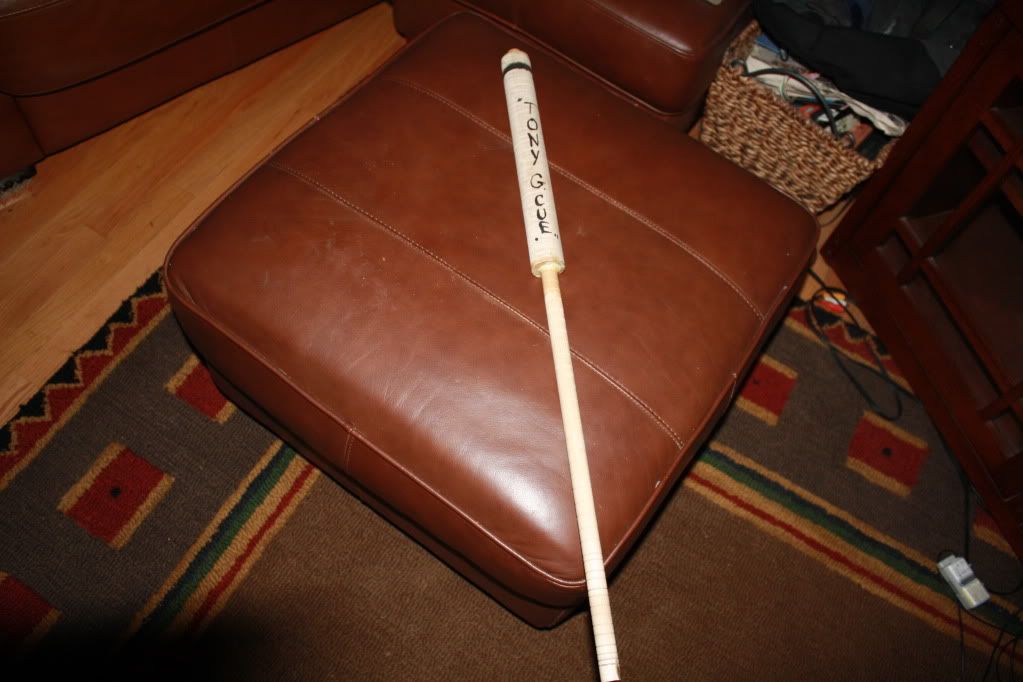
") That cue is for Tony George from Chicago, not Tony Guerra from California.
That cue is for Tony George from Chicago, not Tony Guerra from California.