Progress!!!
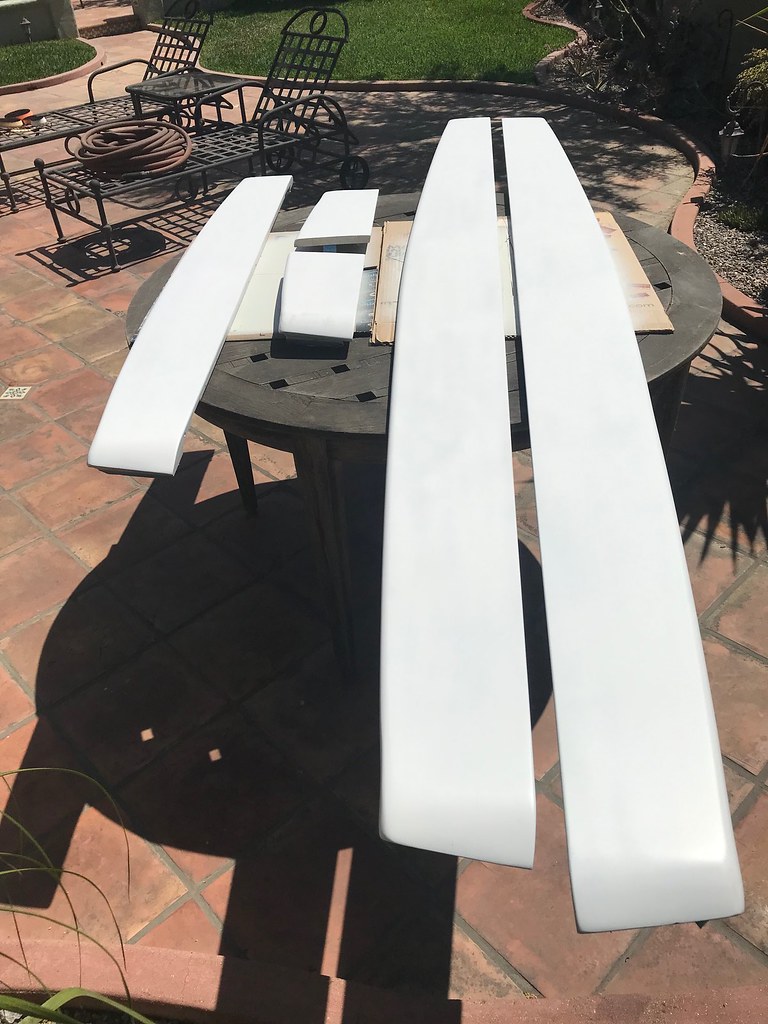
A week in Little Rock, AR for work threw a wrench in my pace but I've made some real progress over the last few days. After some trial and error with my Finish Super Max HVLP Sprayer, I am happy to report all white pieces are complete except for the skirts. Some fine sanding marks are showing through so I plan to give them one more coat tomorrow morning. Overall, I am very happy with how everything turned out. They are not 100% perfect but I am probably the only one who will know of the flaws. Here are some pics:
Foot End Pedestal:


Head End Pedestal:


Pedestal Runner:


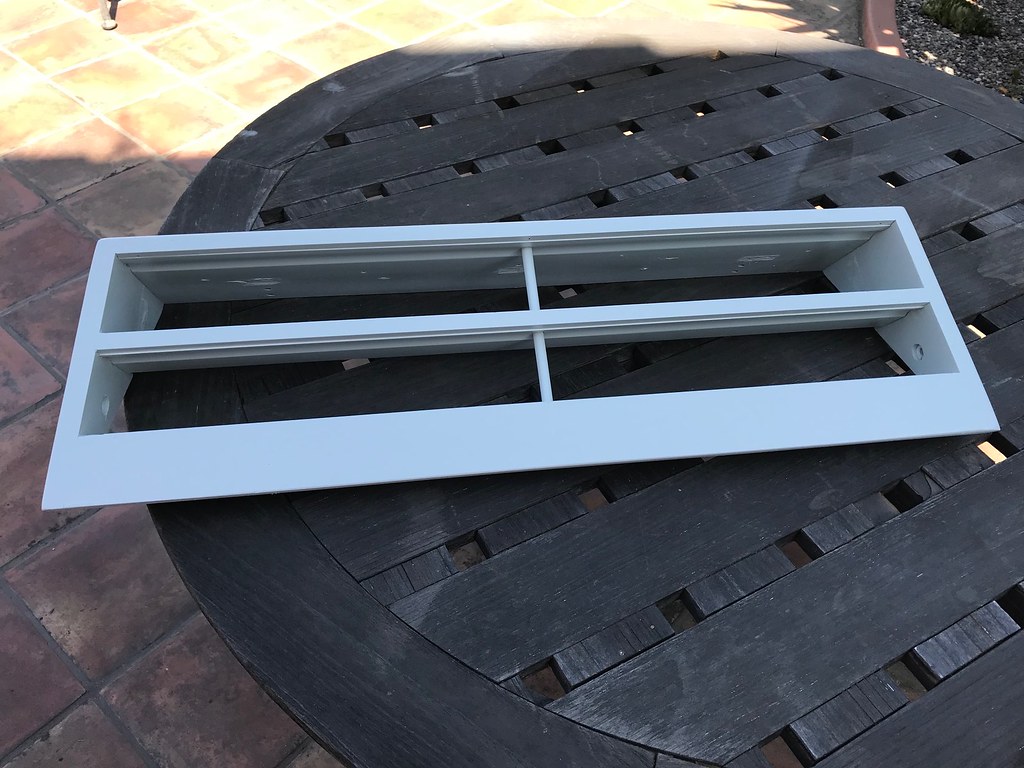
Ball Box:
The back of the ball box was busted out when I bought the table. I cut a new piece from 1/2" poplar to match and painted it apart. I will install the back once the paint cures.

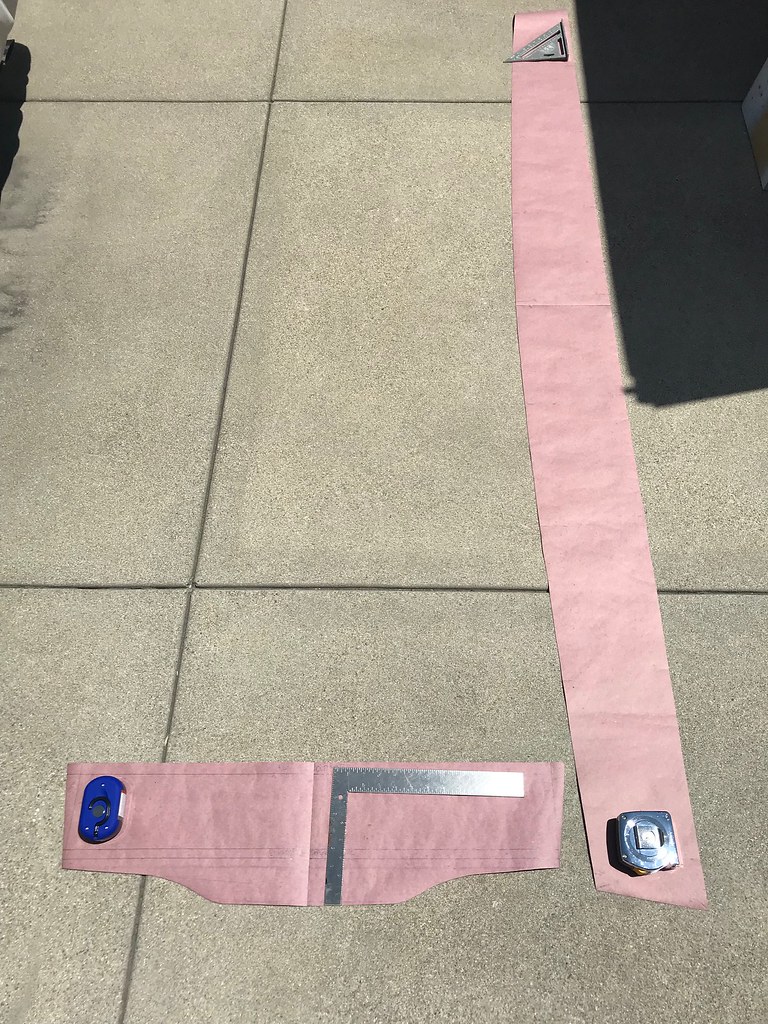
Skirts:

A week in Little Rock, AR for work threw a wrench in my pace but I've made some real progress over the last few days. After some trial and error with my Finish Super Max HVLP Sprayer, I am happy to report all white pieces are complete except for the skirts. Some fine sanding marks are showing through so I plan to give them one more coat tomorrow morning. Overall, I am very happy with how everything turned out. They are not 100% perfect but I am probably the only one who will know of the flaws. Here are some pics:
Foot End Pedestal:
Head End Pedestal:
Pedestal Runner:
Ball Box:
The back of the ball box was busted out when I bought the table. I cut a new piece from 1/2" poplar to match and painted it apart. I will install the back once the paint cures.
Skirts:
Last edited: