Some pictures of our work

Club Billiards

Absolute Billiard Service
Silver Member
I want to share some pictures of some work we did recently for a good friend, Tommy-D.

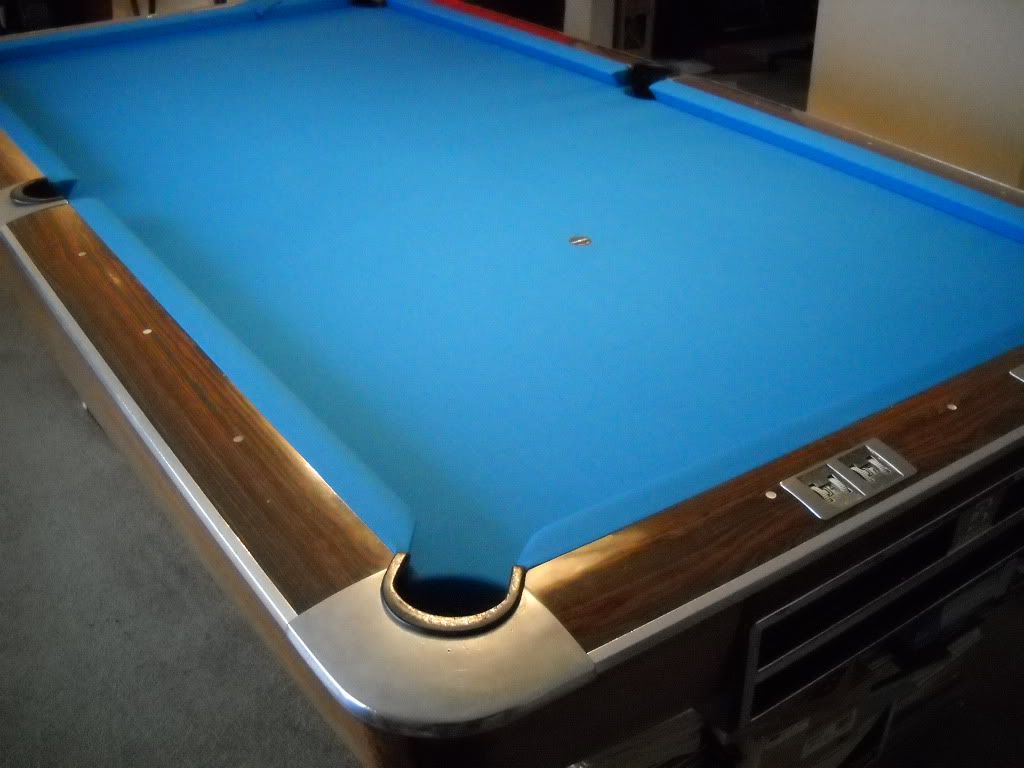
He has a Gold Crown 1-2 that was set up by some local hacks.

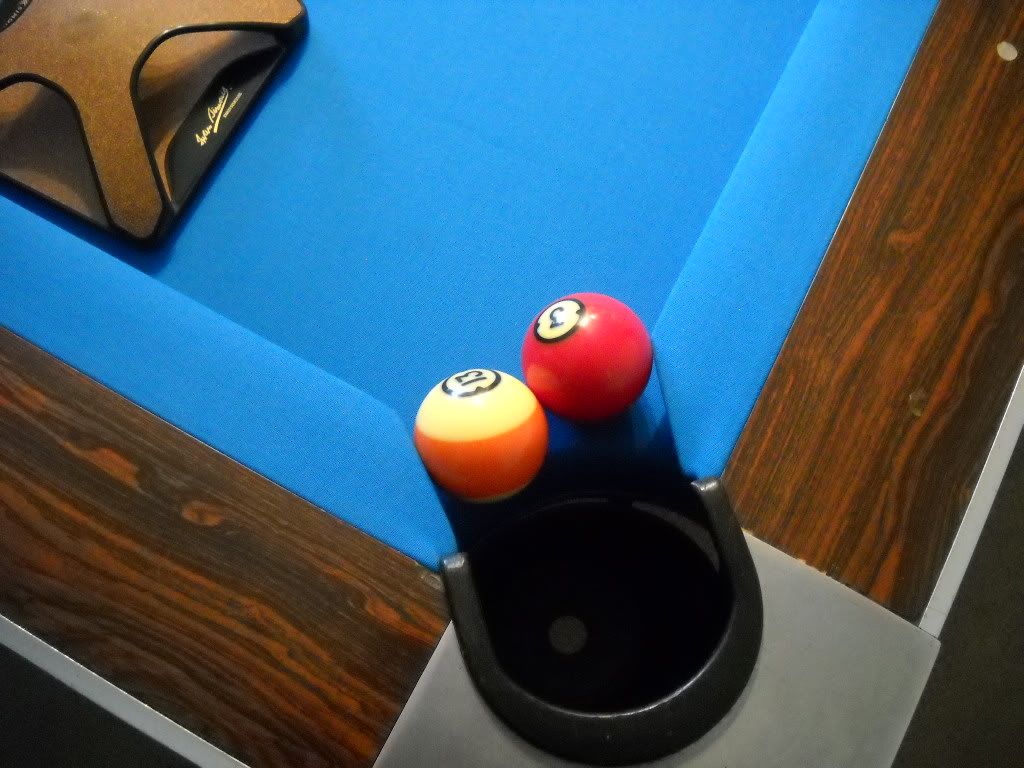
The slate was not level or flush, there was missing hardware, the cloth was not on very tight and was cut in poorly in the pockets, and the rubber and facings were trimmed badly.

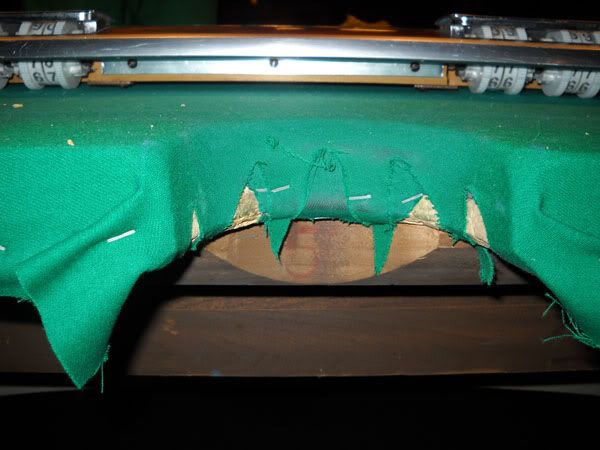
Here are some BEFORE pictures to show a little of what we had to deal with.

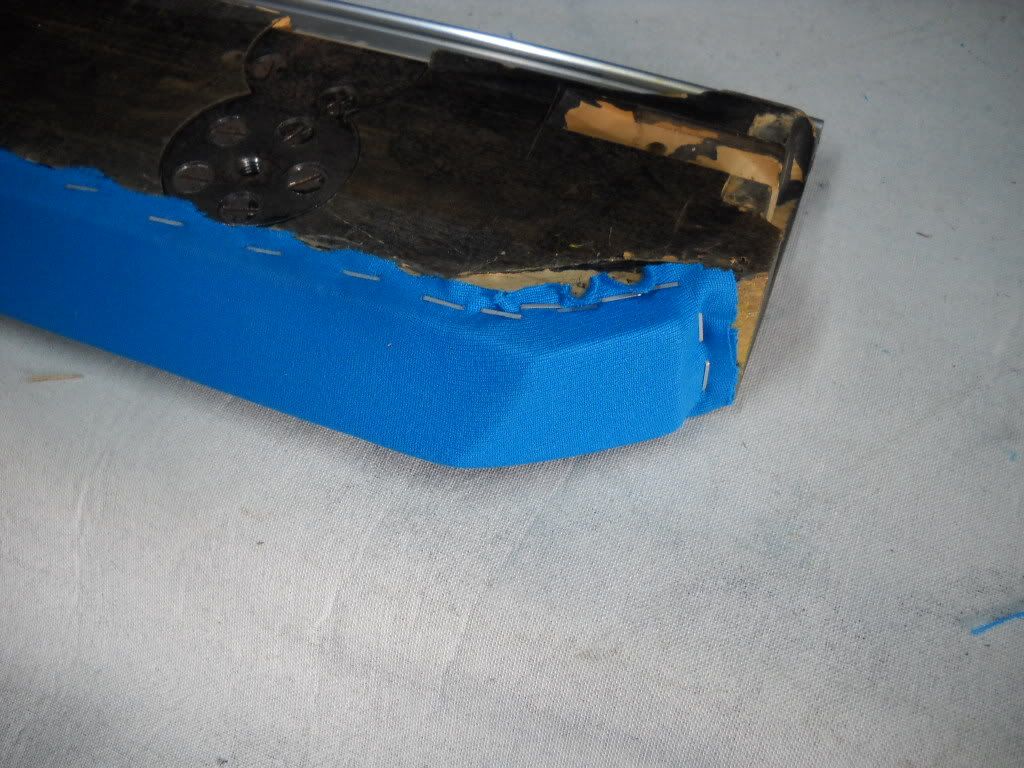
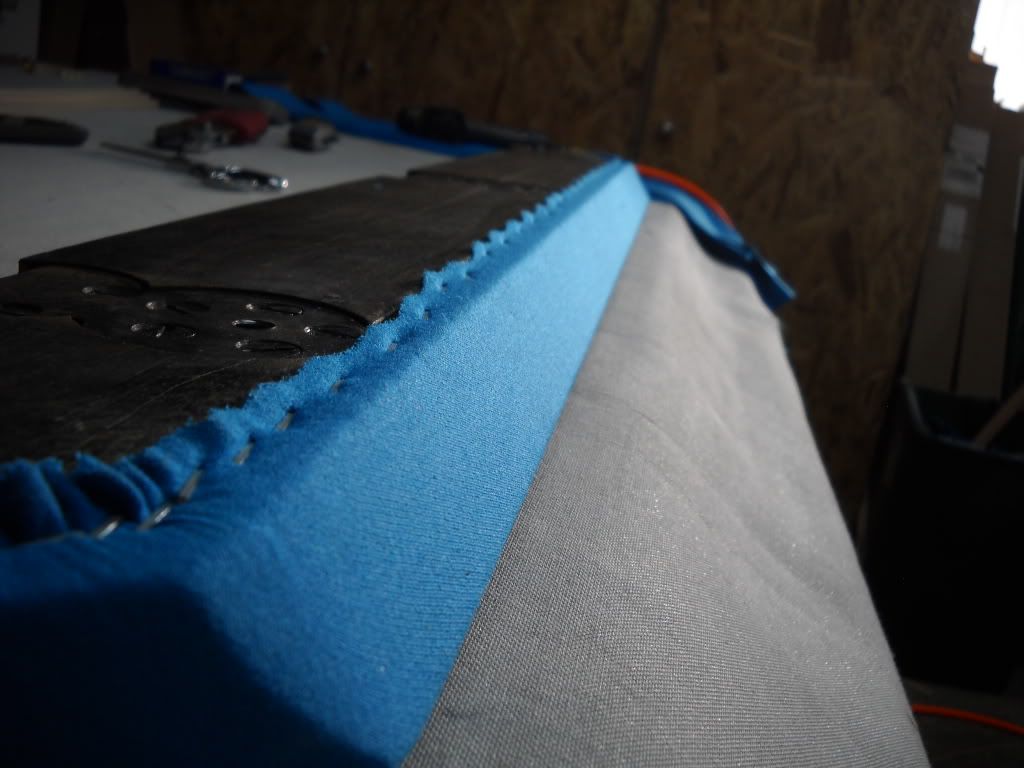
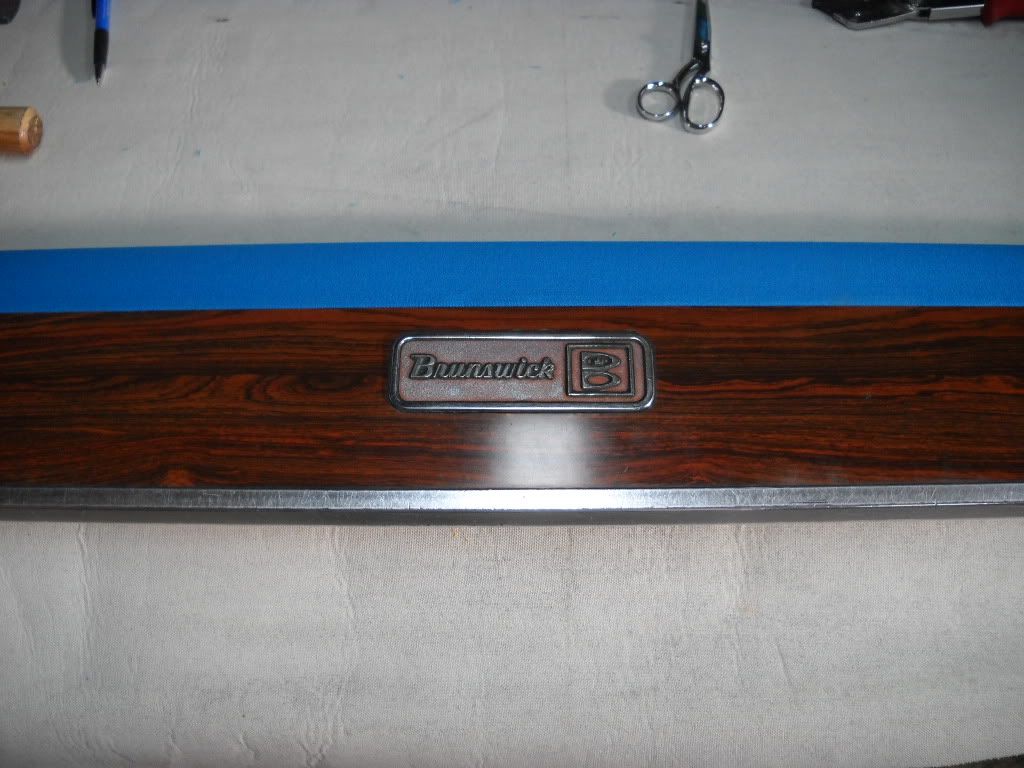
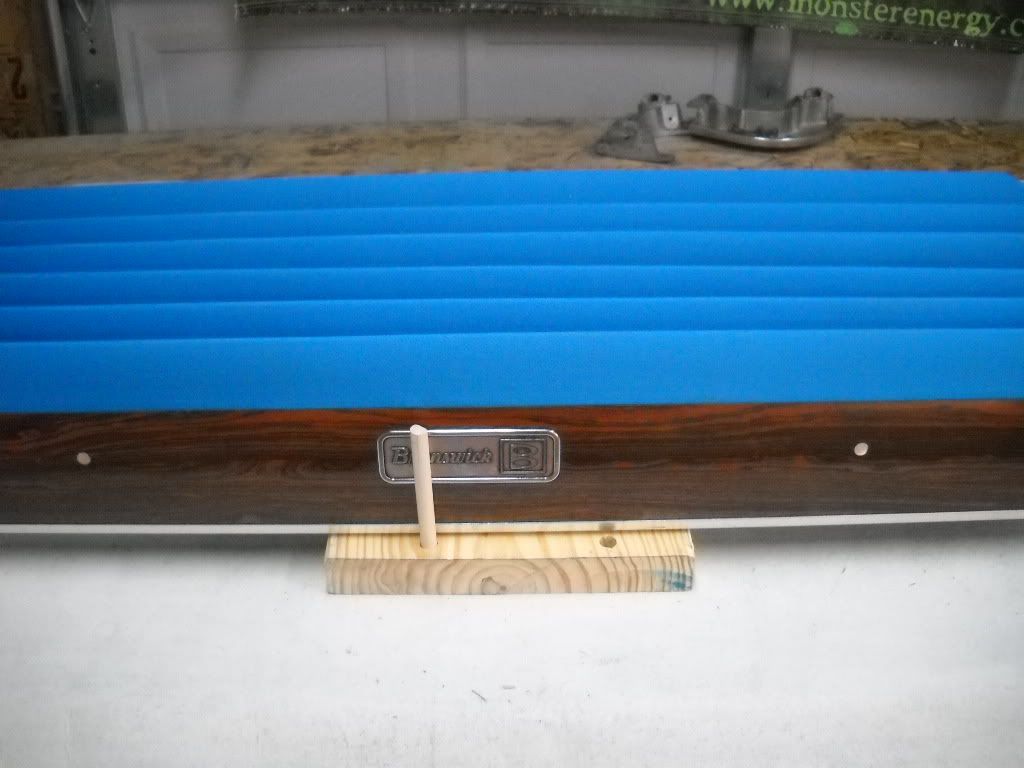
All of the rails were covered pretty much like this:

1-Before-Clothcorner.jpg


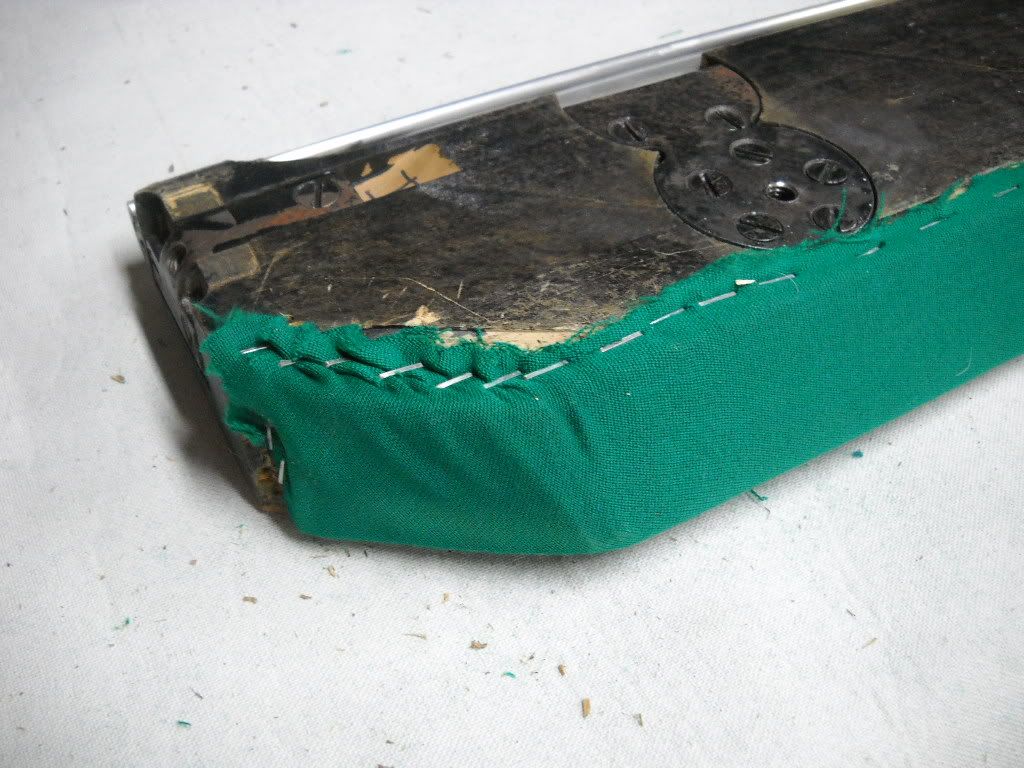
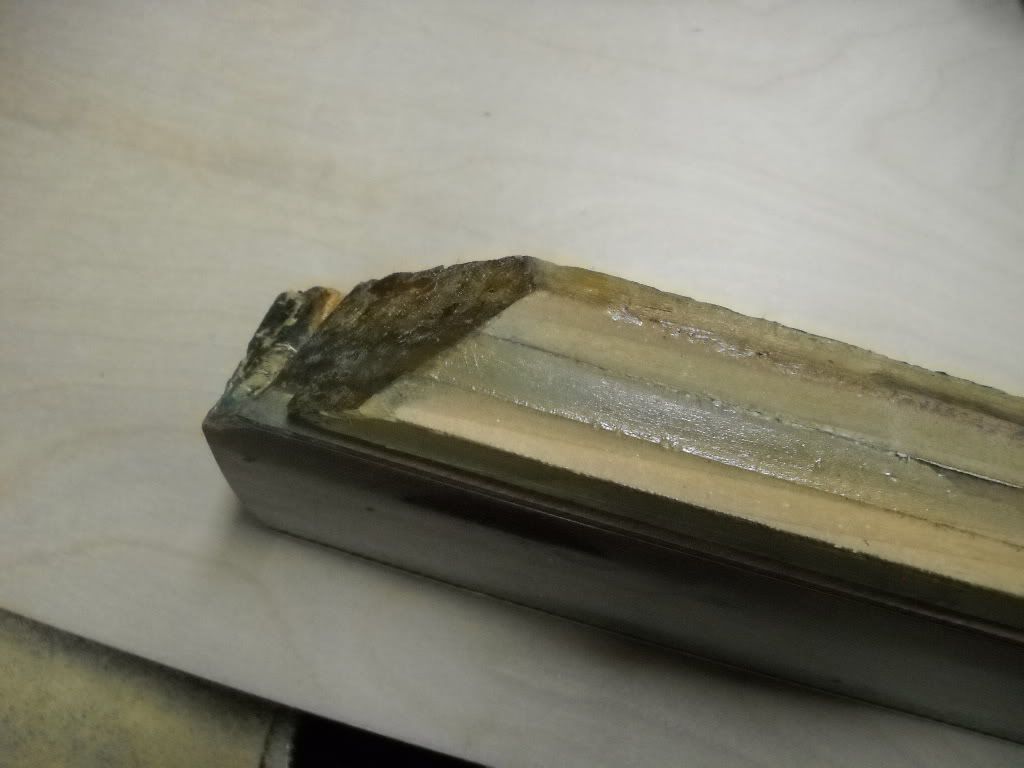
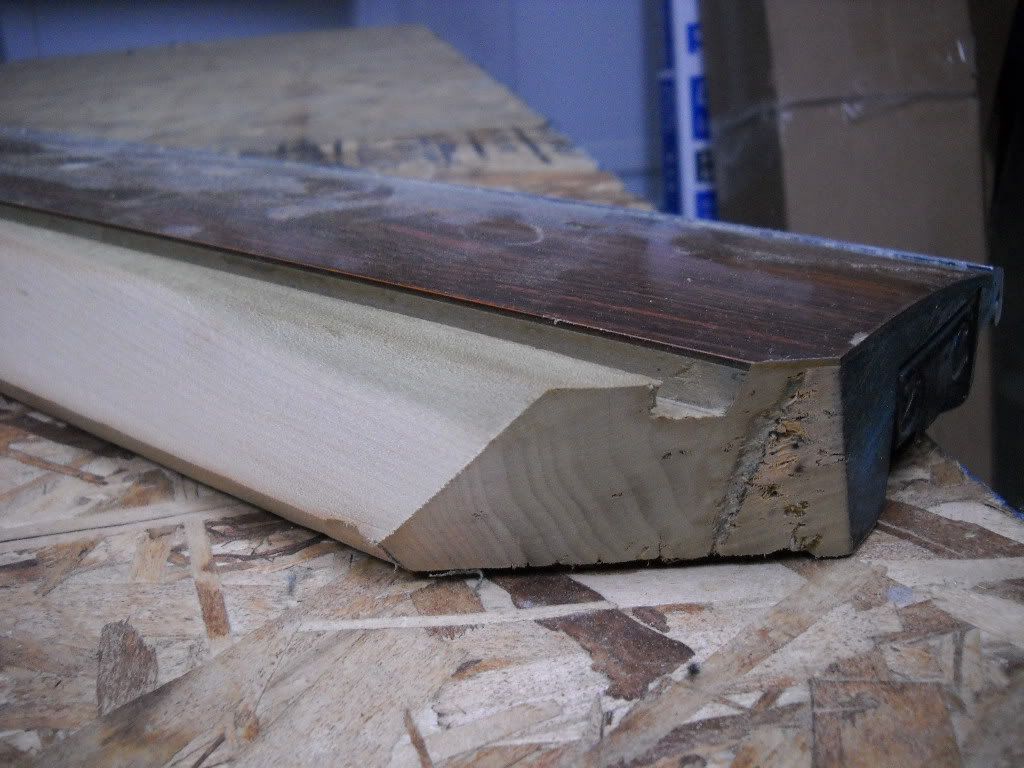
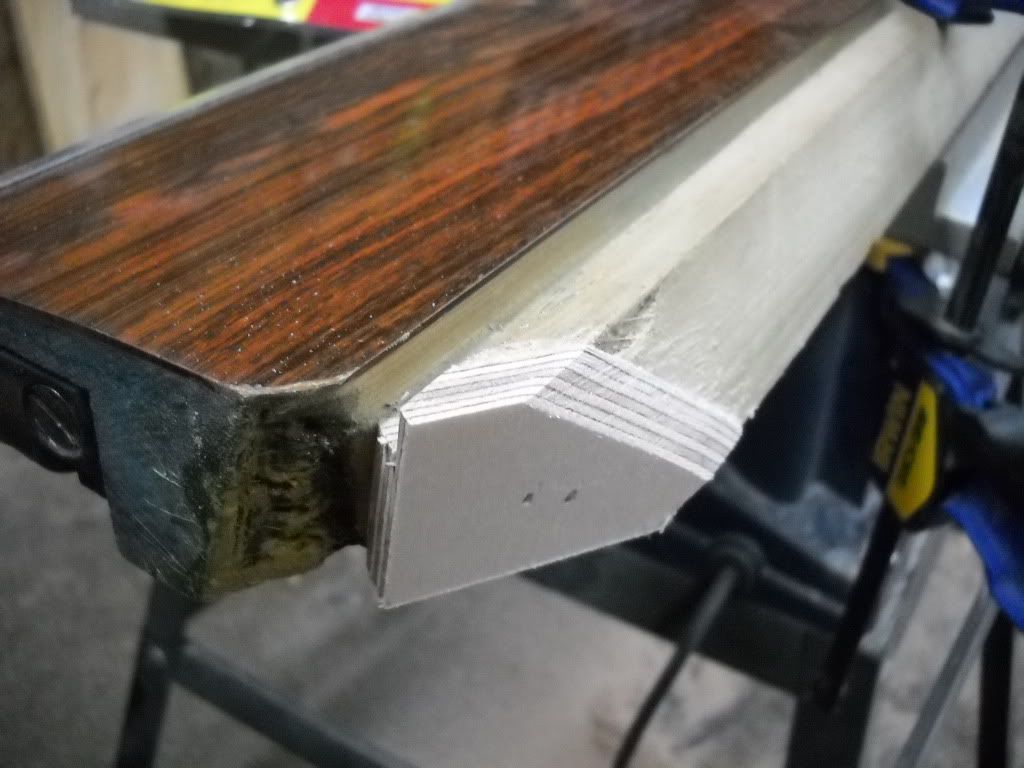
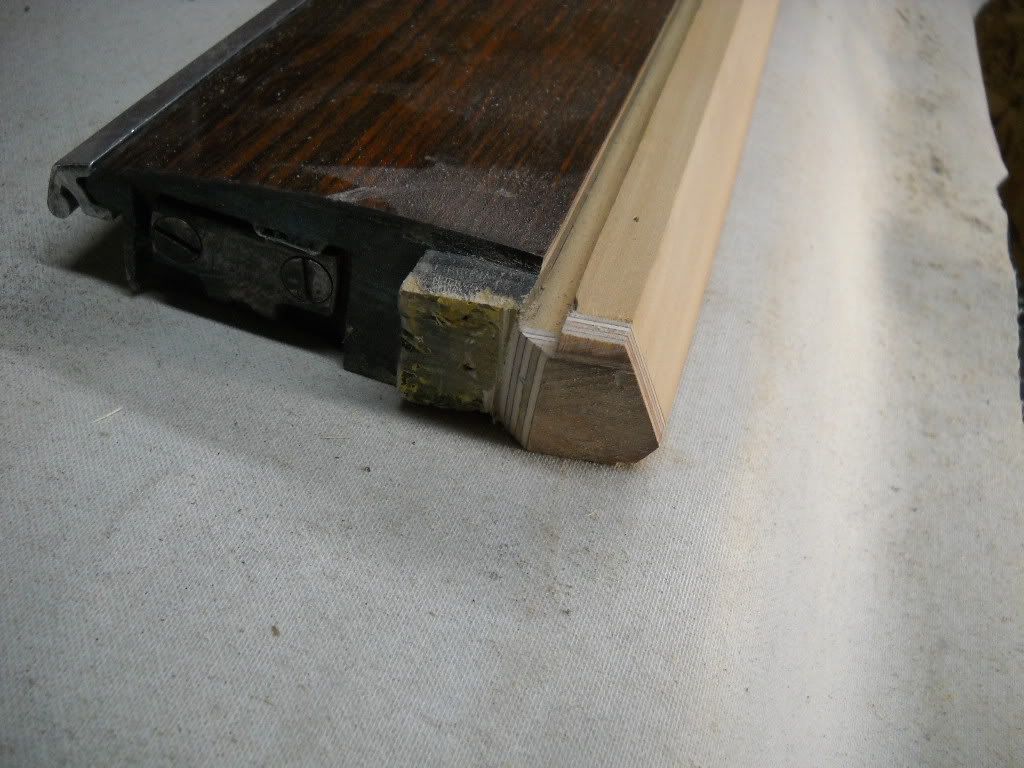
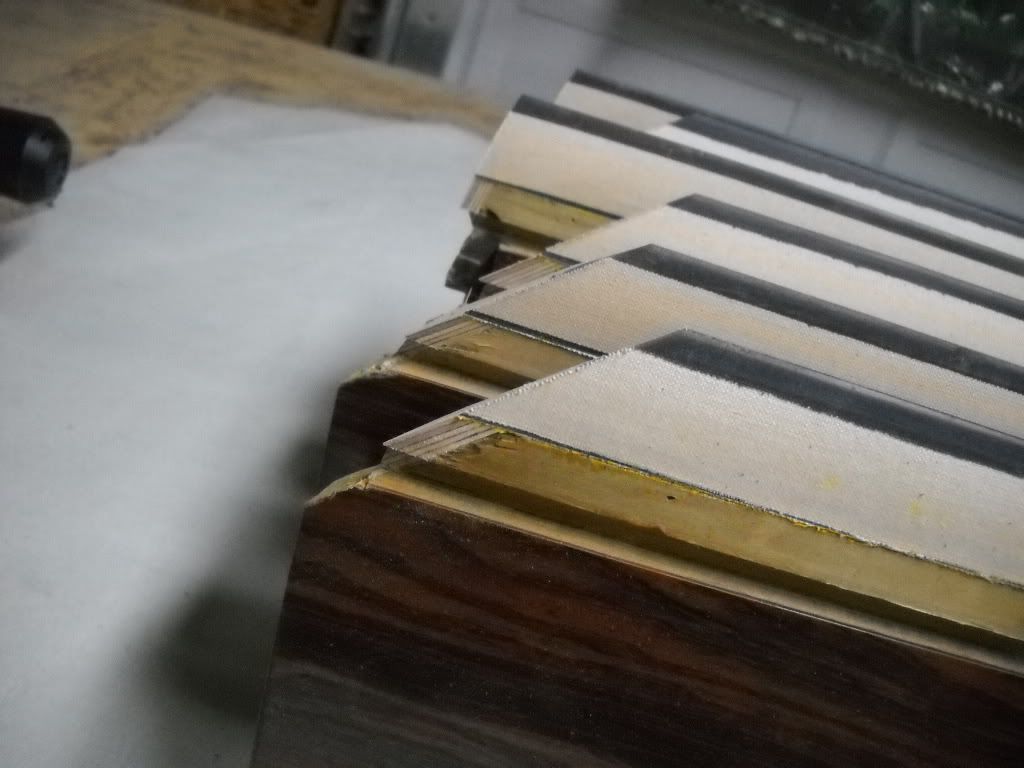
The facings were all stacked to tighten the pockets. Stacking however will make the pockets play dead, and when you trim them like this, the look terrible and will show through the cloth.

2-Before-CornerFacings.jpg


How can you get a clean point on the rail when your facings look like this?

3-Before-Sidefacings.jpg


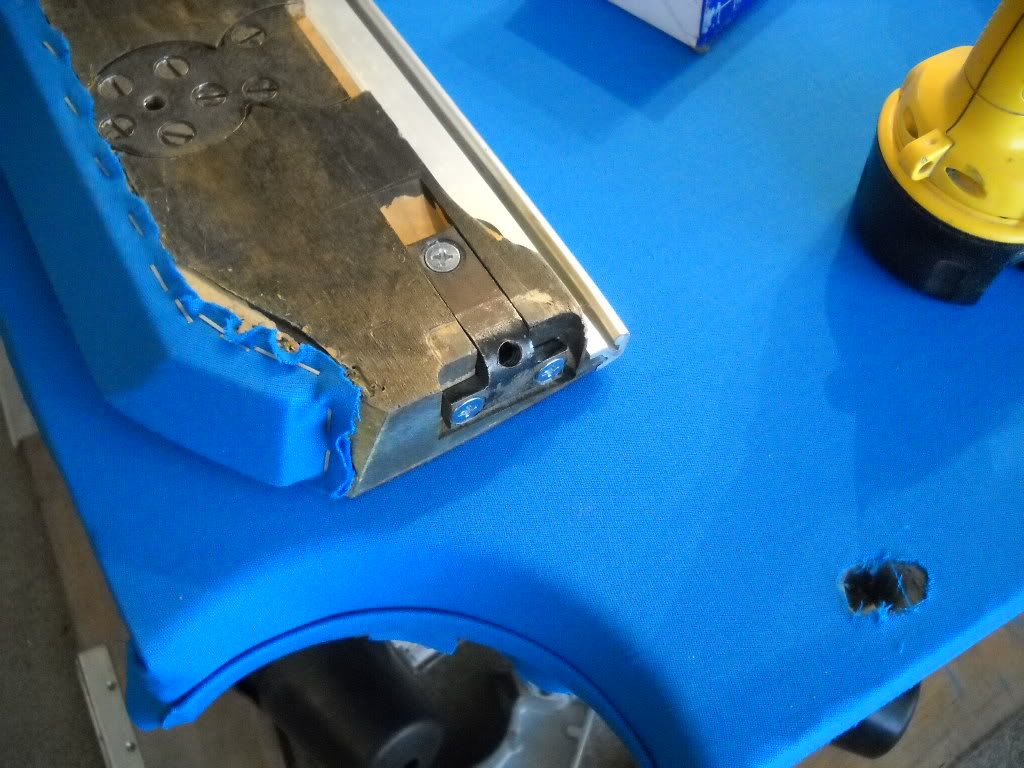
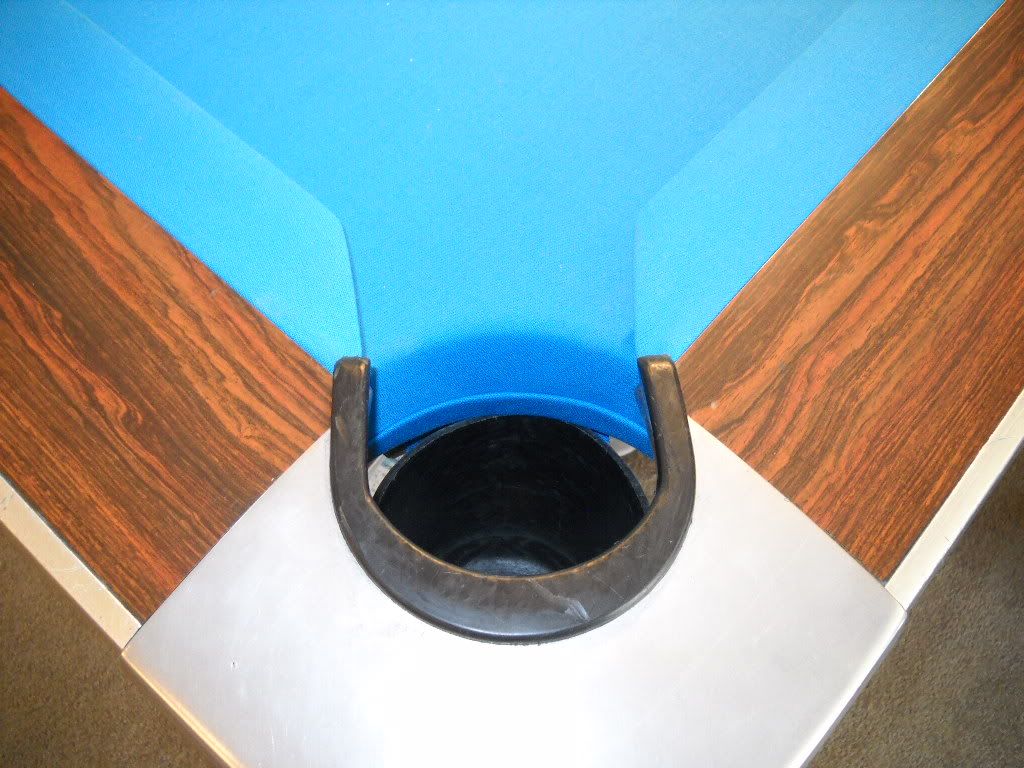
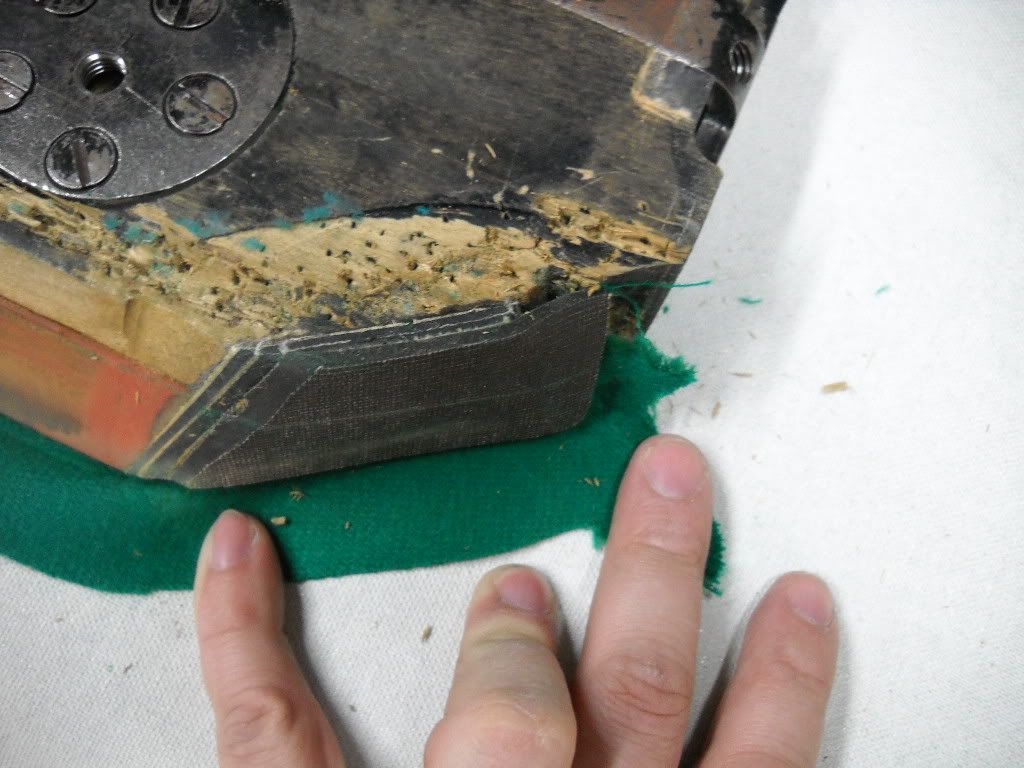
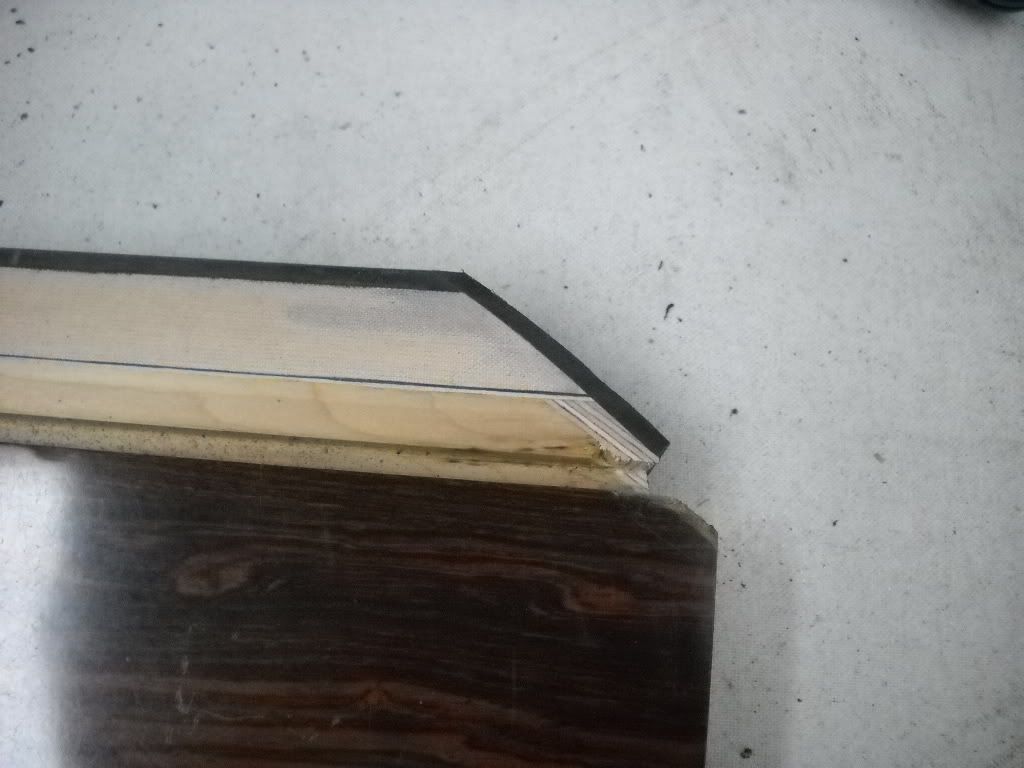
The pocket work on the slate all looked similar to this:

Side-Before.jpg
 

Club Billiards

Absolute Billiard Service
Silver Member
On to the "DURING" pictures:

Here is what the rails looked like with the cloth, facings and rubber stripped down:

5-Barerail-before.jpg


And here is what they look like after we recalibrated the face of the rail, the subrail height, and re-cut all the corners to correct them to consistent angles and allow the rails to accept Diamond Black K-55 profile rubber.

6-Calibratedrail.jpg


We then build subrail extensions to CORRECTLY tighten the pockets without stacking shims:

8-Extensionstrimmed.jpg


9-Trimmedsideextension.jpg


Once the rubber was on, we sanded down the ends to match up flush to the new 141 degree corners and 102 degree sides.

14-Sandedrubber2.jpg


We then used SINGLE 3/16" neoprene facings from Diamond.

20-Sandedfacing2.jpg
 

Club Billiards

Absolute Billiard Service
Silver Member
Once the recalibration and extension work was done, all of the rails were covered in Tournament Blue Simonis 860 HR

21-Finishedheadrail.jpg


22-Railsdone.jpg


Can you tell any difference between the BEFORE and the AFTER? ;)

23-Clothcorners-after.jpg


No more stretch shadows from improperly installed Simonis:

24-Nostretchshadows.jpg


Missing corner brackets and miscellaneous hardware were replaced

25-Newbracket.jpg


Pockets trimmed in neatly with no puckers, air gaps, or exposed slits or staples:

26-Cornerpocketcuffs.jpg


Table now rolls great with no seams in the slate, no roll-offs and no loose parts on the table!

27-Finishedtable.jpg


We got the pockets tightened up to 4-1/2" corners and 5" sides at specs comparable to modern tournament standards.

28-TIGHTCorners.jpg


Another satisfied customer!

Thanks, Tom! When we get a day off, we'll take you up on that dinner!!! ;)
 

realkingcobra

Well-known member
Silver Member
Once the recalibration and extension work was done, all of the rails were covered in Tournament Blue Simonis 860 HR


Can you tell any difference between the BEFORE and the AFTER? ;)


No more stretch shadows from improperly installed Simonis:


Missing corner brackets and miscellaneous hardware were replaced


Pockets trimmed in neatly with no puckers, air gaps, or exposed slits or staples:


Table now rolls great with no seams in the slate, no roll-offs and no loose parts on the table!


We got the pockets tightened up to 4-1/2" corners and 5" sides at specs comparable to modern tournament standards.


Another satisfied customer!

Thanks, Tom! When we get a day off, we'll take you up on that dinner!!! ;)

You're a rising star Josh. It's amazing how much your work has changed since back at the seminar I held in Alsip, IL.;)

Glen
 

ArizonaPete

AzB Silver Member
Silver Member
Thanks for taking the time to post those pics. You did an excellent job on that table. Those pockets look amazing.
 

Fatboy

AzB Silver Member
Silver Member
can i tell the difference? yeah the first one was green, the second one is blue.:grin-square:


nice work,

best
eric
 

RackemBilliards

Player, Room Owner
Silver Member
Great work

Beautiful job. It's nice to see all these old Gold Crowns getting a new life and ending up better than new.
 

Club Billiards

Absolute Billiard Service
Silver Member
Great work Josh! Isn't it fun turning an ugly duckling into a beauty queen? :thumbup:

It's a blast! I honestly get burnt out easily on the routine non-player tables where they just want it slapped together and don't care how it plays. I'm still going to put the same work into getting the table together right, but there are some people that wouldn't know the difference, or care if I did.

I love doing tables like this where you run into challenges and find ways to fix problems, and in the end, the player knows the difference and appreciates it.
 

Club Billiards

Absolute Billiard Service
Silver Member
You're a rising star Josh. It's amazing how much your work has changed since back at the seminar I held in Alsip, IL.;)

Glen

We've learned so much since Alsip, and are still trying to learn more every day. Thanks a TON for everything you've taught us.

Next stop, whole subrail replacements!
 

ISW

Registered
Wow

What great work! This is what I was looking for with my table and ended up getting hack work done. If you are ever in the Nor Cal area for work I need my table redone like this.
 

TheDriz

Registered
NOW The rest of the story!!

I am"The Driz" on AZ forums and also the owner of the Gold Crown. Josh is a good friend and a great mechanic , however , he has a hard time bragging even when he should. Not wanting to bore everyone , but still wanting to tell the rest of the story , here it is. What Josh neglected to include in his description of the job was that the table was missing a "Gold Crown corner cap bracket". Josh made calls to table mechanics in the Dayton,Ohio area, but had no luck finding one. Josh then reached out to the AZ Table Mechanics Forum with a post on 4-4-11. In a post on 4-17-11 John (Scruffy 1 ) from Classic Billiard Service sent us the missing part at what Josh described as a "great price ". A big thanks to Scruffy 1 !! Sorry for getting wordy. As you can see by the pictures , the work by Josh and Don was first class. The extra effort was really what made the whole job extra special .

Oh, by the way , everyone who has seen the table thinks it looks great,until they play on it. Then they all say it plays way better than it looks.

That is my opinion also , but I am obviously more than a little predjudiced !!

Best of luck in Vegas at the VNEA tournament.

Tom Driscoll , cue repairman at Airway Billiards , Dayton ,Ohio
 
Last edited:

Club Billiards

Absolute Billiard Service
Silver Member
I am"The Driz" on AZ forums and also the owner of the Gold Crown. Josh is a good friend and a great mechanic , however , he has a hard time bragging even when he should. Not wanting to bore everyone , but still wanting to tell the rest of the story , here it is. What Josh neglected to include in his description of the job was that the table was missing a "Gold Crown corner cap bracket". Josh made calls to table mechanics in the Dayton,Ohio area, but had no luck finding one. Josh then reached out to the AZ Table Mechanics Forum with a post on 4-4-11. In a post on 4-17-11 John (Scruffy 1 ) from Classic Billiard Service sent us the missing part at what Josh described as a "great price ". A big thanks to Scruffy 1 !! Sorry for getting wordy. As you can see by the pictures , the work by Josh and Don was first class. The extra effort was really what made the whole job extra special .

Oh, by the way , everyone who has seen the table thinks it looks great,until they play on it. Then they all say it plays way better than it looks.

That is my opinion also , but I am obviously more than a little predjudiced !!

Best of luck in Vegas at the VNEA tournament.

Tom Driscoll , cue repairman at Airway Billiards , Dayton ,Ohio

Thanks, Tom. Glad you're enjoying the table! John definitely does deserve credit for being able to hook me up with some hard to find parts!

I'm definitely looking forward to the VNEA in Vegas. I always have a blast out there. We'll meet up with you when I get back.

Thanks, Tom!
 
Top