poolf4natic
Registered
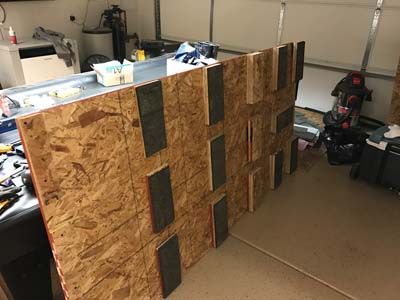
For my first thread, I thought I would share my journey to make a 'field of dreams' pool setup in my garage. It was quite the journey, so bear with me while I try and recapitulate the process.
I will break it down to a few major steps, with some spattering of detail. Feedback welcome!
Step 1 - Convince the wife
This was arguably the hardest part of the process. Started with trying to convince her to let me put a pool table in the living room. We have a 2 year old, so obviously no dice. The great thing about starting off the negotiations at something impossible is that it often slides to somewhere in the middle") Since we live in sunny San Diego, parking the cars outside is an option (unlike in Lewisville, TX where we were living... golf ball sized hail in 70 degree weather = non-starter) and so it was decided that the garage would be available. Literally pulled off the impossible here LOL!
Since we live in sunny San Diego, parking the cars outside is an option (unlike in Lewisville, TX where we were living... golf ball sized hail in 70 degree weather = non-starter) and so it was decided that the garage would be available. Literally pulled off the impossible here LOL!
Step 2 - Convince the current homeowner
Since I wanted to buy the table ahead of time, I had to talk to the brother-in-law (then sister-in-law) and convince them to allow me to have a pool table delivered to their garage. We were in the process of purchasing their home. They were gracious enough to let it happen (I cleaned their garage out completely).
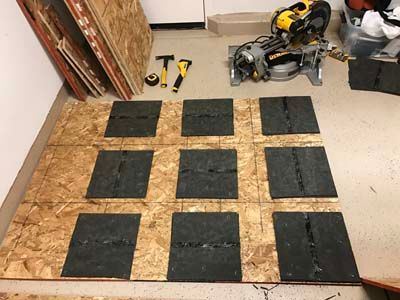
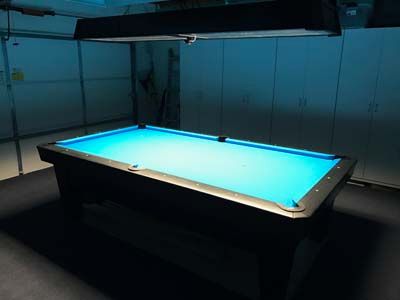
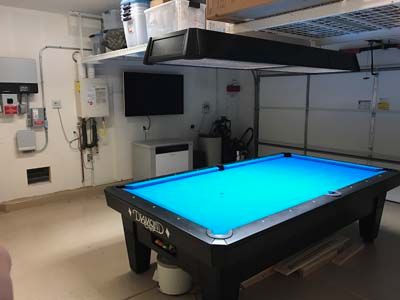
Step 3 - Order the table
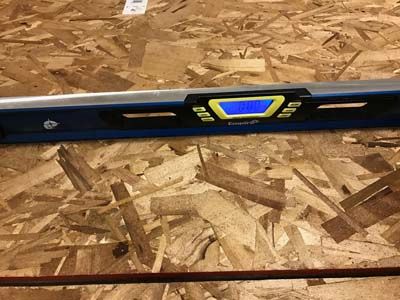
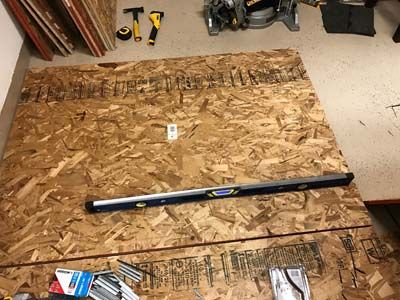
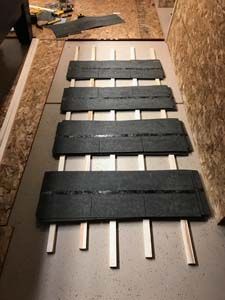
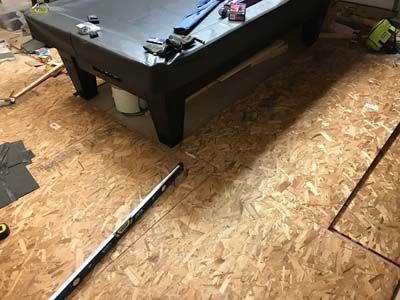
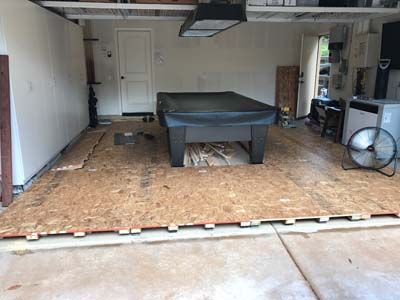
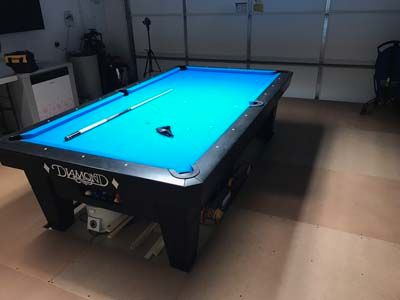
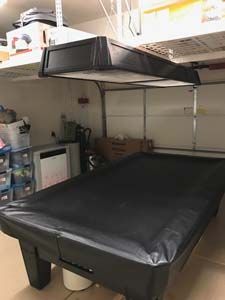
Ordered the table from Donny at West State Billiards. Ordered a 9' diamond pro-am in black with a matching light. Delivery happened pretty smoothly, although I will say they didn't do much in terms of leveling - more on that later.
The table was situated in the garage where I had a full 65" clearance rail to wall all the way around to account for a standard cue of 58" and a 6" stroke. Added 1" just for safety. Length-wise I had no wiggle room at all - it was just enough!

* delivered and installed... that's the light under the table
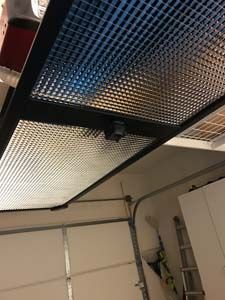
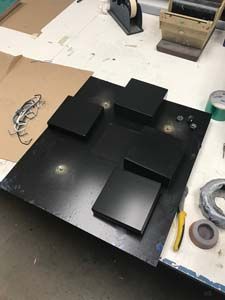
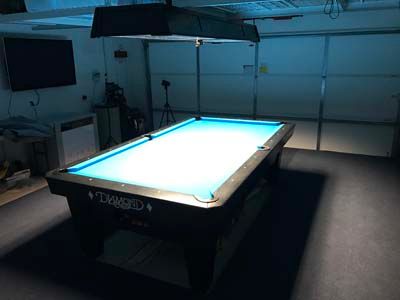
Step 4 - Get the lighting installed
Wired the ballasts and mounted the light. This was interesting, as the idea was to have the light high enough off the table to meet spec. Unfortunately I was a couple inches shy of reaching that goal on this one but I can only work with the space I have.
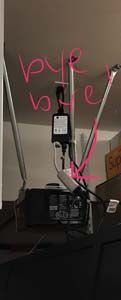
I used wire cabling I bought at Home Depot to make custom length drop cabling and used metal hooks screwed into the ceiling beams. Luckily, the beams were in the perfect spots to have the light right above the table.
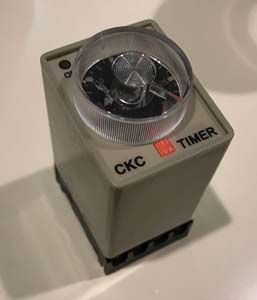
Sadly the whole garage is wired load-side through GFCI's so the fluorescent ballasts that came with the lighting would trip every time I turned on the lights. I had to wire each ballast (there are two of them in this light) separately and turn them on one by one to make sure they didn't trip! I'm assuming its ground leakage from an EM/RFI filter in the ballast that was doing it. At first I had a used an iDevices switch to allow for HomeKit control of the light. "Hey Siri, turn on garage pool table light" would turn on the first set of lights. I had a remote controlled switch after that where the second set of lights were plugged into, which meant I had to turn on the first set, then click on the remote for the second set. What a pain. I soon discovered something called an on-delay relay that I could use to automatically turn one light on after the other after a set delay. This made life much easier. I removed the remote switch and installed the relay and set it so one set would turn on 15 seconds after the other. Score!
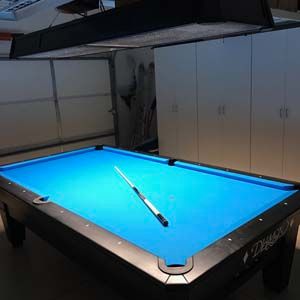
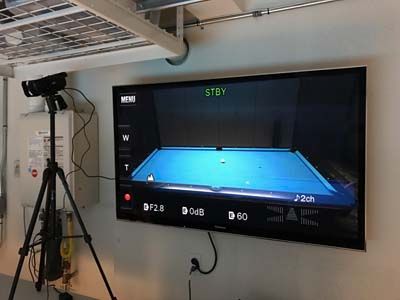
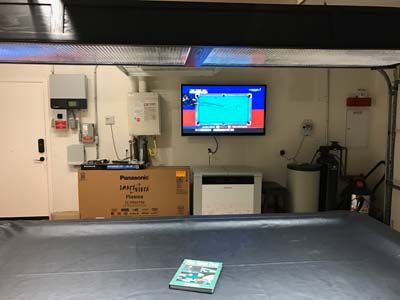
Step 5 - TV
Pretty straightforward. I'll let the pics do the talking.
More coming...
I will break it down to a few major steps, with some spattering of detail. Feedback welcome!
Step 1 - Convince the wife
This was arguably the hardest part of the process. Started with trying to convince her to let me put a pool table in the living room. We have a 2 year old, so obviously no dice. The great thing about starting off the negotiations at something impossible is that it often slides to somewhere in the middle
Since we live in sunny San Diego, parking the cars outside is an option (unlike in Lewisville, TX where we were living... golf ball sized hail in 70 degree weather = non-starter) and so it was decided that the garage would be available. Literally pulled off the impossible here LOL!Step 2 - Convince the current homeowner
Since I wanted to buy the table ahead of time, I had to talk to the brother-in-law (then sister-in-law) and convince them to allow me to have a pool table delivered to their garage. We were in the process of purchasing their home. They were gracious enough to let it happen (I cleaned their garage out completely).
Step 3 - Order the table
Ordered the table from Donny at West State Billiards. Ordered a 9' diamond pro-am in black with a matching light. Delivery happened pretty smoothly, although I will say they didn't do much in terms of leveling - more on that later.
The table was situated in the garage where I had a full 65" clearance rail to wall all the way around to account for a standard cue of 58" and a 6" stroke. Added 1" just for safety. Length-wise I had no wiggle room at all - it was just enough!
* delivered and installed... that's the light under the table
Step 4 - Get the lighting installed
Wired the ballasts and mounted the light. This was interesting, as the idea was to have the light high enough off the table to meet spec. Unfortunately I was a couple inches shy of reaching that goal on this one but I can only work with the space I have.
I used wire cabling I bought at Home Depot to make custom length drop cabling and used metal hooks screwed into the ceiling beams. Luckily, the beams were in the perfect spots to have the light right above the table.
Sadly the whole garage is wired load-side through GFCI's so the fluorescent ballasts that came with the lighting would trip every time I turned on the lights. I had to wire each ballast (there are two of them in this light) separately and turn them on one by one to make sure they didn't trip! I'm assuming its ground leakage from an EM/RFI filter in the ballast that was doing it. At first I had a used an iDevices switch to allow for HomeKit control of the light. "Hey Siri, turn on garage pool table light" would turn on the first set of lights. I had a remote controlled switch after that where the second set of lights were plugged into, which meant I had to turn on the first set, then click on the remote for the second set. What a pain. I soon discovered something called an on-delay relay that I could use to automatically turn one light on after the other after a set delay. This made life much easier. I removed the remote switch and installed the relay and set it so one set would turn on 15 seconds after the other. Score!
Step 5 - TV
Pretty straightforward. I'll let the pics do the talking.
More coming...