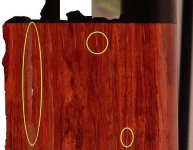
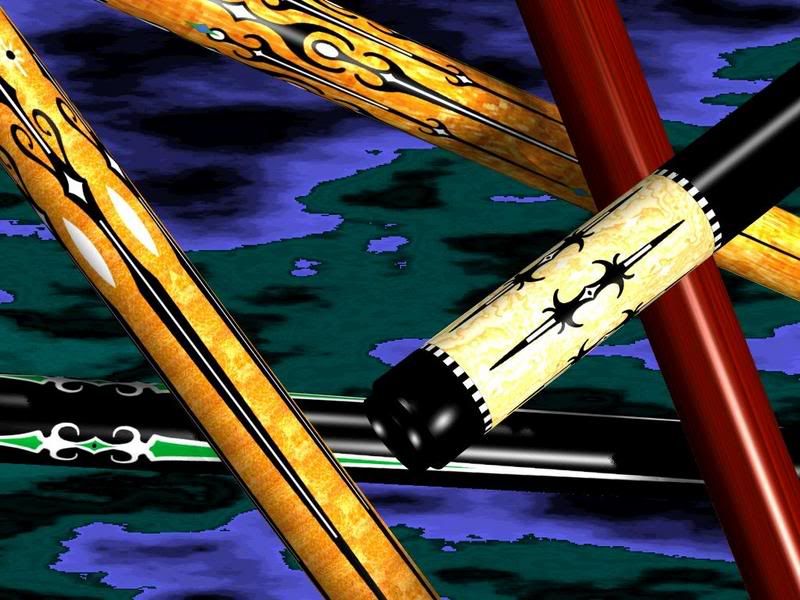
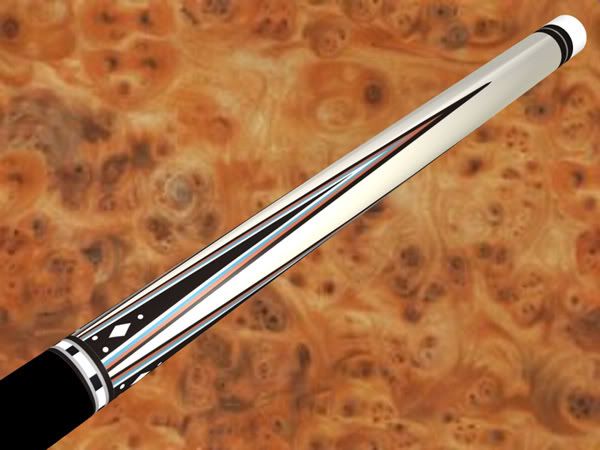
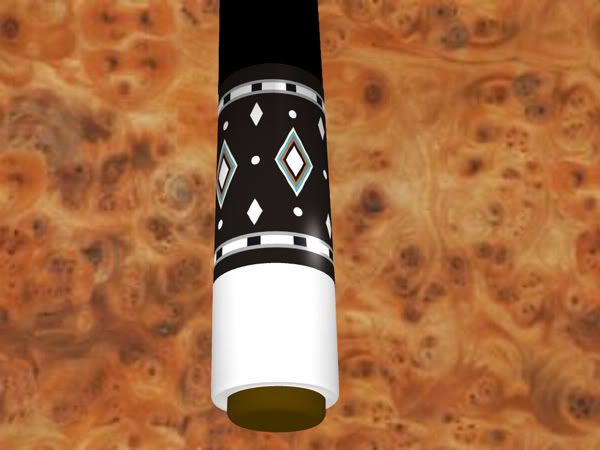
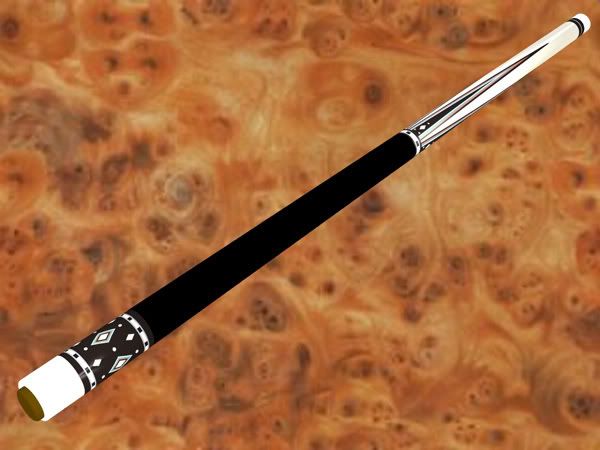
I have the opportunity to play with some cool cad and I thought I would put up a few pics.
http://img.photobucket.com/albums/v645/gromatic/cad pics/simplecueburl.jpg
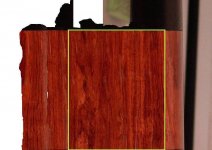
http://img.photobucket.com/albums/v645/gromatic/cad pics/simplecueburlbuttcollar.jpg
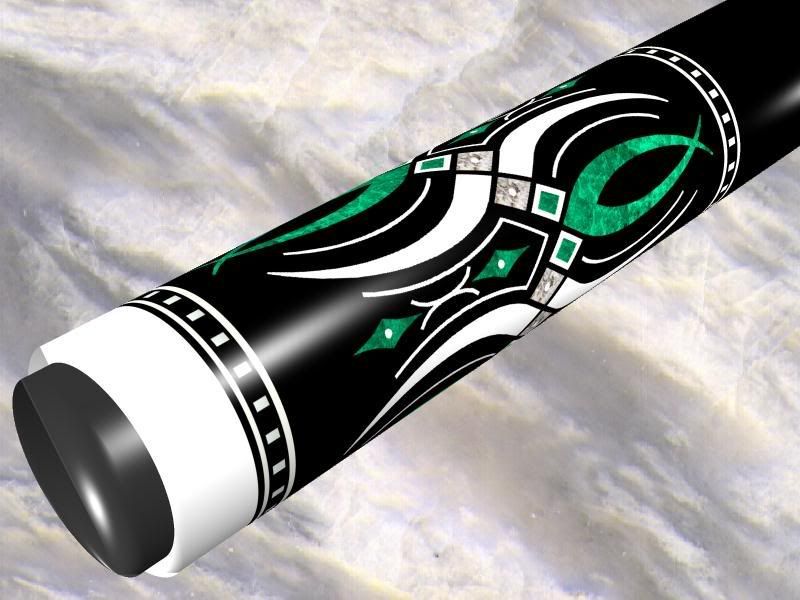
http://img.photobucket.com/albums/v645/gromatic/cad pics/simplecueburlforearm.jpg
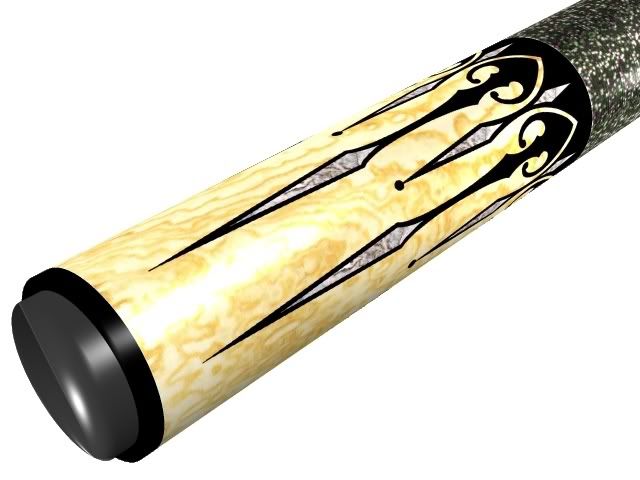
http://img.photobucket.com/albums/v645/gromatic/cad pics/simplecueburlfull.jpg
http://img.photobucket.com/albums/v645/gromatic/cad pics/buttcollar.jpg
http://img.photobucket.com/albums/v645/gromatic/cad pics/simplecueburl.jpg
http://img.photobucket.com/albums/v645/gromatic/cad pics/simplecueburlbuttcollar.jpg
http://img.photobucket.com/albums/v645/gromatic/cad pics/simplecueburlforearm.jpg
http://img.photobucket.com/albums/v645/gromatic/cad pics/simplecueburlfull.jpg
http://img.photobucket.com/albums/v645/gromatic/cad pics/buttcollar.jpg
Last edited:
")
 Now if I could only build one as good as the software does.