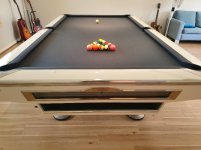
This GC originally came out of a pool hall which I removed and installed for a client.
I ended up purchasing the table as he was unable to sell it and he was about to move house.
It was is quite good condition over all.

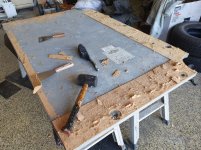
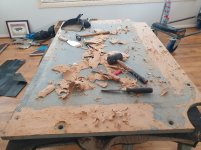
So I started heating up the timber stain with a heat gun and scraping the stain off when this happened.
A chunk of so called timber just came off.
I've never had this happen before stripping off the stain so I gave up on that and just sanded off the stain.

Over all it was in good nick. Just needed some minor repairs throughout


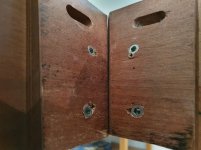
So the first part of painting I do the underside of the leg supports.
In the past I've left these unpainted as you really don't see it anyway however, they look so much better painted and finished off rather then just leaving them in raw timber

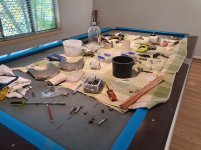
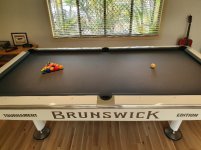
This is in my living room as there's no room in the garage.
I've elevated everything and used some old GC feet to elevate the supports.

This is the first panel of the primer coats

Always use premium primers that way you won't have too many problems

I ended up purchasing the table as he was unable to sell it and he was about to move house.
It was is quite good condition over all.
So I started heating up the timber stain with a heat gun and scraping the stain off when this happened.
A chunk of so called timber just came off.
I've never had this happen before stripping off the stain so I gave up on that and just sanded off the stain.
Over all it was in good nick. Just needed some minor repairs throughout
So the first part of painting I do the underside of the leg supports.
In the past I've left these unpainted as you really don't see it anyway however, they look so much better painted and finished off rather then just leaving them in raw timber
This is in my living room as there's no room in the garage.
I've elevated everything and used some old GC feet to elevate the supports.
This is the first panel of the primer coats
Always use premium primers that way you won't have too many problems
Last edited: