Ricky,
Here's what I learned with Jeff and Bruin's help and a couple of months of messing around. I am a novice but this is what works for me.
1. I prefer flourescent lights with a fabric diffuser. My lights each have 4 bulbs and they're individually contolled. Jeff clued me in to use the soft bulb, not daylight. Here's the light stand I like the most:
http://www.sell-it-on-the-net.com/online_store/selection_continuous_cool_alzo600.htm
The tents suck - you don't need them.
2. Get some good background material. I like this stuff at JoAnns called "moleskin". Each two yard piece is roughly $10. It is a fine suede like fabric - I have a number of colors, but the basic colors you need are black and gray. Shoot light colored cues against the dark background, and dark against the light. Felt works too.
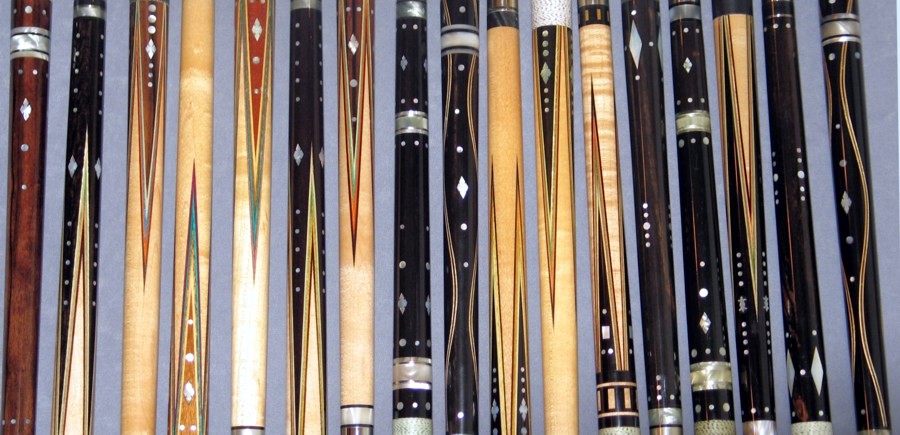
The reason why I like this fabric is because it is the least reflective fabric I would find, plus it can be folded and stored without wrinking. Background reflections ruin your shots. I shot photo #1 shown with cues just layed flat on the fabric. Normally to get a pic to look like that you would have to suspend a cue in the air over the fabric, but this stuff is amazing.
The photo #1 below is exactly the way it came from the camera - no touch up. . I laid the fabric flat, laid the cues down, set the light stand high and behind me pointing down, used a tripod with an arm and set the camera to 2 sec delay, just shot it on "auto". When the conditions are right, I found it's hard to beat "auto'. When there are problems with lighting then you have to go into the manual settings.
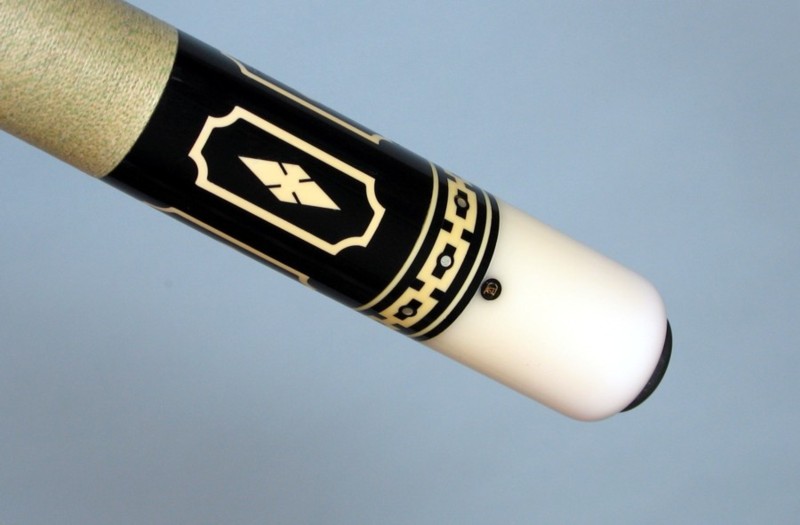
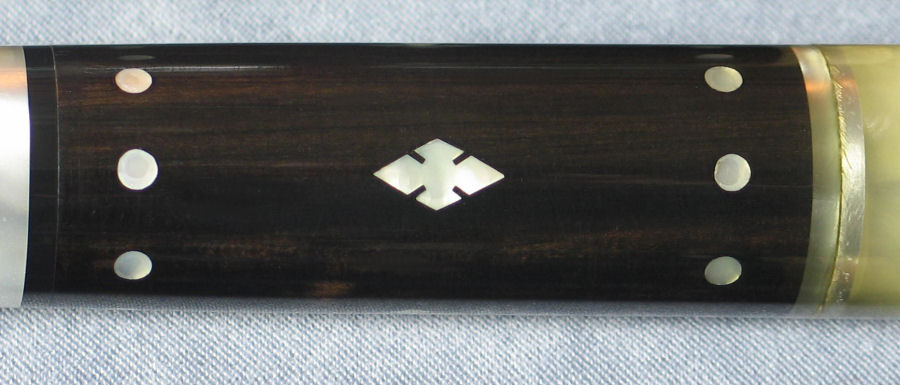
3. On macro, shoot straight at the object. When you shoot at an angle on macro, because of the small depth of field much of the pic will be out of focus, so you want all of the object to be the same distance from the lens if possible (see #2 and #3below - again, no touch up, just the way it came off the camera (manual settings).
4. Suspend the cue for close up detail. I like having the cue a foot or two above a background to get rid of background reflections off the edges. Also see #2 below - it's suspended in the air over a photo paper background.
5. Get a $20 card reader and save yourself hours. It's just a little device that plug into the USB port. You put the camera's memory card into it, and it downloads the large megapixel pics twice as fast as your camera can.
6. On macro shots, use telephoto too. I set the camera on a tiny tripod they sell that has telescoping arms like an antenna, and use the telephoto too. I set the camera back about 1 foot further than you would without telephoto and zoom in. This way you keep your own reflection out of it and don't block your light sources. The mechanical telephoto doesn't hurt the quality of the pic. See pic #3 - I zoomed on that one.
7. Set your lights behind you, above you, and to the side of you, and experiment. Cross them over and find a spot with your head that the reflection and glare is the least. Kill other light sources that are above and in front of you.
8. Get a great photo program and suffer through the learning curve.
9. Learn how to use your camera's settings to adapt to the conditions. I use the AV mode a lot. From there you can control the exposure, the white balance, the f stop, the amount of flash (if you need flash) and the light settings (flourescent, tungsten, daylight, etc).
Good luck! I use a G6 too - love it.


")


 instead of the self timer.