FYI, I just posted a new video that discusses and demonstrates various visualization techniques that can help you improve your aiming skills in pool, allowing you to pocket balls more effectively and more consistently. Check it out:
Contents:
0:00 - Intro
1:06 - Contact Point
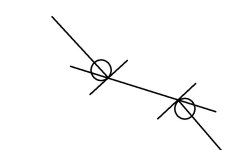
2:22 - Ghost Ball
3:58 - Parallel Lines
5:44 - Cue Visualization
7:38 - Double Distance
8:48 - Ball Overlap
11:28 - Ball-Hit Fraction
14:20 - More Info
Supporting Resources:
Enjoy!
Contents:
0:00 - Intro
1:06 - Contact Point
2:22 - Ghost Ball
3:58 - Parallel Lines
5:44 - Cue Visualization
7:38 - Double Distance
8:48 - Ball Overlap
11:28 - Ball-Hit Fraction
14:20 - More Info
Supporting Resources:
- aiming resource page: https://drdavepoolinfo.com/faq/aiming/
- aiming tutorial: https://drdavepoolinfo.com/tutorial/how-to-aim/
- DAM resource page: https://drdavepoolinfo.com/faq/aiming/dam/
- template for practicing “ball overlap” aiming: https://drdavepoolinfo.com/resource_files/oldschool_cut-angle_template.pdf
- 30° rule peace sign: https://drdavepoolinfo.com/faq/30-90-rules/peace-sign/
- ball-hit fraction resource page: https://drdavepoolinfo.com/faq/aiming/fractional/
- how to estimate a cut angle: https://drdavepoolinfo.com/faq/cut/estimating-angle/
- throw tutorial: https://drdavepoolinfo.com/tutorial/throw/
- How to Aim Pool Shots (HAPS) instructional video series: https://drdavebilliards.com/videos/aiming/
- practice advice: https://drdavepoolinfo.com/faq/practice/advice/
Enjoy!
 ROFLMAO
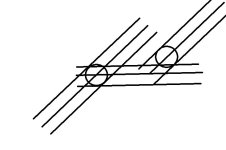

")

