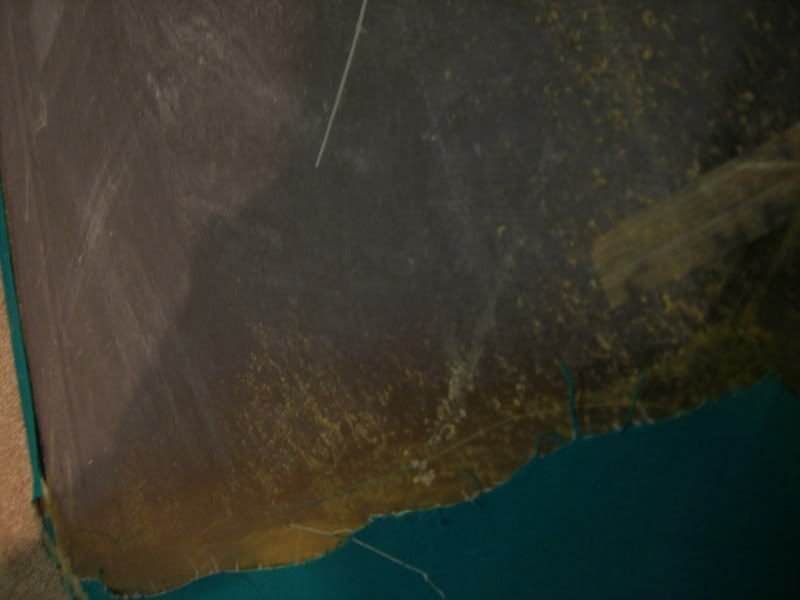
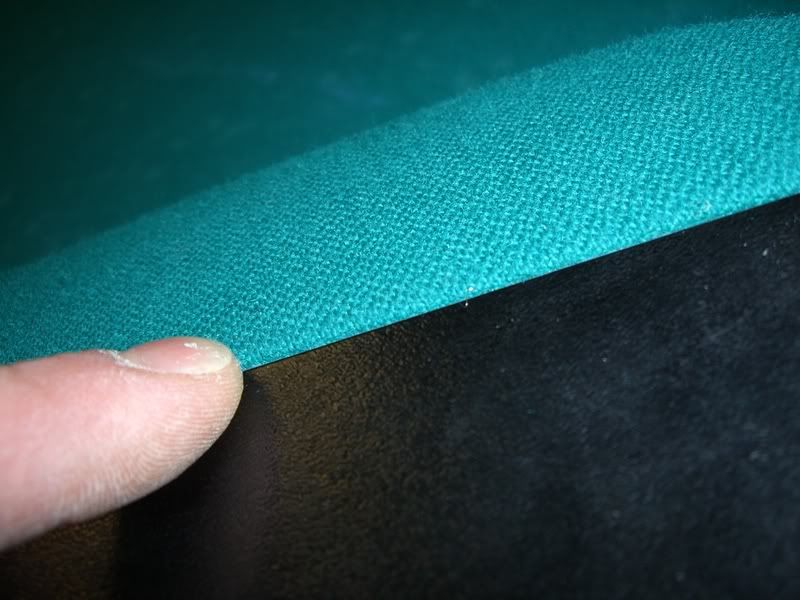
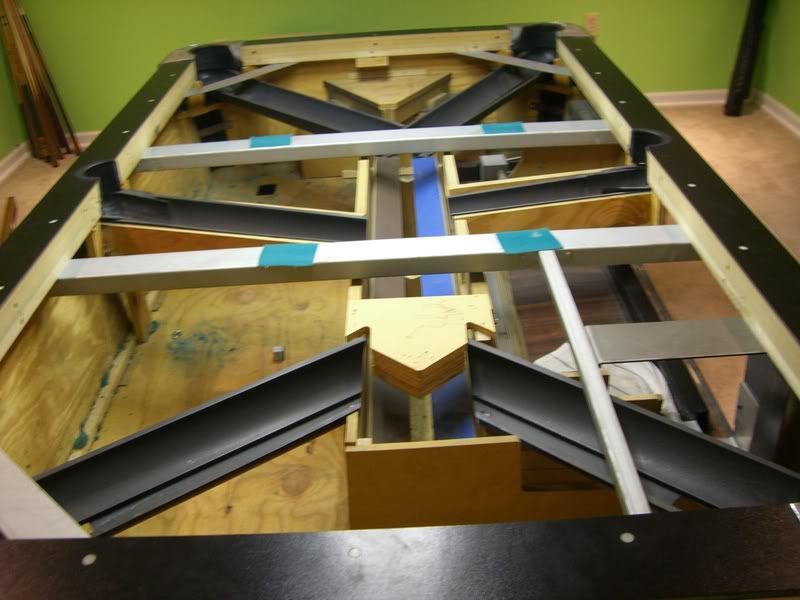
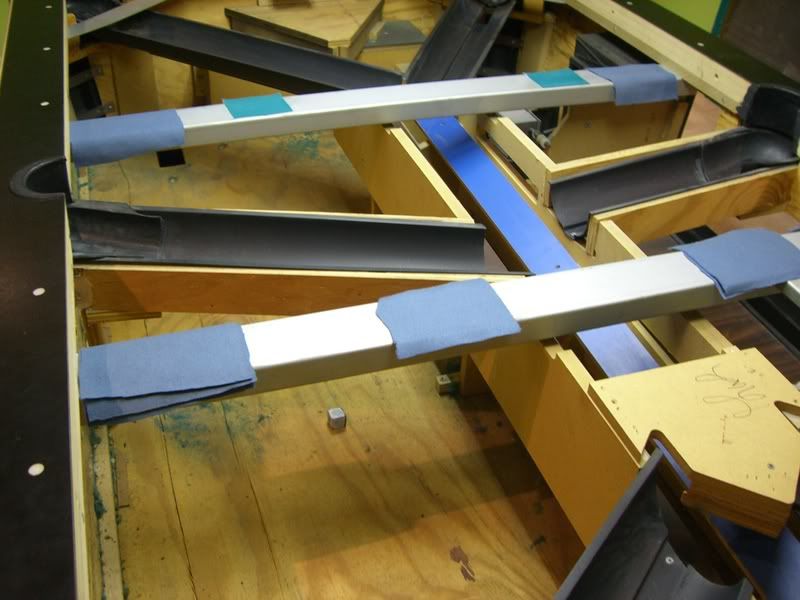
I'm hoping to get some help with a leveling problem with my table. It seems to roll great from the head rail to the side pockets, but the balls want to roll on the other side of the table. The balls roll from the foot rail to the side pokets and it tends to throw all slow rollers! I have taken pictures of a level on the table to help people who want to give advise. I can't figue out how to shim due to the way it sits in the table...any advise would be great! For the record when I moved it there was a few playing cards on some of the support rails that hold the slate, just need to find out where to place them to level her out!
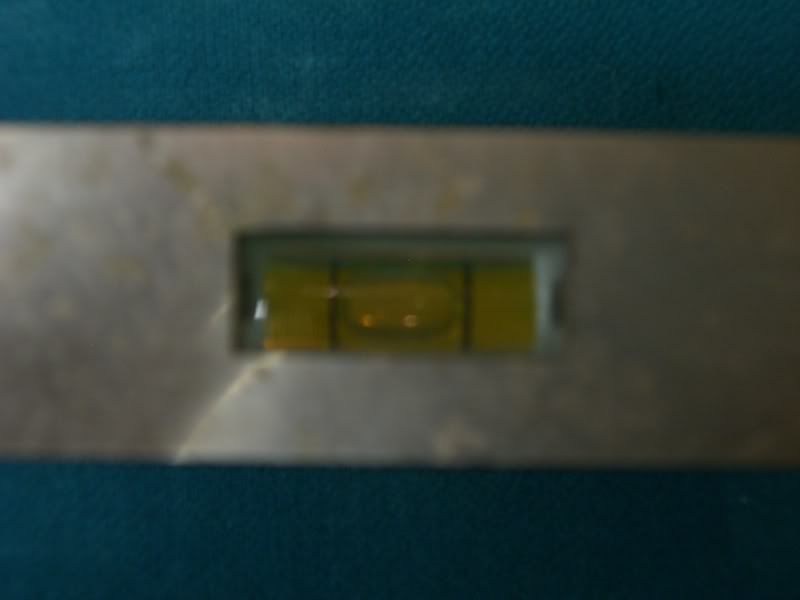
Foot rail:

Middle of table:
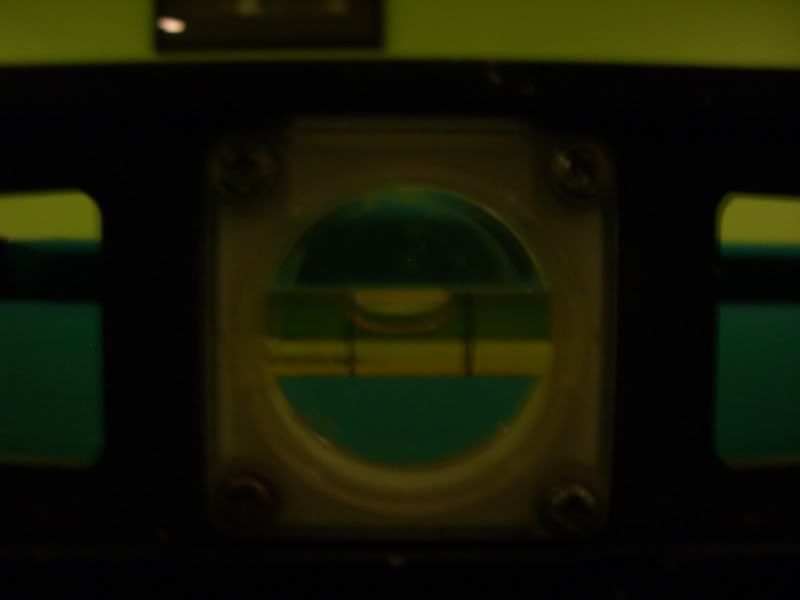
head rail:
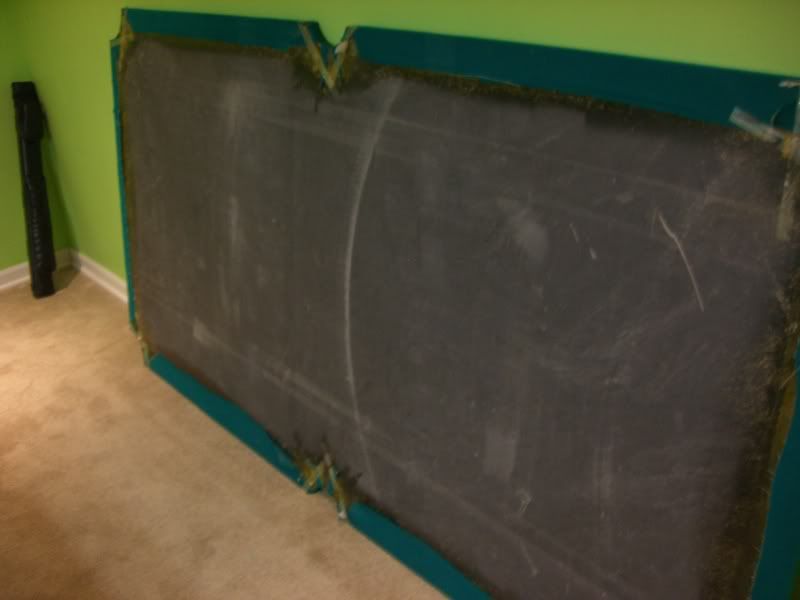
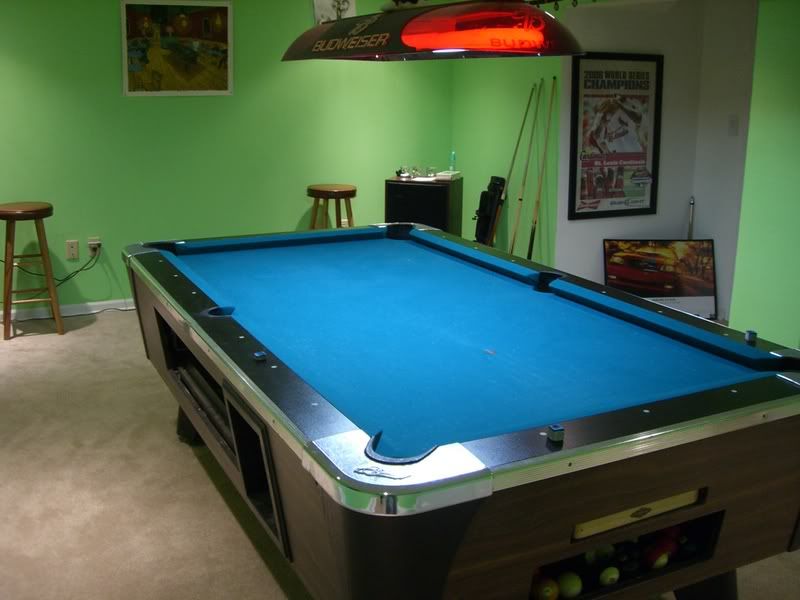
The pool room:
I have taken pictures of a level on the table to help people who want to give advise. I can't figue out how to shim due to the way it sits in the table...any advise would be great! For the record when I moved it there was a few playing cards on some of the support rails that hold the slate, just need to find out where to place them to level her out!Foot rail:
Middle of table:
head rail:
The pool room:
Last edited:

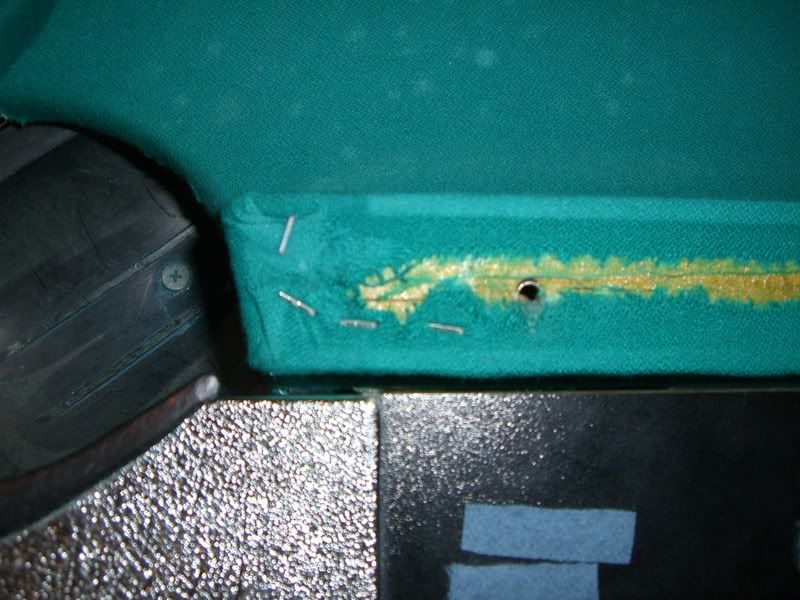
 . I'm afraid if I re-cloth I will have to ban jumping at the house
  .
. ")
 :
: