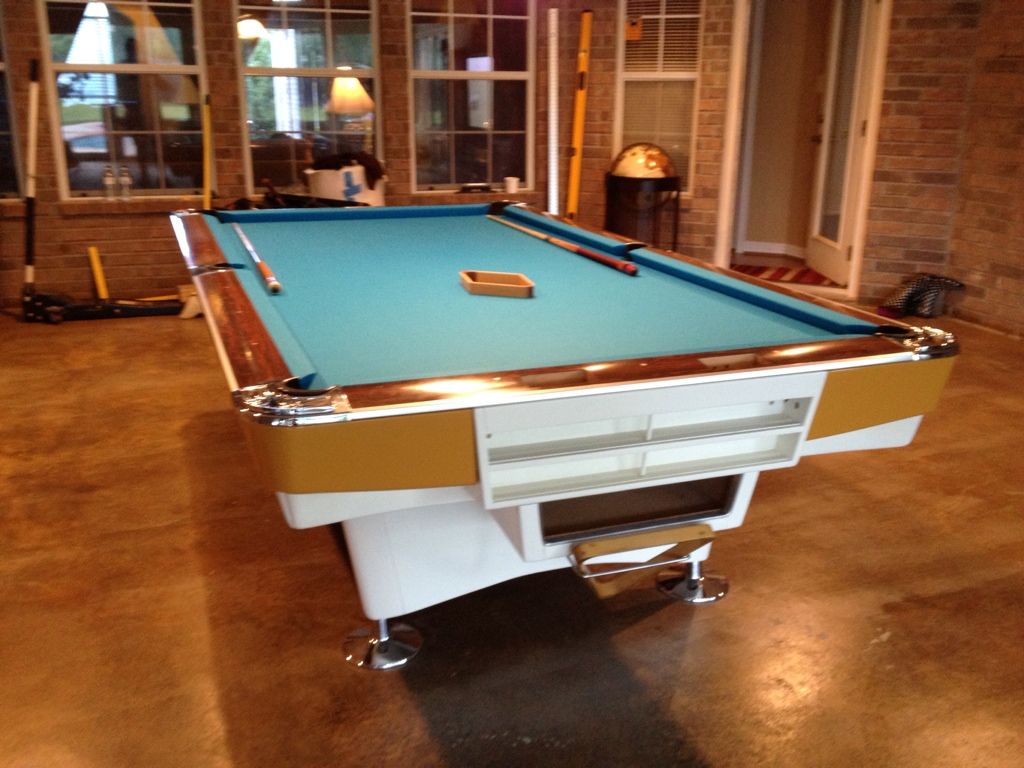
Over the summer, I picked up a GCIII that was in overall nice shape but the aprons were dirty, a bit beat up, and had been re-finished (poorly) at some point. That pic of your half sanded apron brings back memories. After an hour with 80 grit and a palm sander, I looked at the area I had just finished getting to bare wood and was proud of myself until I realized that was only about 1/4 of that apron.
Probably ended up with 25-30 hours in the aprons/ball box. Took the wood to 180 grit, 1 coat of red mahogony, a pass with 0000 steel wool, 2nd coat of red mahogony, 0000 steel woold, coat of poly, 0000 steel wool, 2nd coat of poly, and another pass with 0000 steel wool.
This was my first wood re-finishing project, if your table isn't your first re-finish, you might already know, but those tingling arms (from running the palm sander for so long), the sore back, sore knees, sore feet, and the massive headaches were all worth it when I finally got the last piece done and got to admire them all shined up
")


")


