Hi All,
Some time ago I purchased a $100 Gold Crown 3
To view more images of the table in the original condition please go to the following link

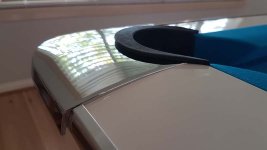
The base was weathered quite badly


Repairing the damage was not an option so I removed the side panel.
I always wondered what was inside these leg supports.

With the end sections I inserted some huge long timber screws at either end.
This will never separate again.

At either end the floating nut was rattling around inside, so I created a access hole and fished it out and then reinstalled it.
I had to do this at either end


Some time ago I purchased a $100 Gold Crown 3
To view more images of the table in the original condition please go to the following link
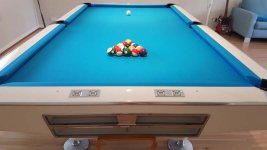
My latest purchase GC 3
Yesterday I went to a house which was being renovated to look at a GC3 which was being advertised with no photo's. What a piece of crap. Possibly the worst pool table condition I've ever seen. I was being generous and paid $100 for it. There was 1 saving grace. In fact there were 2 saving...
forums.azbilliards.com
The base was weathered quite badly
Repairing the damage was not an option so I removed the side panel.
I always wondered what was inside these leg supports.
With the end sections I inserted some huge long timber screws at either end.
This will never separate again.
At either end the floating nut was rattling around inside, so I created a access hole and fished it out and then reinstalled it.
I had to do this at either end
Last edited: