Maybe I took my pool ball washer TOO far!!

"Q" Protectors

AzB Silver Member
Silver Member
I was inspired to add this from Dsoriano's "Custom Pool Room" thread. Which, by the way is...to date...the COOLEST! pool room ever.http://forums.azbilliards.com/showthread.php?t=237445&highlight=custom+room
Check it out if you've stumbled across this....Well worth it!

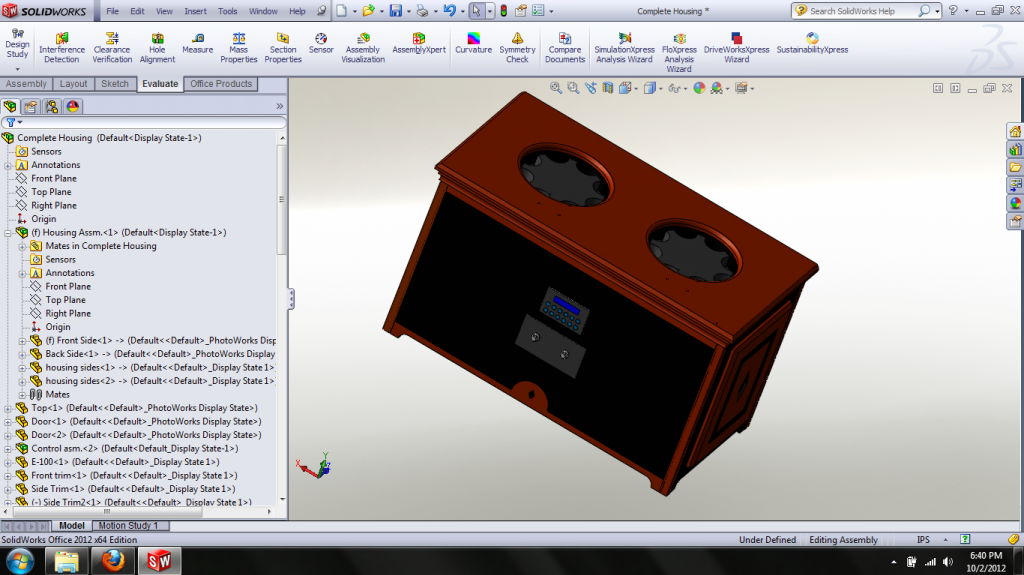
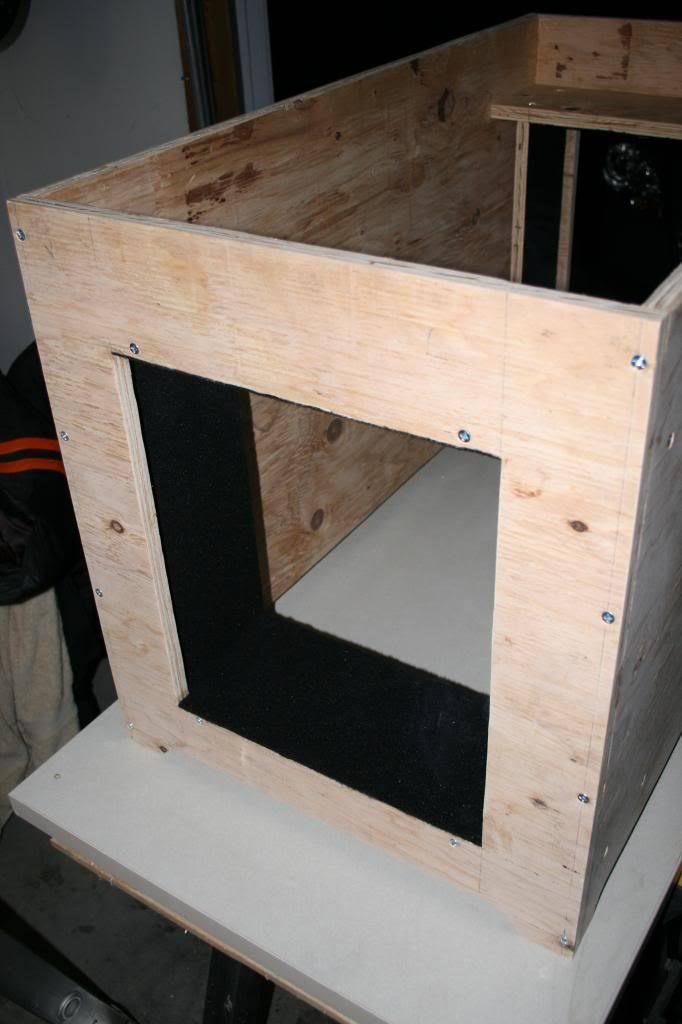
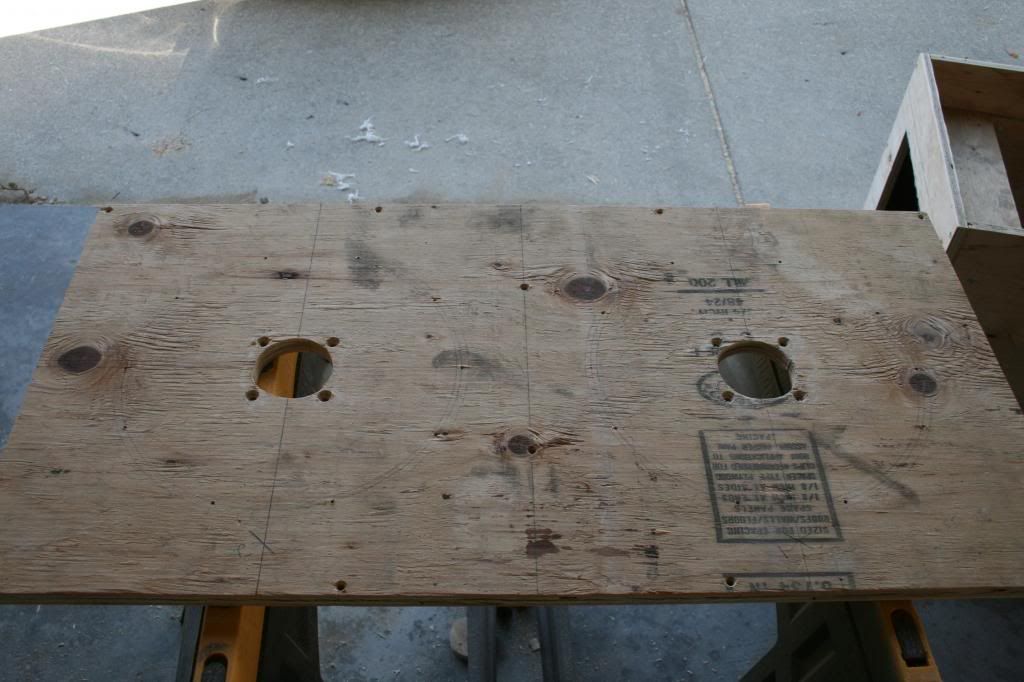
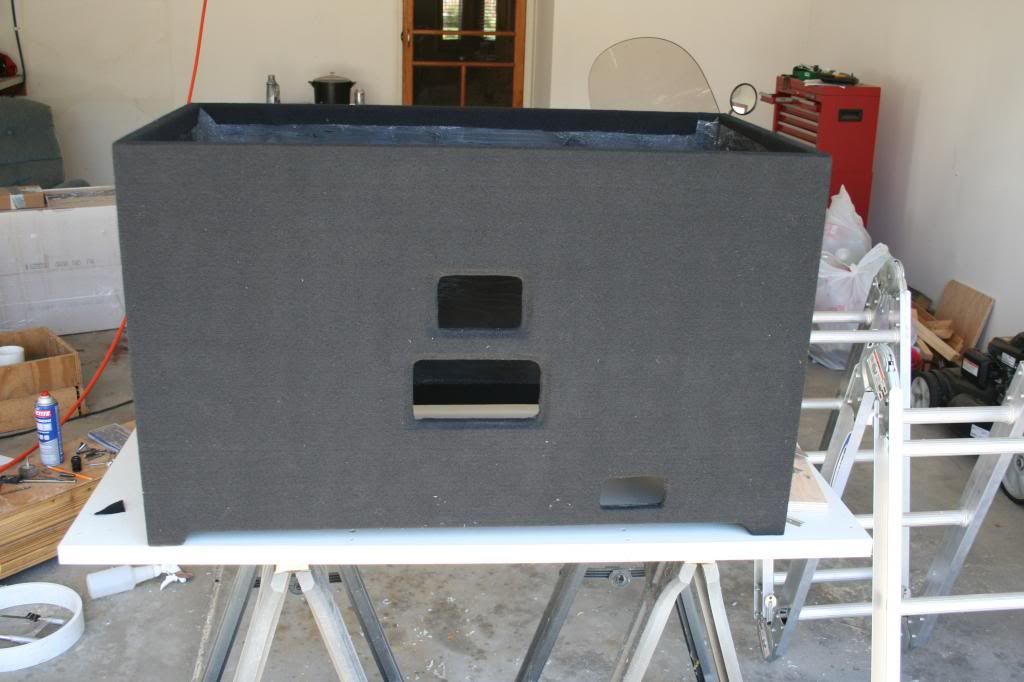
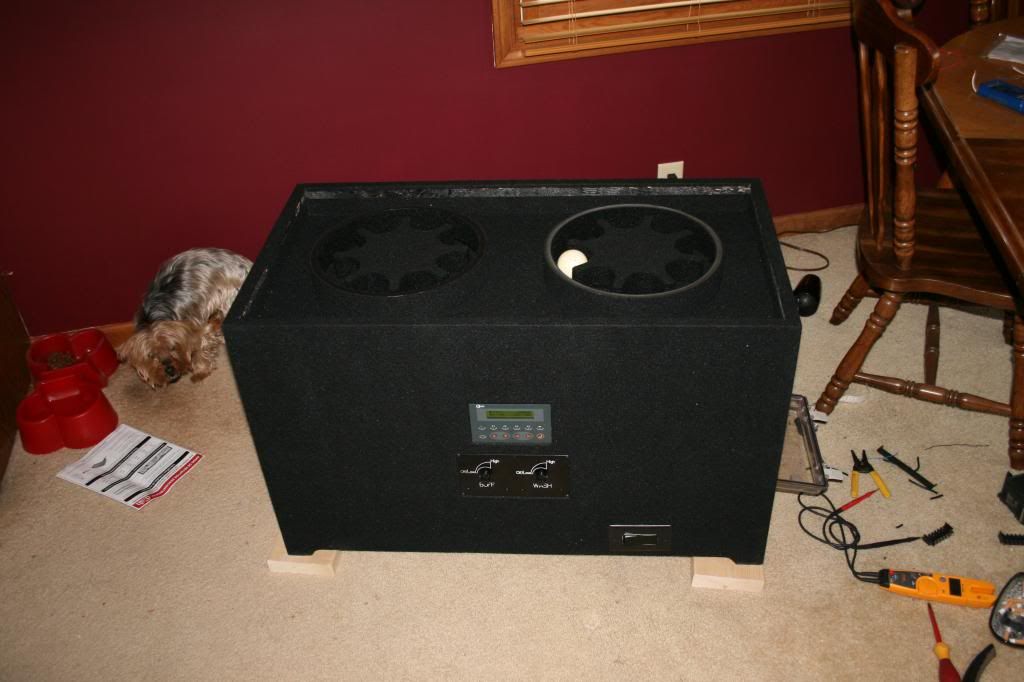
So anyway I started a project a few months ago while attempting to learn a 3D software called "Solid Works". I HATE cleaning my balls!:grin: So I decided to design and build a ball washer for myself in the process of learning this software. I apologize about not getting earlier pics of raw wood before cut but......Whatever!

So we'll cut to the good stuff!! PICS!

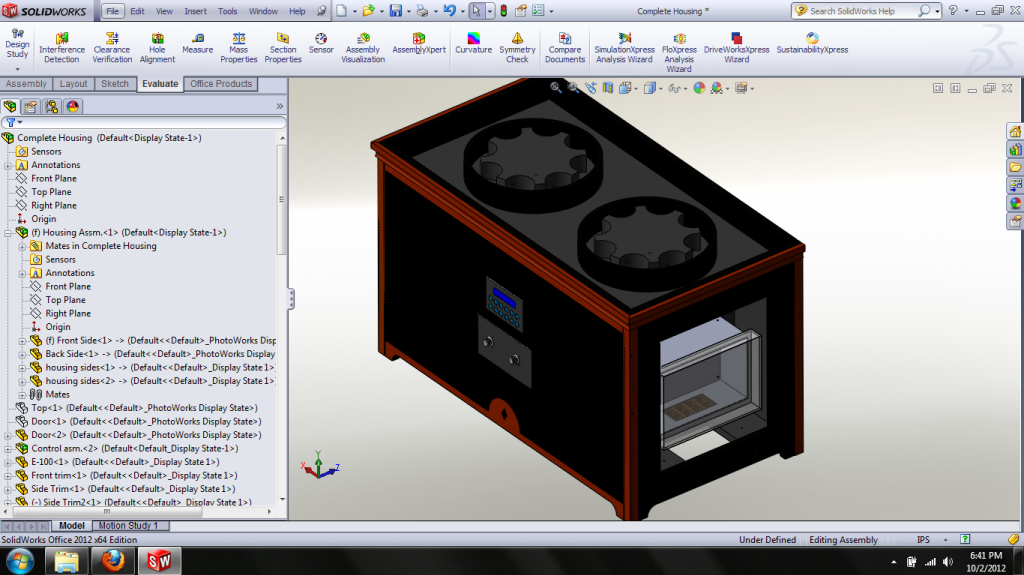
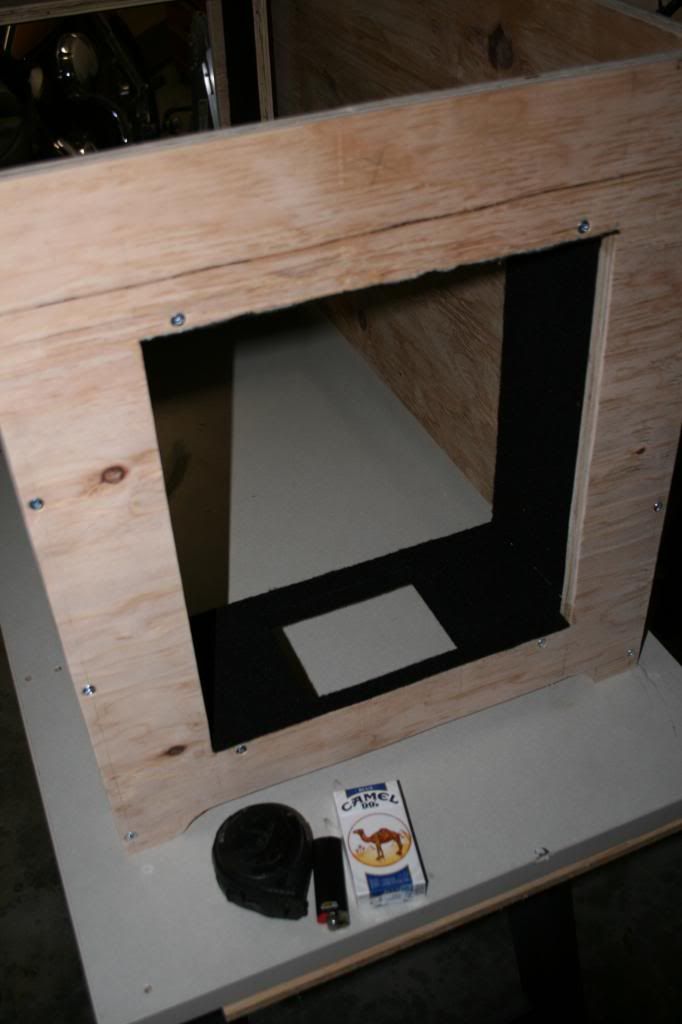
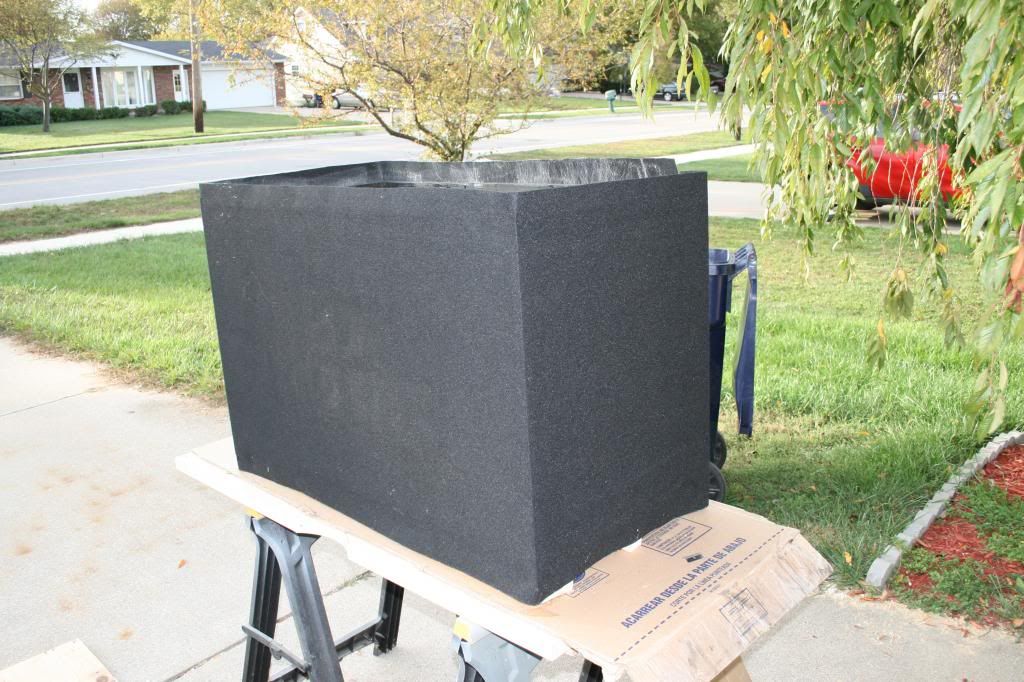
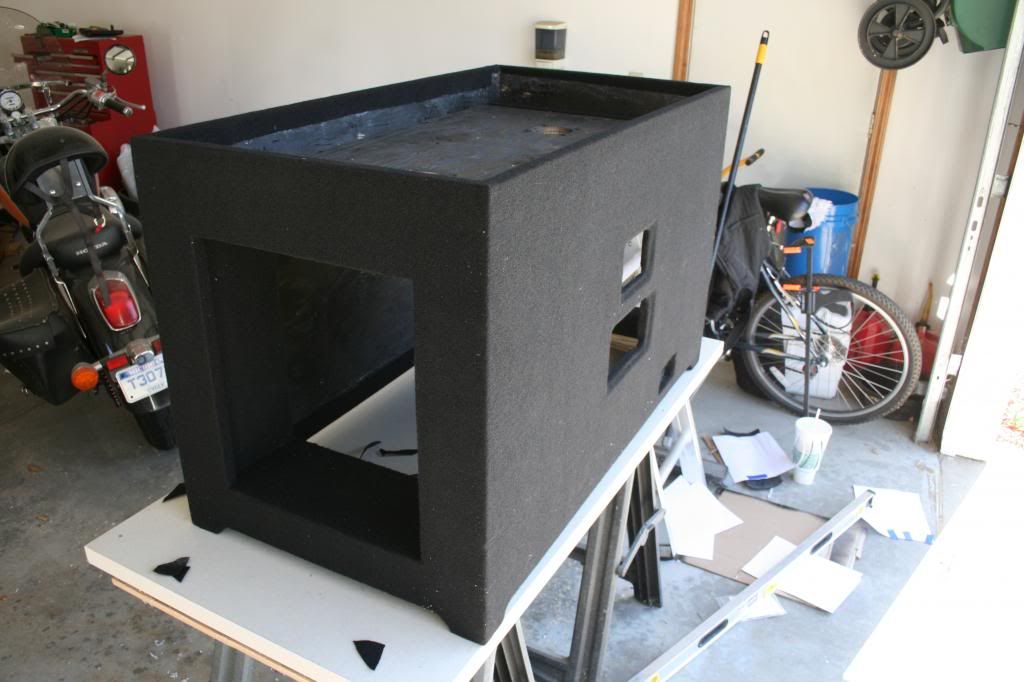
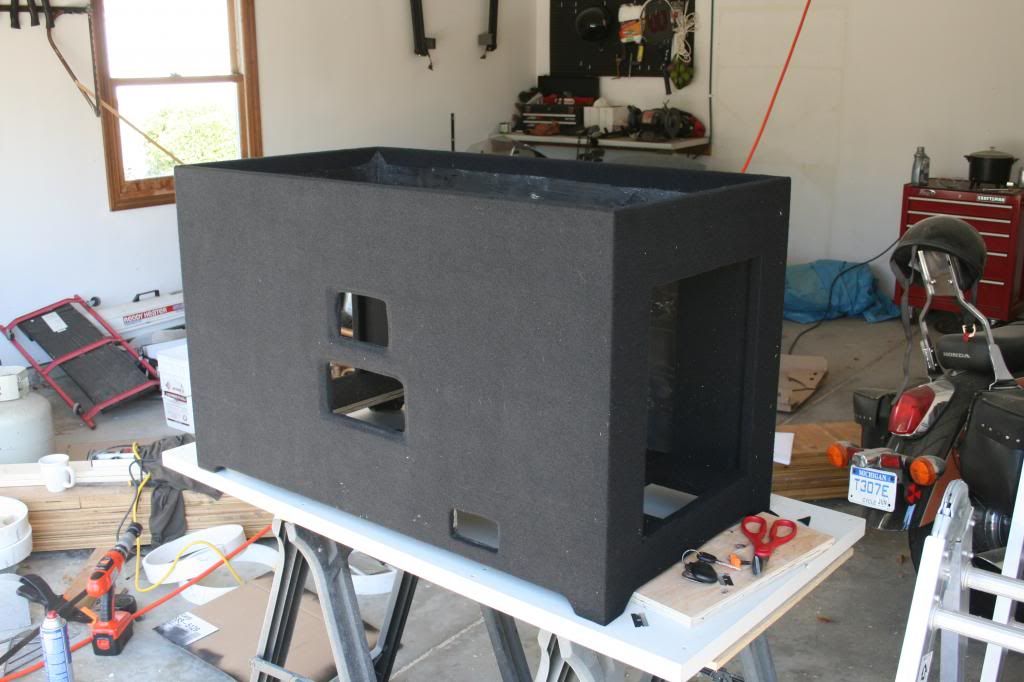
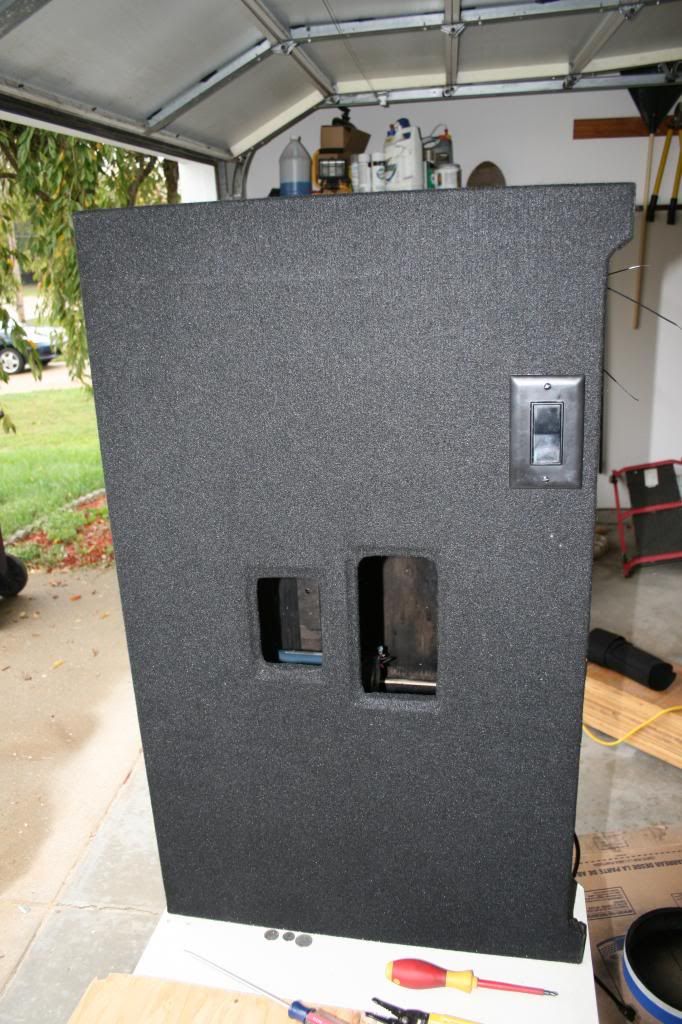
This is what I came up with, let me know what you think!
SolidShot_zps7ebbdd46.png


SolidShot2_zpsd7ae3b01.png


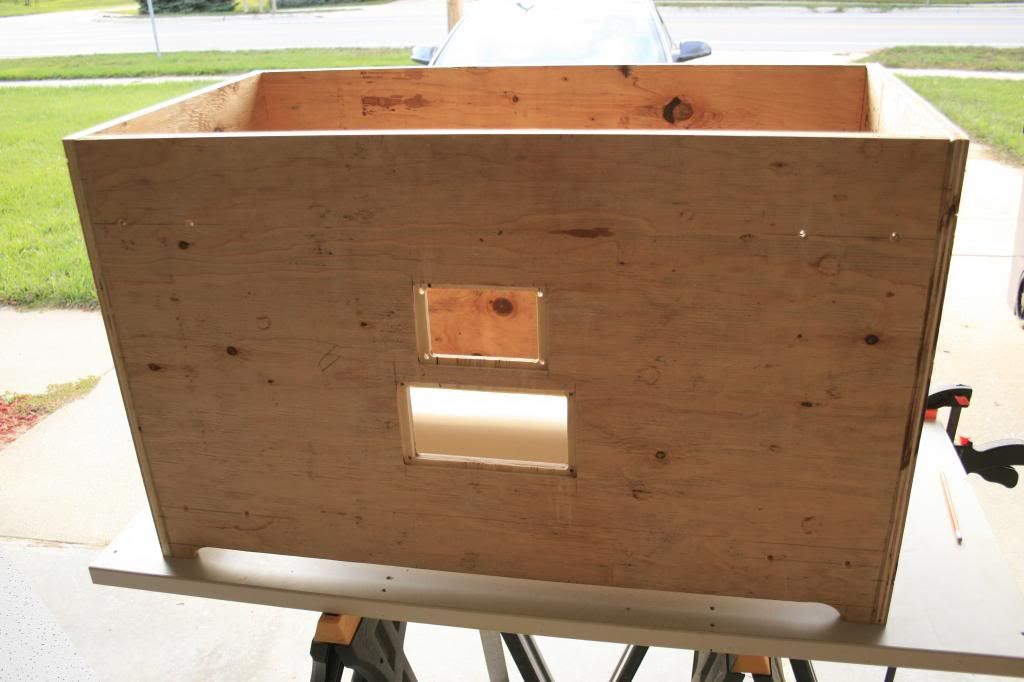
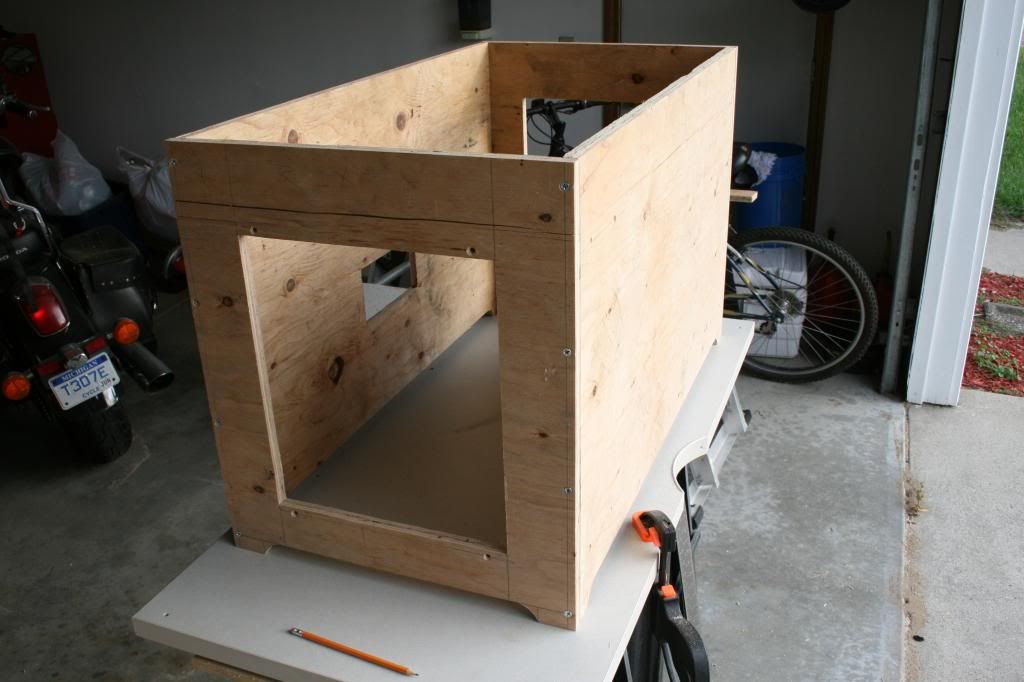
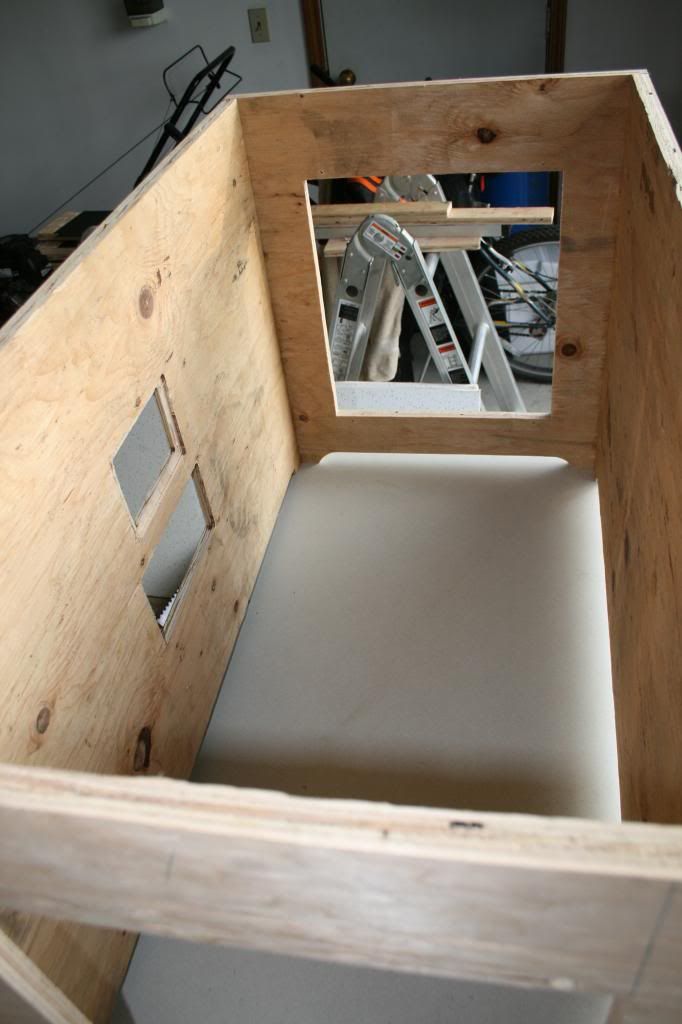
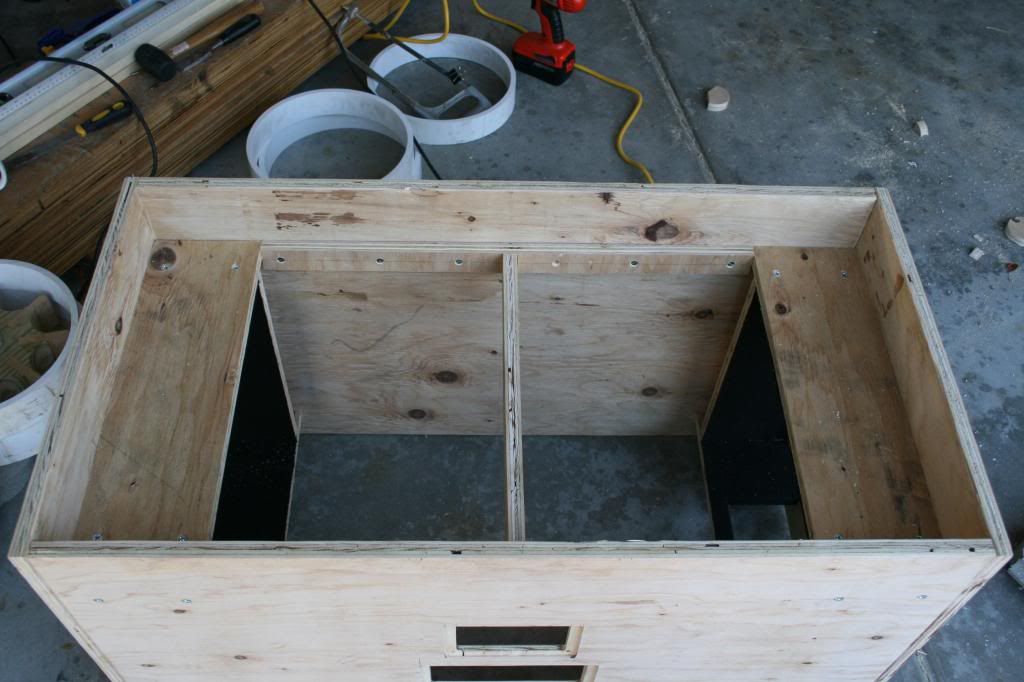
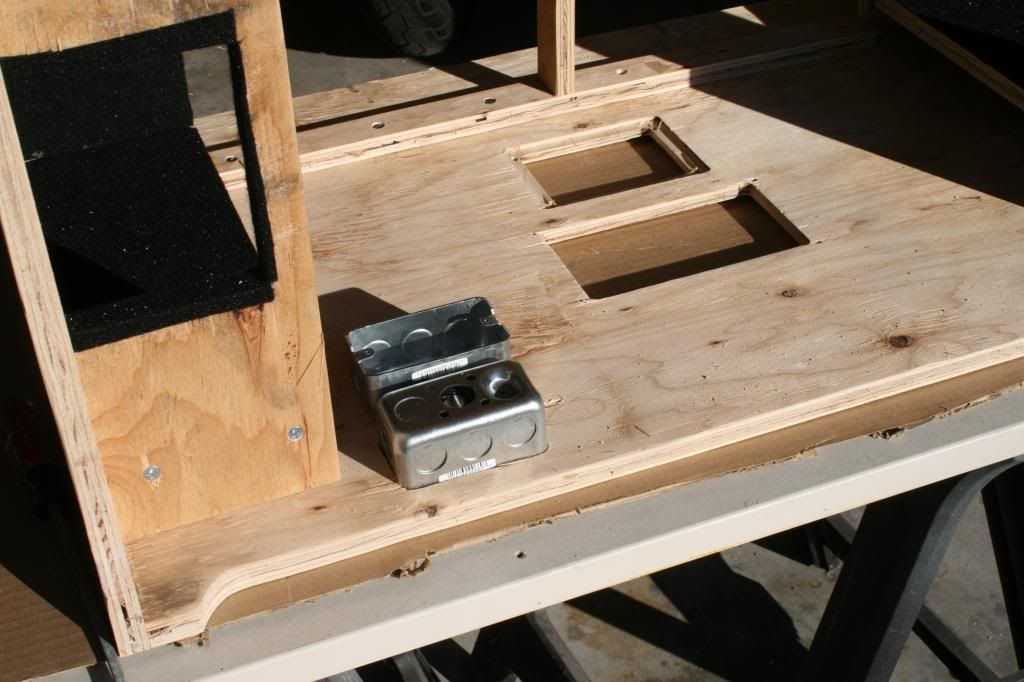
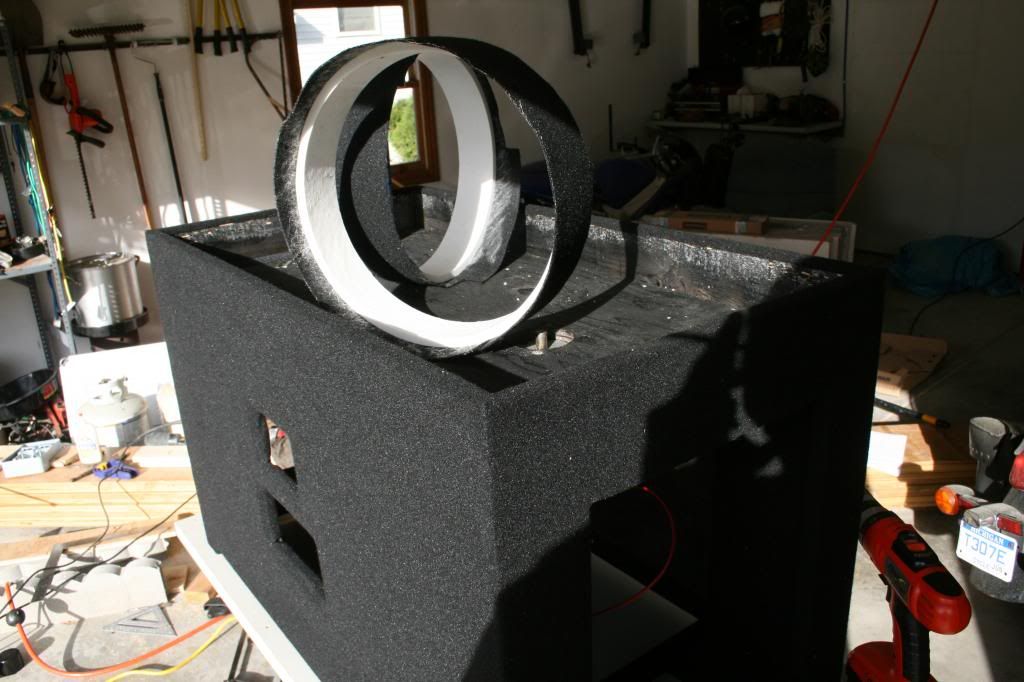
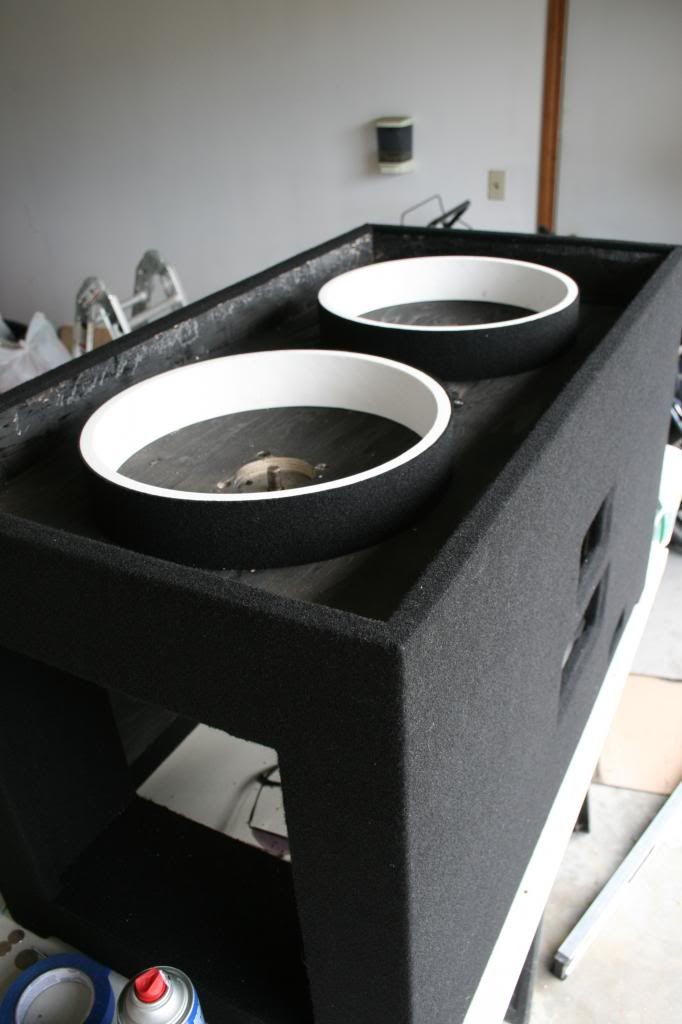
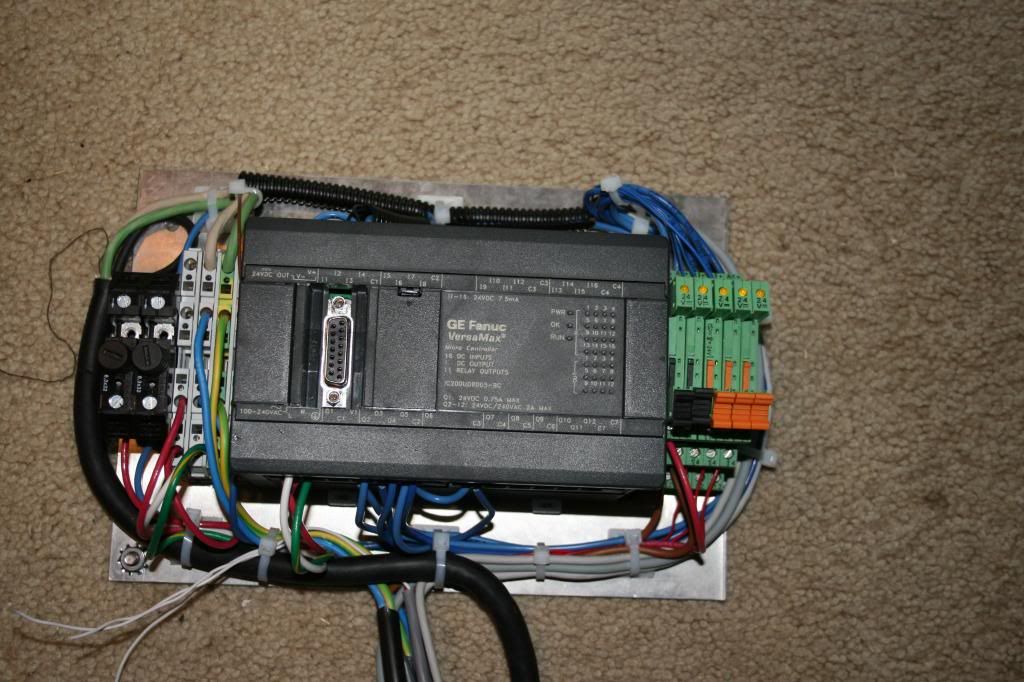
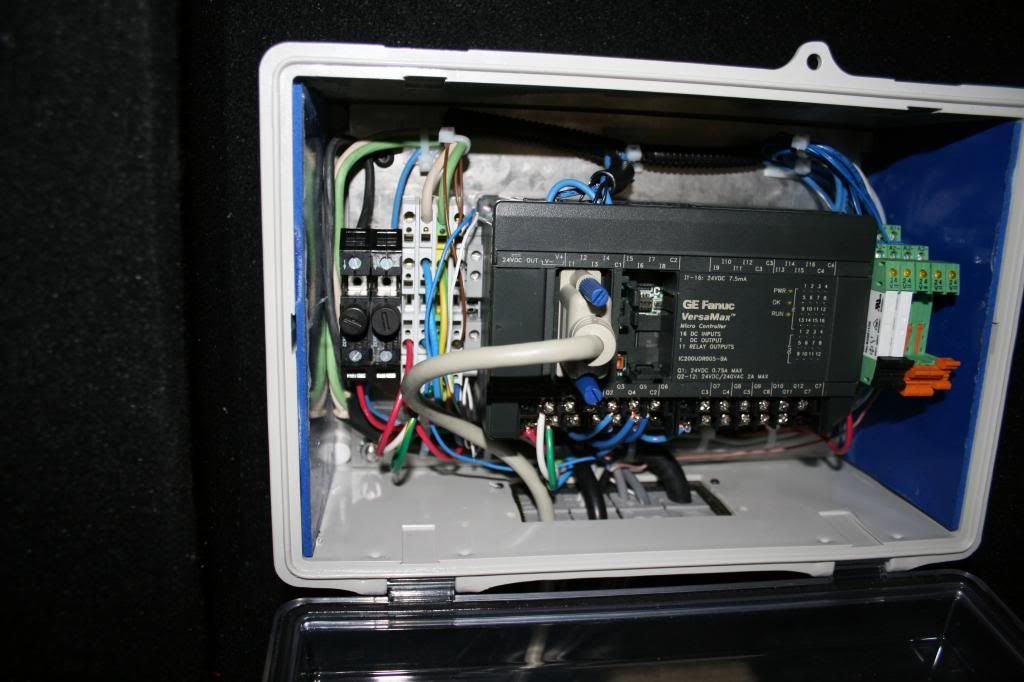
PARTS TO MAKE UP MY MACHINE,

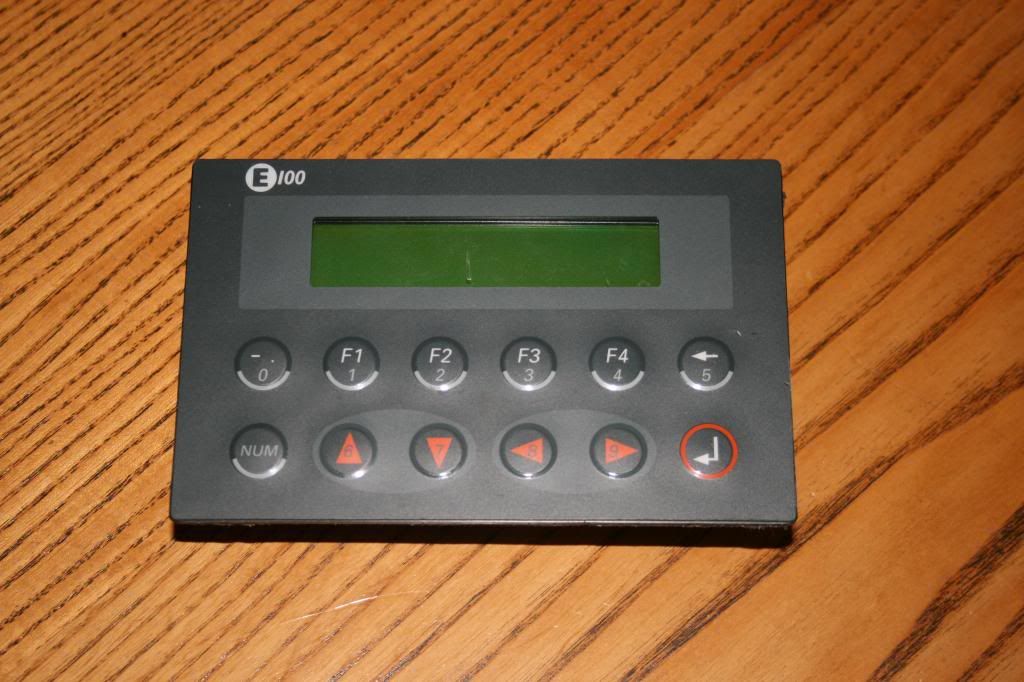
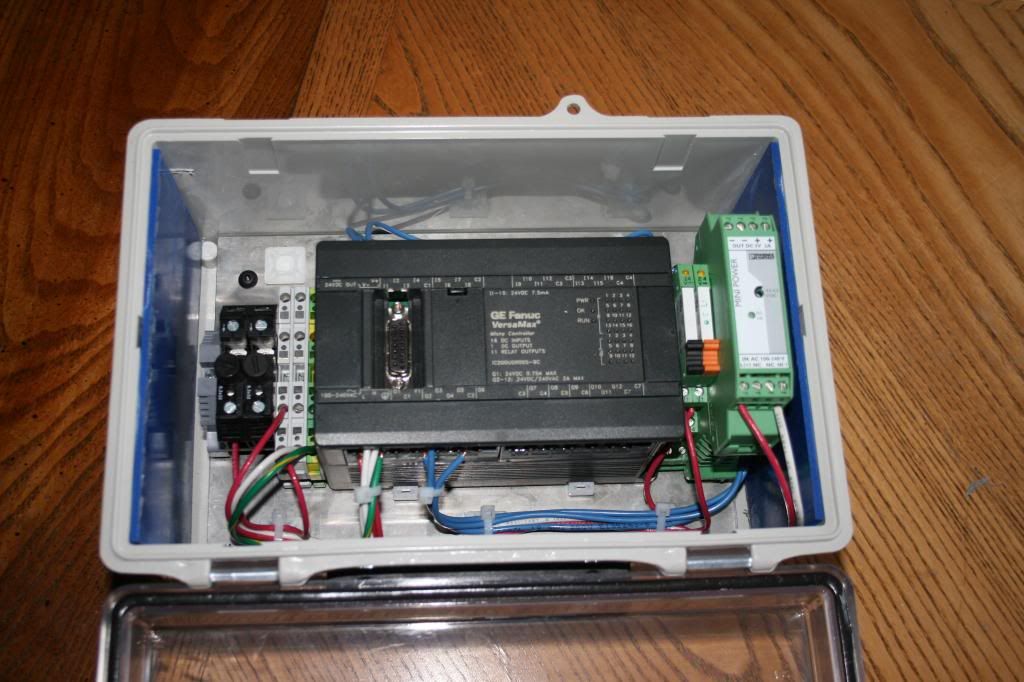
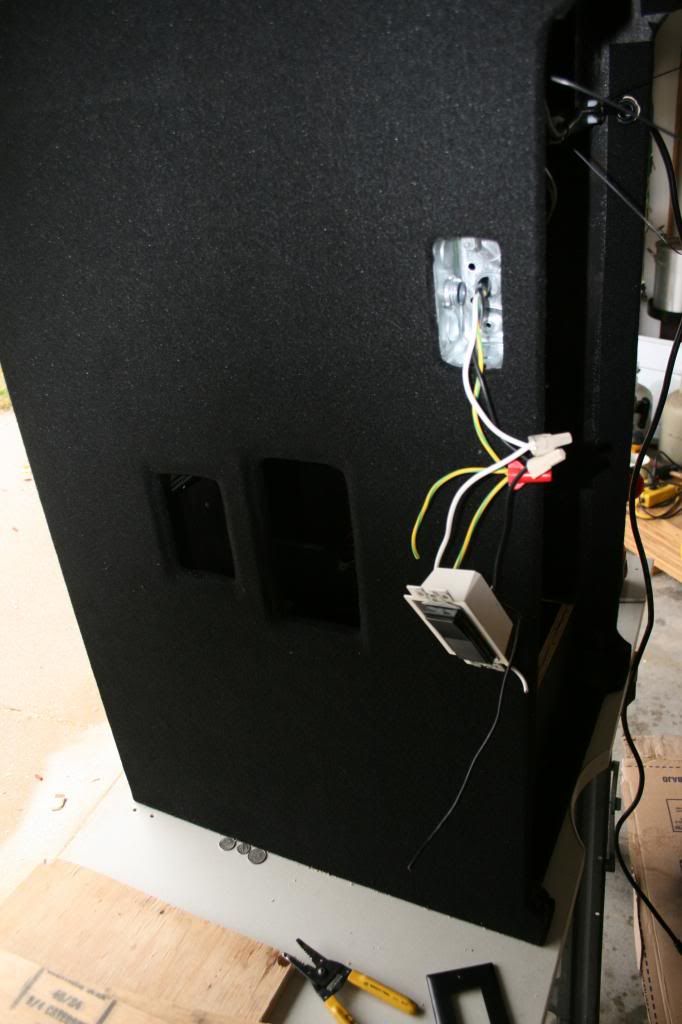
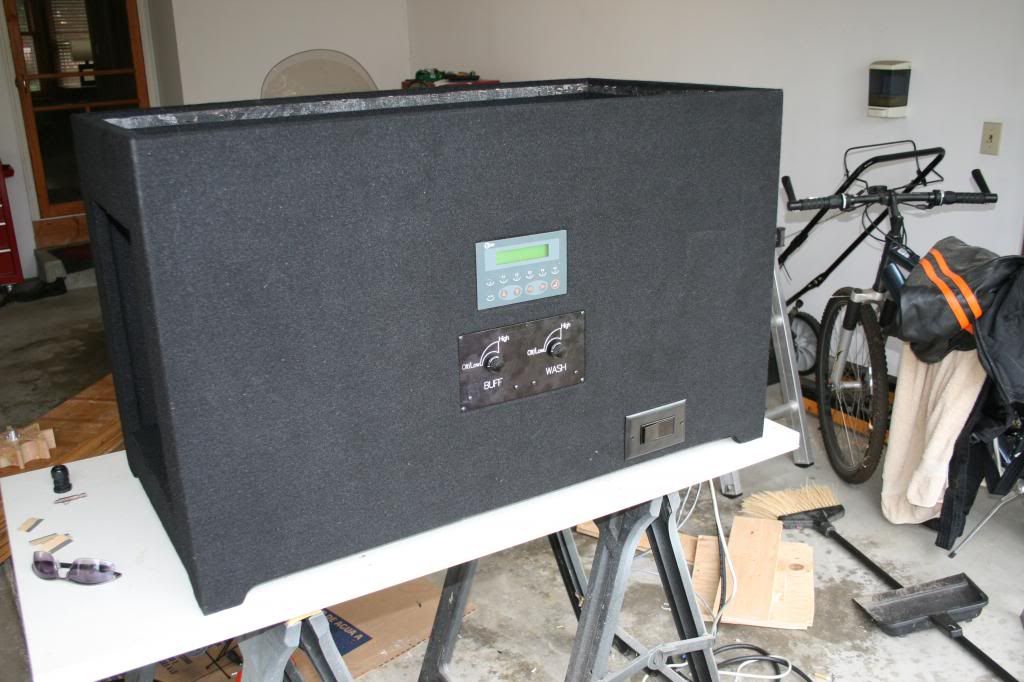
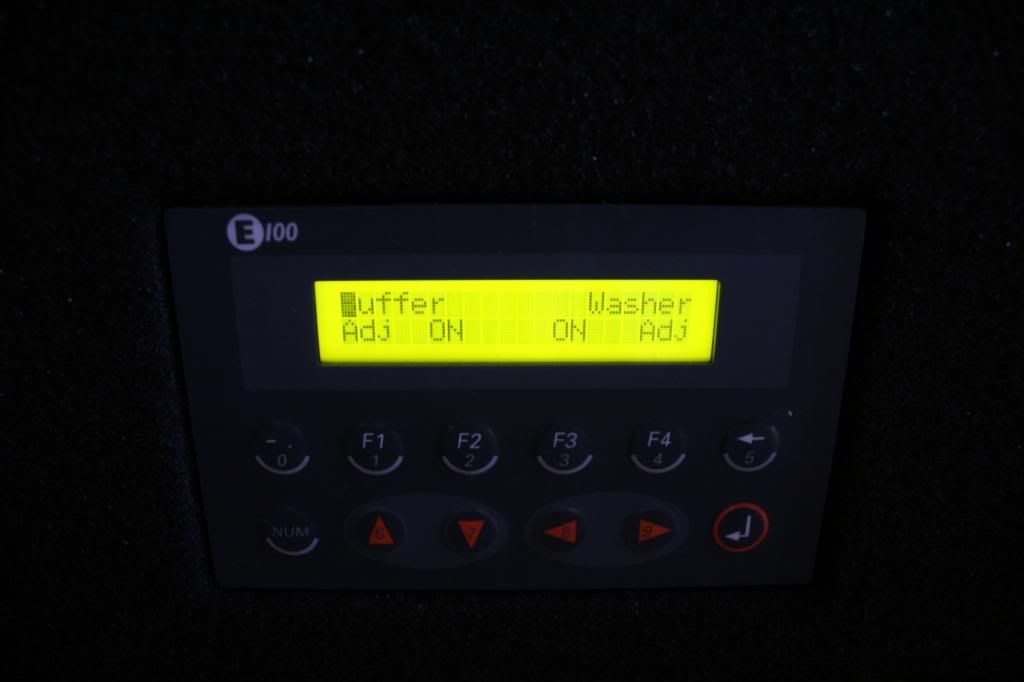
This is the operator interface to control: time, and which side runs.
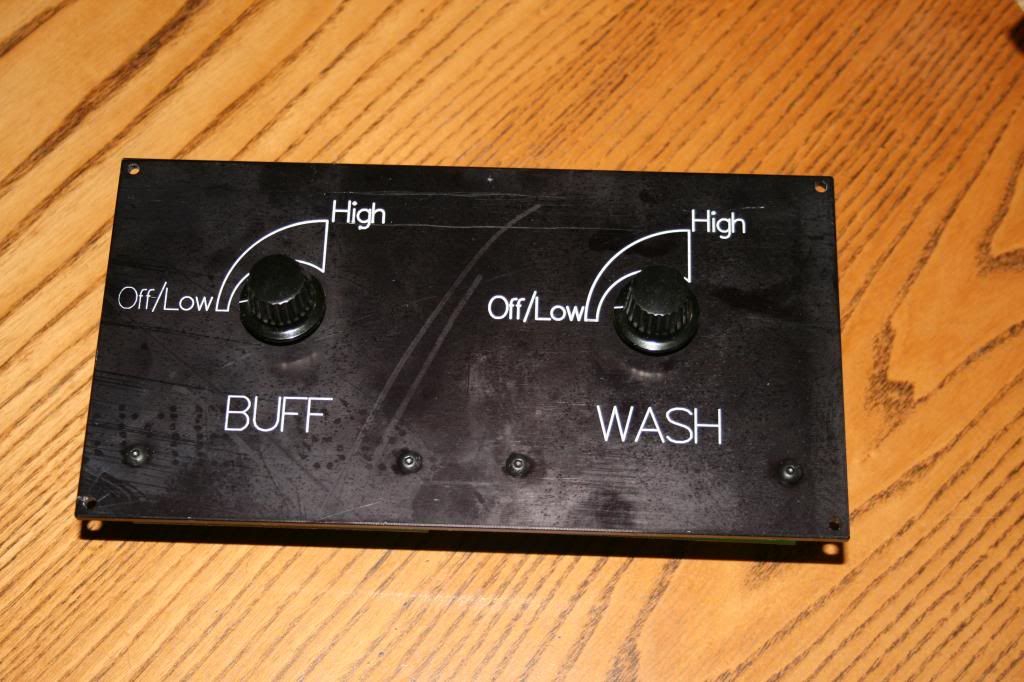
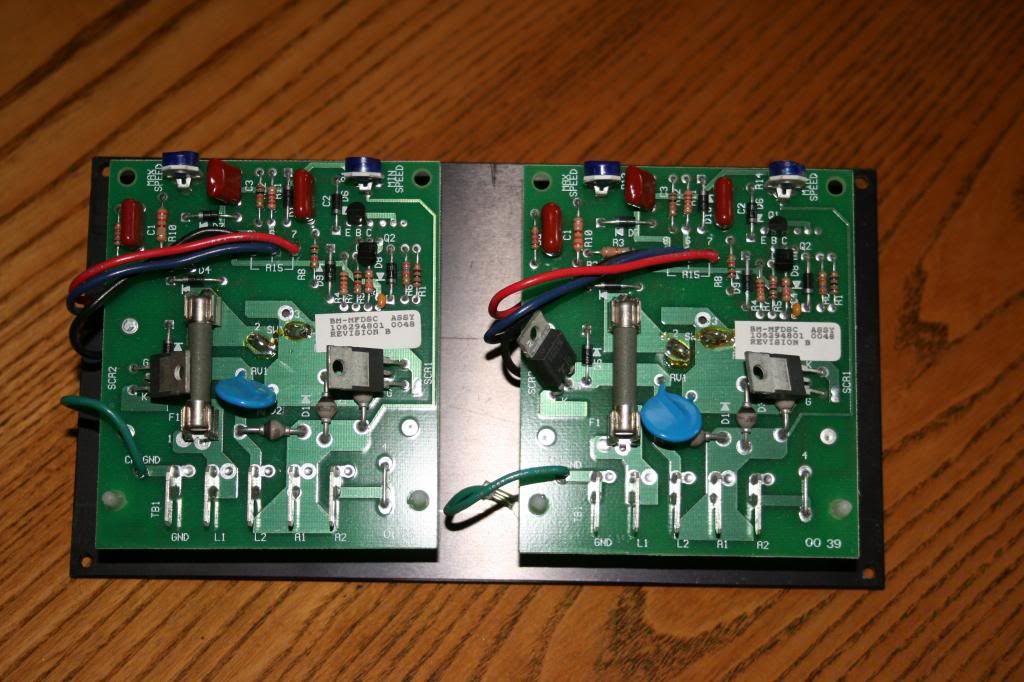
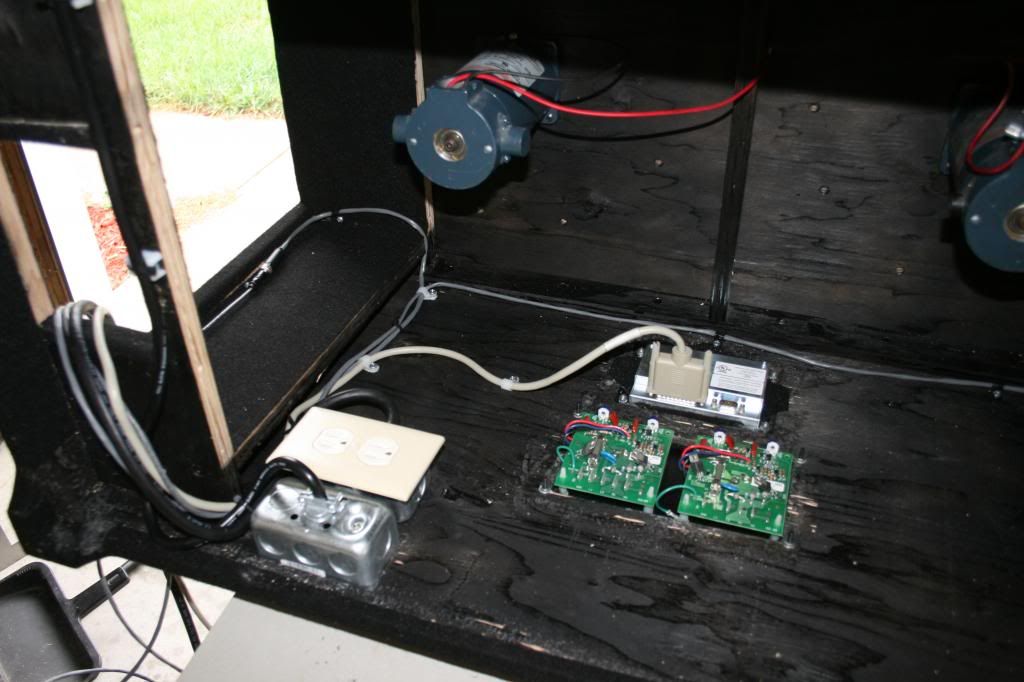
IMG_7004_zpsb30c1470.jpg


DC motor control:
IMG_7003_zps74c30292.jpg


IMG_7002_zpsb206b8a8.jpg


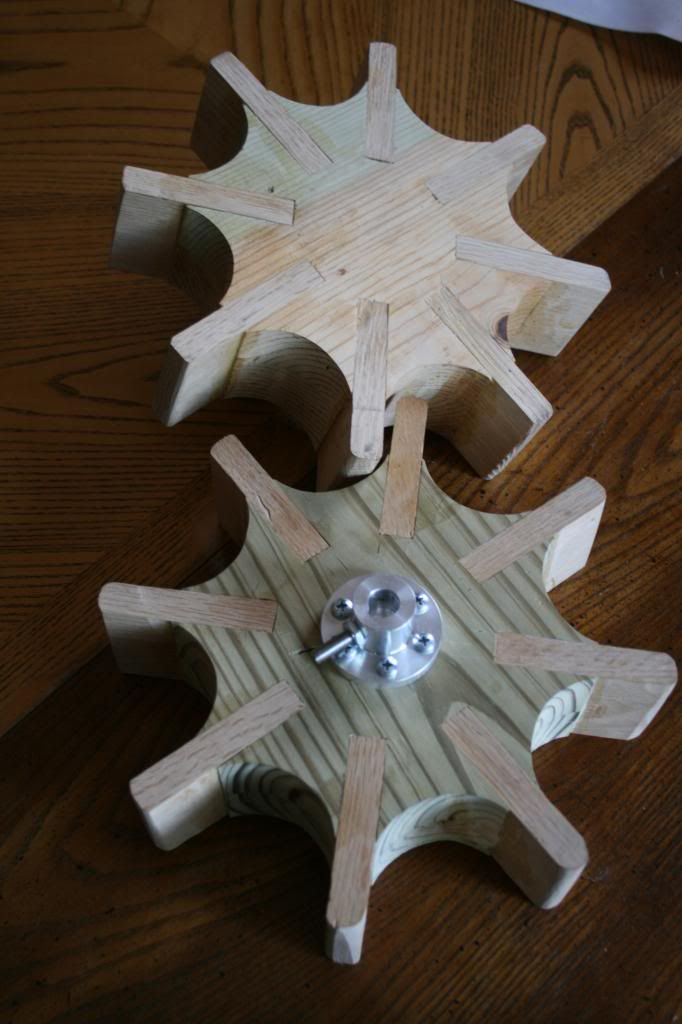
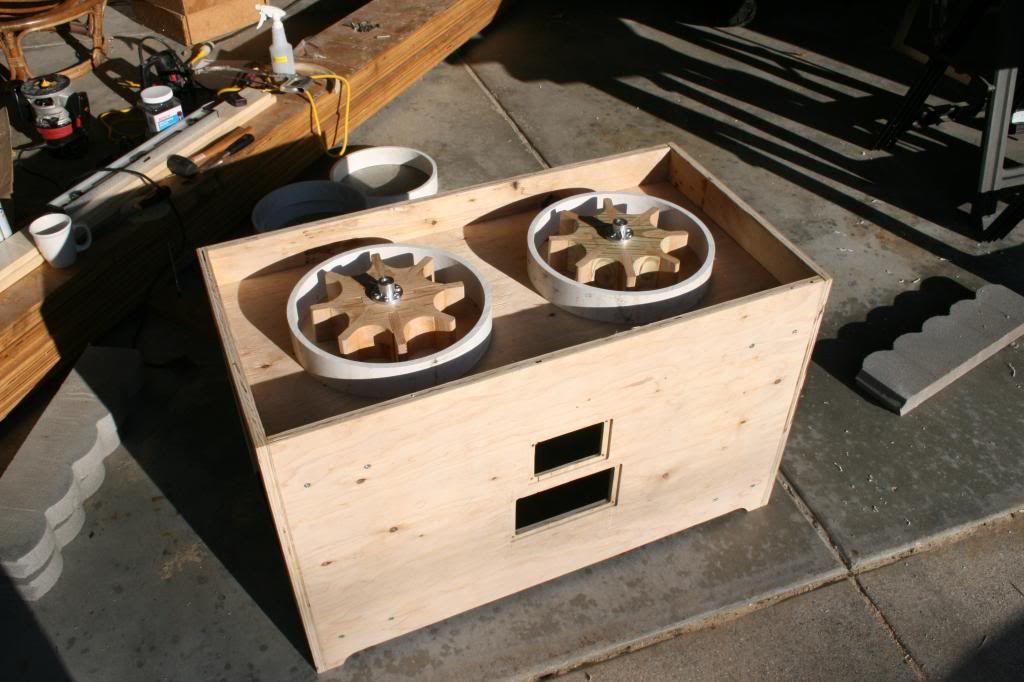
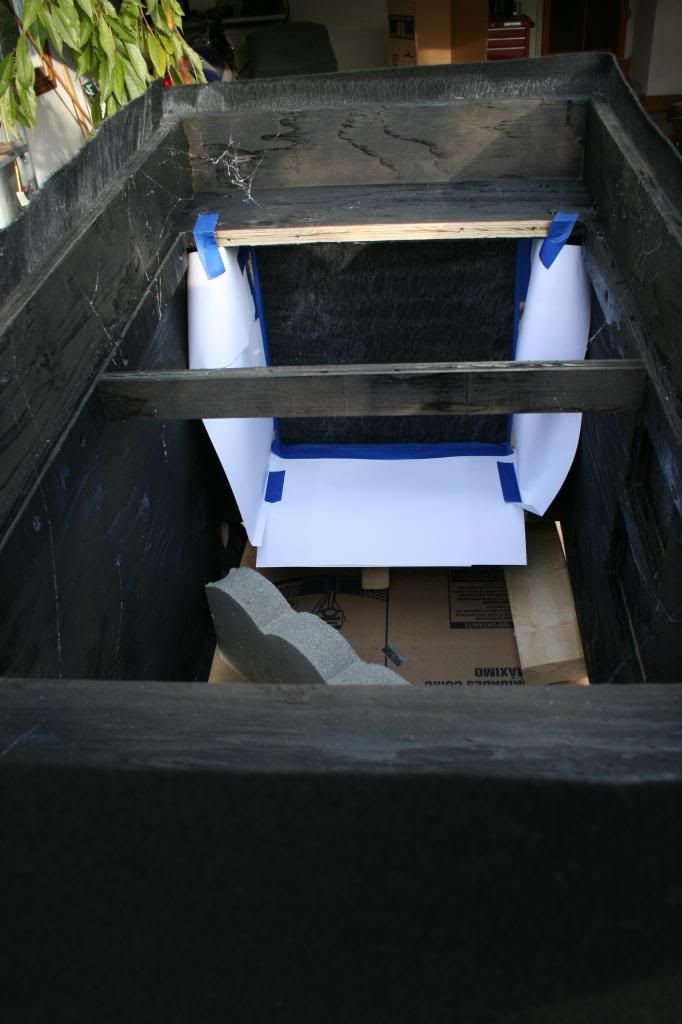
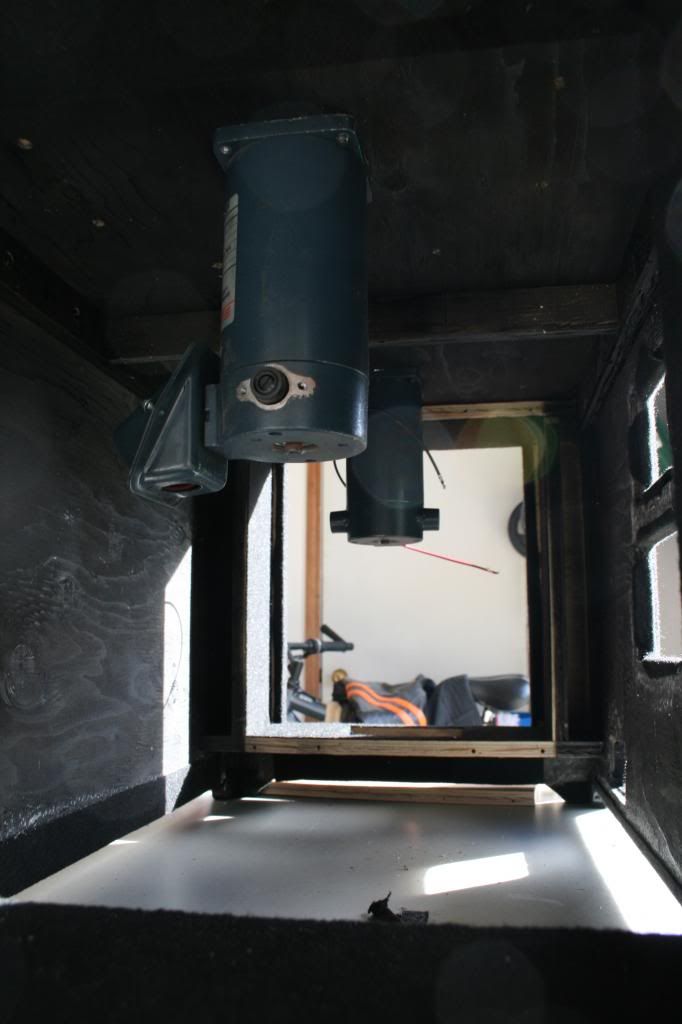
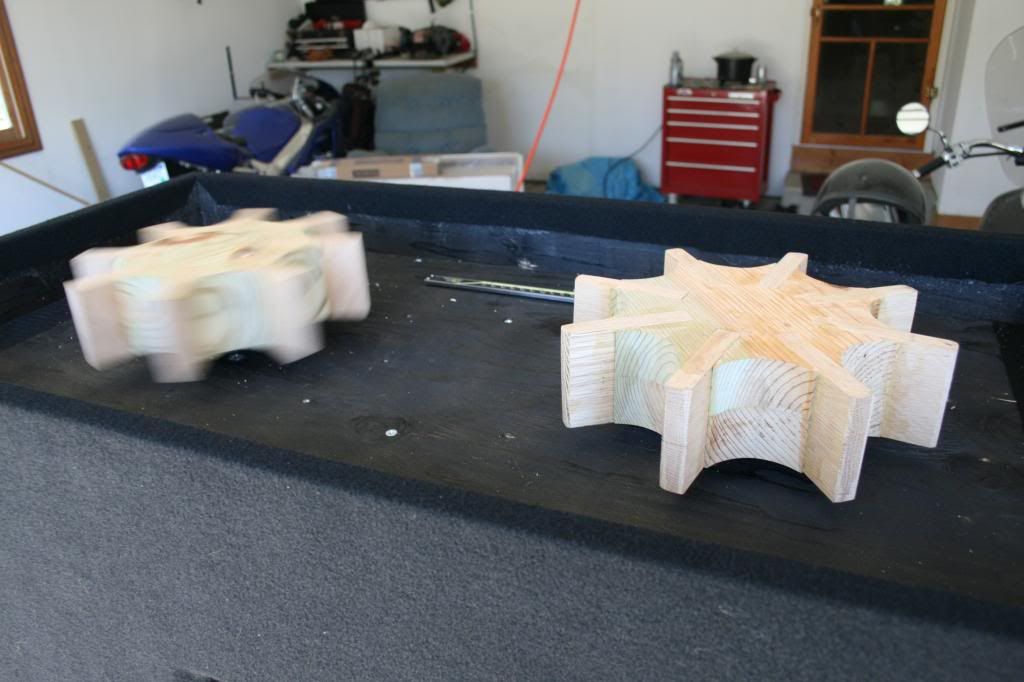
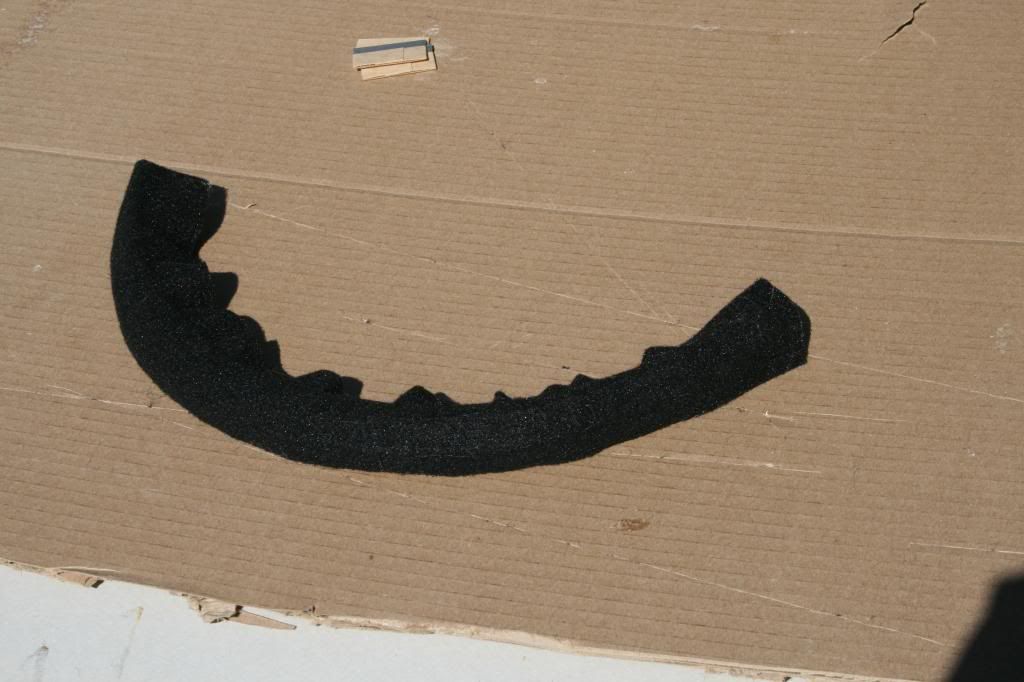
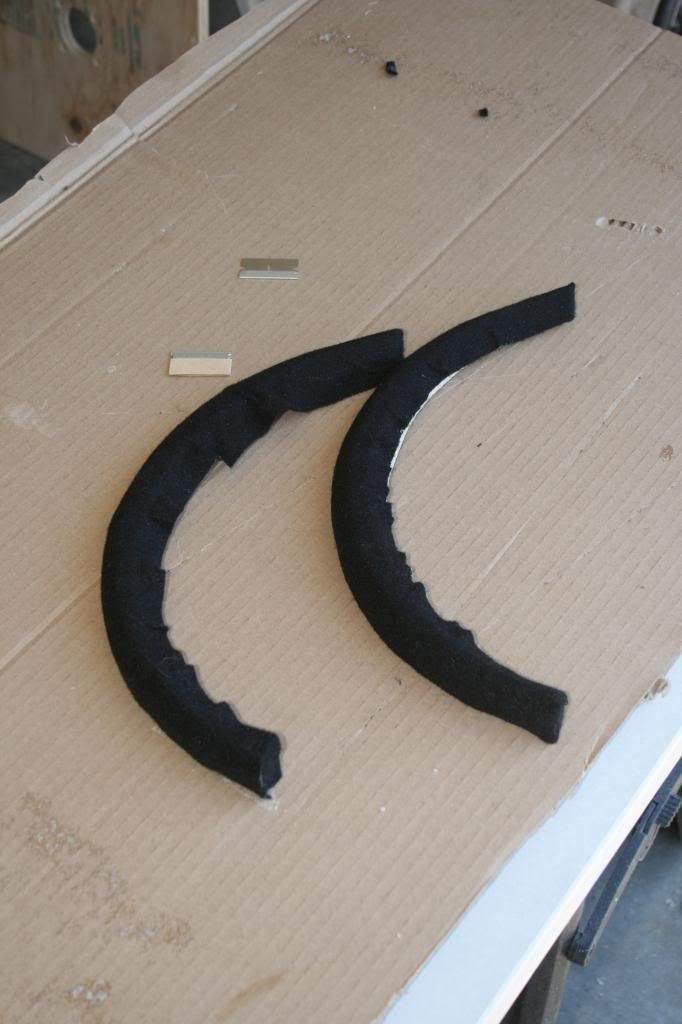
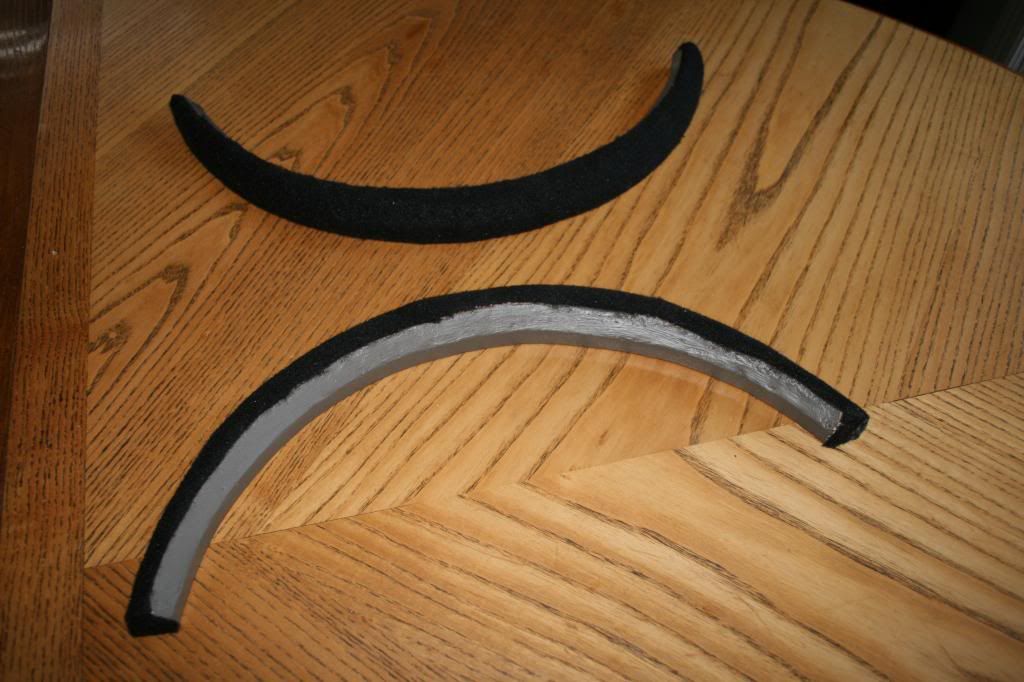
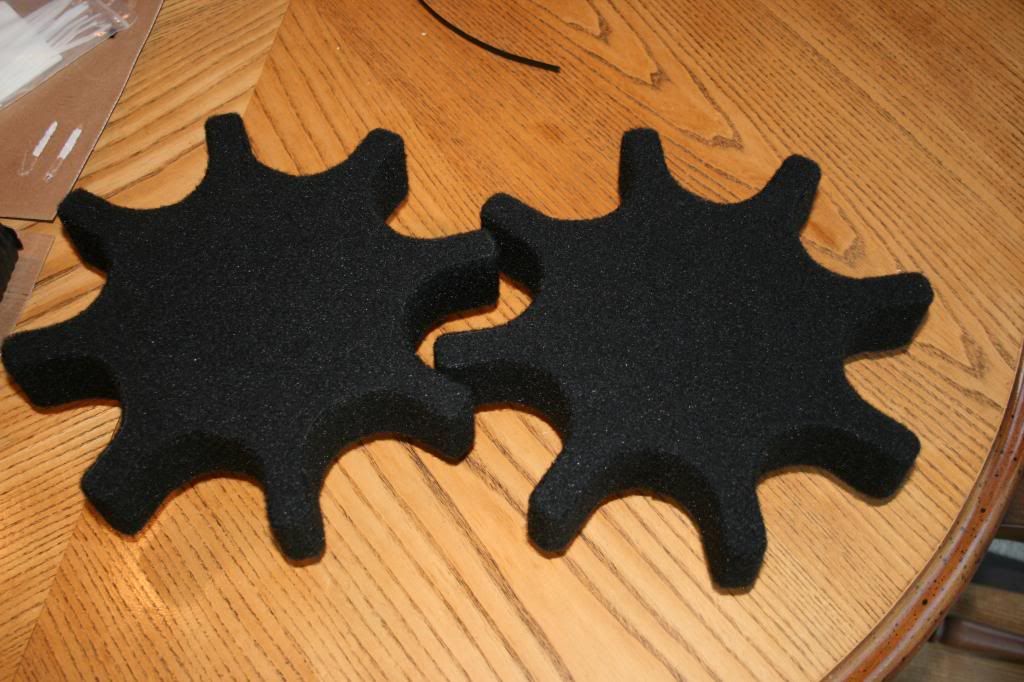
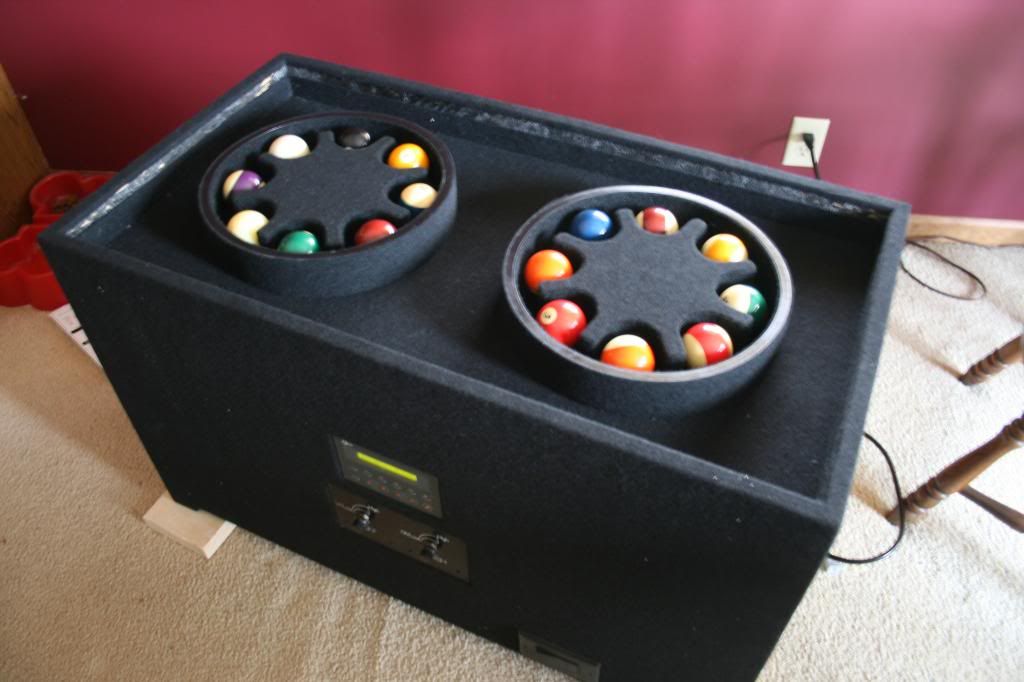
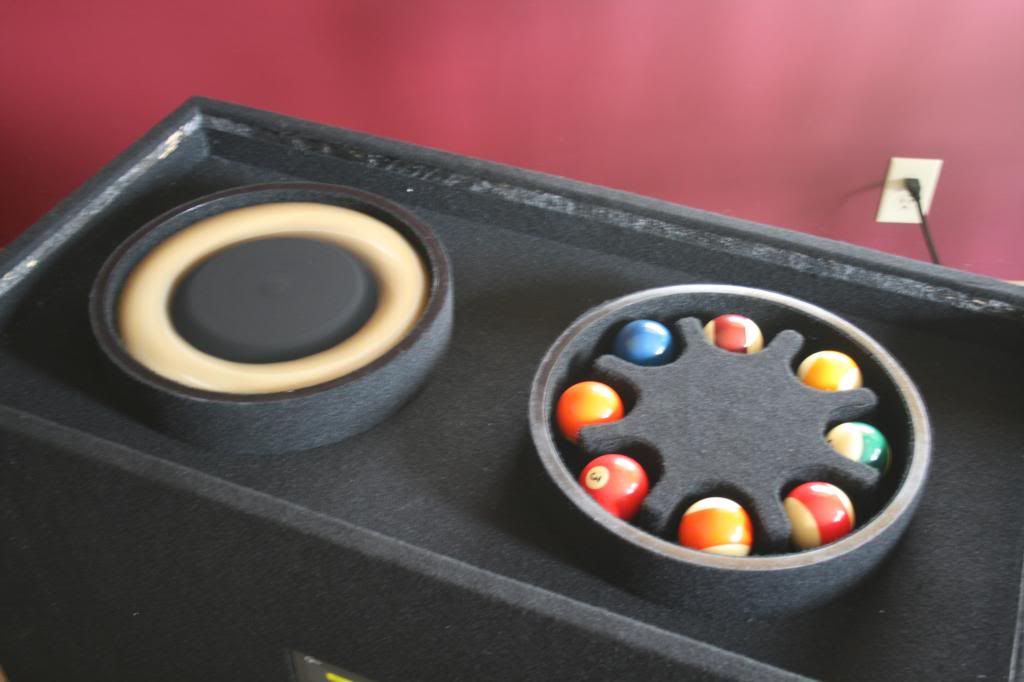
Thanks to my Dad who has amazing wood skills and made me an equal spaced agitator for 8 balls!! NOT EASY FOR ME!!
IMG_7001_zpscbd1eb41.jpg


YUP! This has controls!!
IMG_7000_zps8575eea4.jpg


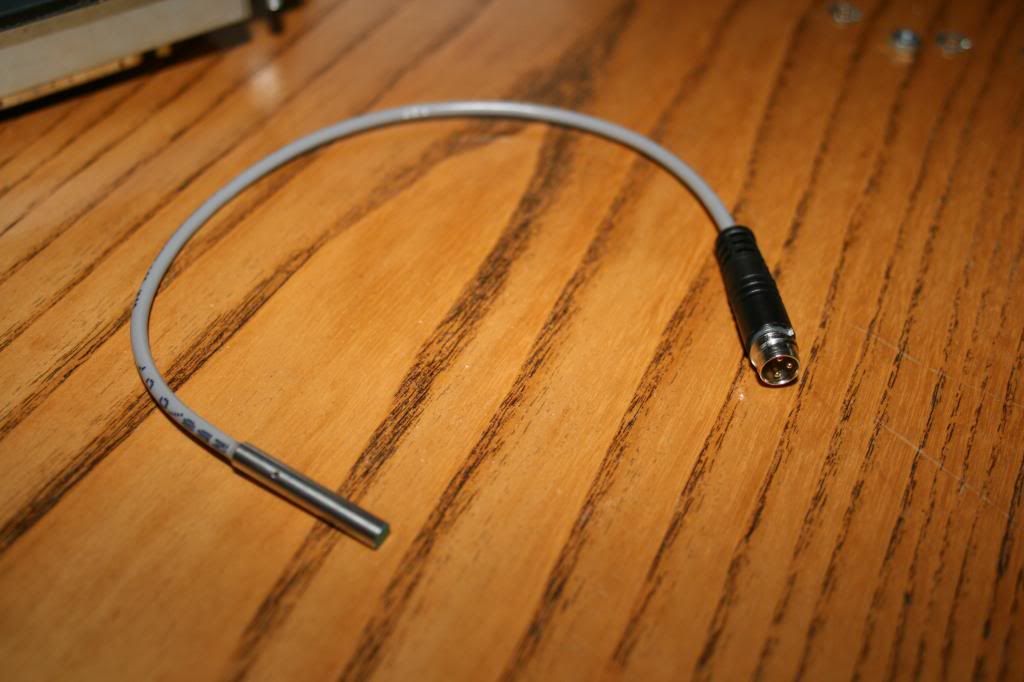
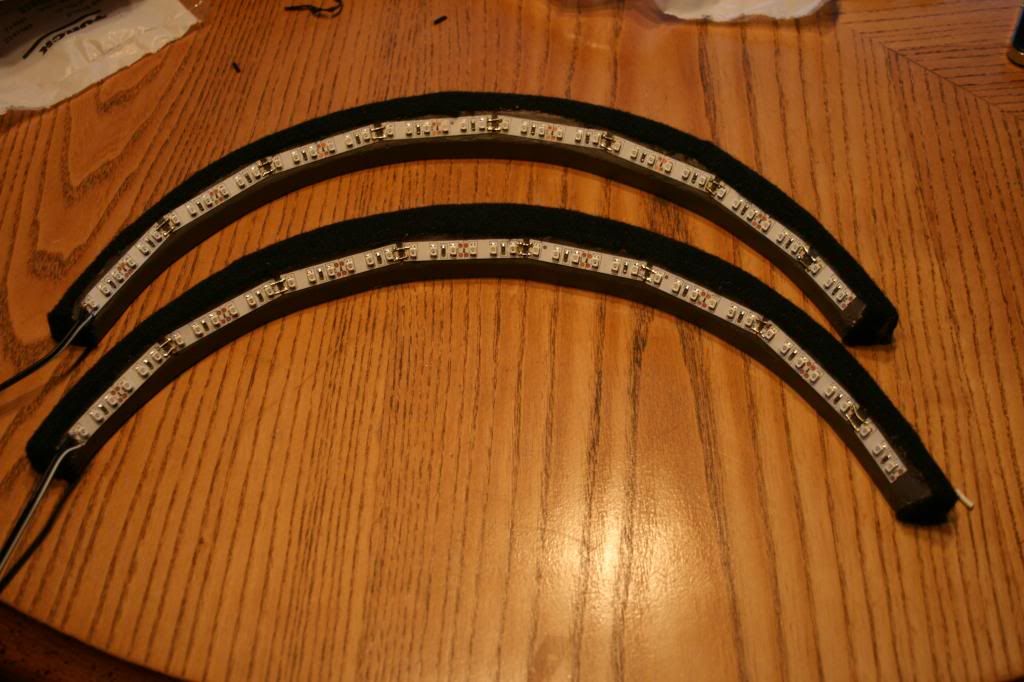
Inductive Prox switches for the LED lighting to work with doors and lid.
IMG_7006_zps3e6ed8c1.jpg


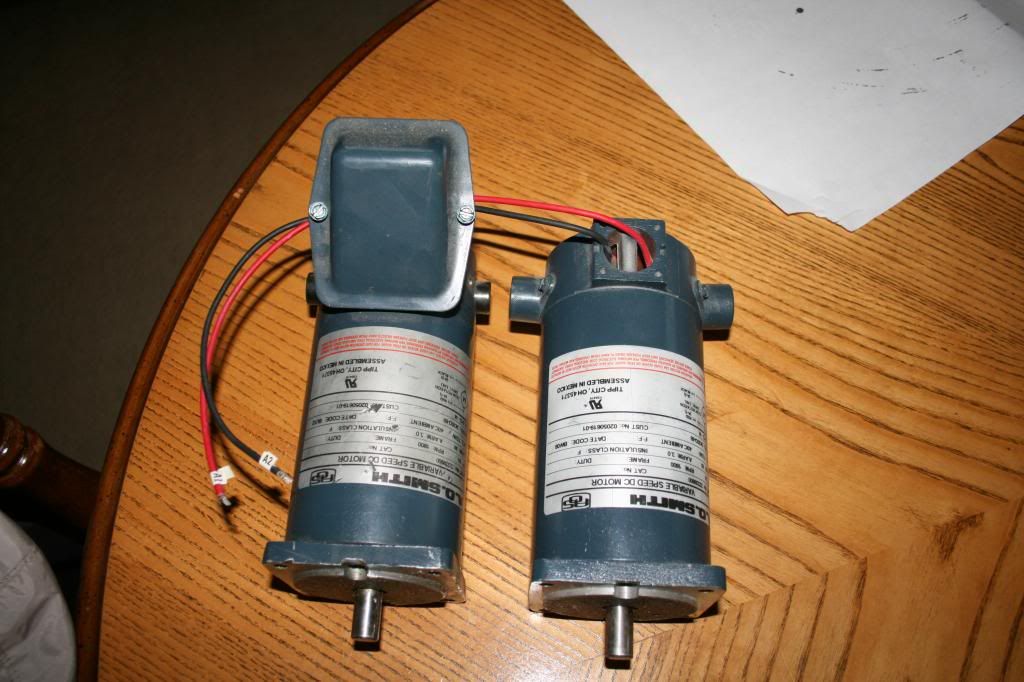
Of course a couple DC motors
IMG_7005_zps9a5bd1bc.jpg
 
So finally got rolling/"motivation" to actually build this contraption...Yes I am a pool player!!:)

This is the enclosure after I already cut everything up, routered, Biscuit jointed and glued it together. Sorry! those are the early steps I missed!
IMG_7092_zps8f513751.jpg


Side shot.
IMG_7095_zps50b1a8c3.jpg


Top.
IMG_7096_zpsa5894ed0.jpg


So next I had to start assembling the sides and get them carpeted to reduce on as many seams as I could. I'm not a master carpet person by any stretch of the imagination!! But I thought long, and hard on how to assemble this with as few seams as I could possibly get. So this is the way I did it...anyway...
IMG_7100_zps5b72e1ab.jpg


Side where the controls mount. Hence the hole for a cord pathway out.
IMG_7101_zpsa88fb6b1.jpg


Bit of fun throwing things in place!
IMG_7111_zps4aa96bbe.jpg


"Motor mount plate" braces installed inside.
IMG_7106_zps50cb3c99.jpg


Motor mount plate.
IMG_7104_zpsa57eafa8.jpg


Made a bit of a mistake...after further consideration I needed to add a switch to shut it all down, and a receptacle to power the LED lighting and operator interface control screen. Soooo I had to router that in a bit late!
IMG_7098_zps2526adad.jpg
 
So next was getting the monster carpeted!! Again, not a carpet person.
IMG_7133_zpscead36f5.jpg


IMG_7135_zpsd3ddde21.jpg


Got the carpet all trimmed up around cutouts and top.
IMG_7144_zpsab1e375f.jpg


IMG_7145_zpsadfb860f.jpg


IMG_7143_zpsbfb4c57a.jpg


Put the motors in to check center and last height checks.
IMG_7156_zpscae5a644.jpg


Thew the "Agitators" in and gave one a spin!!
IMG_7150_zpsac763713.jpg


IMG_7150_zpsac763713.jpg


Next is getting to the PVC pipes, threw some carpet on and trimmed 'em up. I still need to color the tops to black which will get done soon.
IMG_7155_zpsf2edb460.jpg
 
IMG_7158_zps25d27227.jpg


IMG_7159_zps9fdf7e67.jpg


There will be LED lighting in each side cabinet and also around inside the top box when the lid get's opened up to move balls around...and possibly when the balls are spinning...I haven't decided if I'm going to program that in or not yet.
So there are little holes drilled at each cabinet side to accommodate a proximity switch that is concealed by the covering carpet, since it's inductive I just have to inlay a small metal object in each door to make the switch. NO MECHANICAL SWITCH!!
IMG_7181_zps2f677d68.jpg


These are to mount LED tape in a half moon which will get installed to the tops of each cabinet roof. Hoping for a nice even illumination from these.
IMG_7121_zps90f9a16b.jpg


IMG_7123_zps42741cbb.jpg


IMG_7125_zps2e2e1273.jpg


IMG_7128_zps1b9718b9.jpg


So I'll keep uploading pics as I continue moving forward with this project.
Hope you enjoyed it!!

Could have picked up a Diamond double for way less$$$, :grin:nice job
 
Actually Realkingcobra I'm figuring about 200 tops for this guy when it's all said and done. I'm fortunate to have a pretty nice "boneyard" to sift through.
 
That is ingenious!! I work with and use Solidworks myself, and even getting to the point you have by still learning the software is awesome...
 
Thanks bigtexan! It's AMAZING software and quite user friendly! Trust me though...I've hit ctrlZ many times!
 
I can only imagine what it is like when you wrap Christmas presents!

Several years ago I struck a deal with a local pool room and take my several sets of Centenials in every few months. I have lunch and play a few racks while the balls spin.
 
Great Job! Double Platter is the only way to go when it comes to ball cleaner/polisher... Try and post a Video for the demo when it's done.:wink:
 
I can only imagine what it is like when you wrap Christmas presents!

Several years ago I struck a deal with a local pool room and take my several sets of Centenials in every few months. I have lunch and play a few racks while the balls spin.


Just as tricky for sure...problem with carpet and spray adhesive means you only get 1 shot! :grin:
 
I got a chance today to throw in the top plate which covers/dresses up the motor mount plate. Final trim cut around the top, leaving me that 1" open strip without carpet which will be the surface that the trim/LED mount will be.

IMG_7209_zps5411fe7c.jpg


and I started doing a little wire prep. I needed a switch (last minute) so I had to punch a hole for the switch, so I piggy backed an outlet with it so I could get both the LED power supply and operator screen power. Also freed up some space in my electrical enclose to add 3 relays which control the lights.
IMG_7186_zps286c2bb6.jpg


IMG_7188_zpsabd7b7f8.jpg


IMG_7190_zpsde131677.jpg


IMG_7200_zps4c98a581.jpg


Got the Prox. switches mounted and wire pulled to them.

IMG_7198_zps22186429.jpg


Operator controls are in. Got a little lucky on flushing the controls to the carpet. Had a lot of added thickness for carpet to attempt to accommodate and how well it would stretch for me. Took an educated guess on my relief cuts and went for it.

IMG_7206_zps73643fea.jpg


IMG_7212_zps1eb24bb7.jpg
 
So I grabbed a few more photos of progress.

I got had to cut my "Agitators" down .75" to get to the proper height and got a chance to carpet the tops and put velcro around the inside so I have a surface to mount wearable carpet that I can easily replace.

IMG_7220_zpscfd58060.jpg


IMG_7221_zps872942c9.jpg


Also got the controls to an almost complete state. Wish I had chosen a larger enclosure for everything so I could have done a better job of cleaning up all the wiring but (beggers can't be choosers) and I liked the clear front so you could see everything from the outside.

IMG_7224_zpsa2683e8b.jpg


IMG_7225_zps406c350e.jpg


Got my LED's the other day, so I got them mounted to the half moons for the sides.


IMG_7244_zps651a34d2.jpg


Also got the PVC painted and velcro around the inside for replaceable carpet.
Got most everything assembled at this point so I was able to do a little test running.


IMG_7241_zpsc66cfee7.jpg


IMG_7228_zpsf3b270a5.jpg


IMG_7245_zps59d6c54d.jpg


IMG_7249_zpscb015c29.jpg


I got the motor's to a probably WAY too high of an RPM for cleaning pool balls but I was just playing. Still have to dial in the potentiometers so my max adjustment is the speed I need....Which raises a question! Anyone know what diamond runs theirs at???

Still waiting for the doors and top to get done. I have a good friend who owns a cabinet company so he's hooking me up with some mahogany doors and top. Still have to get lid hinges. I want the lid to stay up on it's own so I'm looking into getting the right torque on some friction hinges. Looks like I need about 60inlbs worth of torque so I need to grab a couple 30's

Also have to finish up the inside trim but I need to figure out the hinges before I can finish up the trim.

437 rpm's;)
 
Back
Top