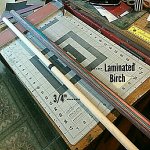
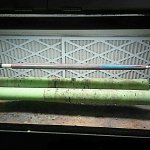
I built a cue with a similar strategy and was pretty happy with the result. One of my buddies showed up here with a shaft all by itself and a 36 inch piece of western maple burl and asked me if I could build him a butt to match his shaft. I told him his wood was too soft and light so we would have to do something. I decided I didn't want to cut it up as it was old and really straight and pretty so I cored it first from the butt end as deep as my .775" gun drill would go, 16 inches and pushed a PH dowel in to a dead head which forced a lot of epoxy out of the wood. This maple absorbed over an ounce of epoxy on the butt coring. Then when it cured I drilled it again from the joint end as deep as my .691" drill would go, 16" which put the smaller core about 4 inches into the larger one. I tapered the end to match the gun drill contour to try to avoid air space where the cores joined. Then I again pushed a core in to a dead head, this time lignum vitae to give it some front weight. Again this soft maple absorbed a bunch of epoxy. When it was all said and done I had a butt that weighed 15 oz and change starting with wood that weighed 30 lbs a cubic foot or less. After I cut it down to final size it was basically epoxy resin impregnated from within.
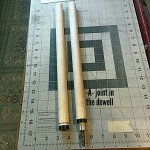
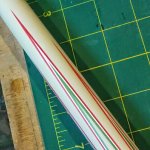
Just how concentric the guts of this cue are at the A joint with the two dowels and the outer wood I'm afraid will never be known without cutting it up. I like to pretend in my delusional mind it's fairly straight in there.
")
But it was a fun project.
Your metal joint in the dowel takes it to the next level, although I would probably just outsmart myself like I usually do with weight and balance schemes.
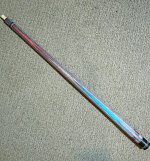
Anyway that was a while back I saw that cue the other day it's still straight and looking good. It's actually a visually stunning piece of wood. And it did indeed match his shaft. Doesn't hit too bad either.
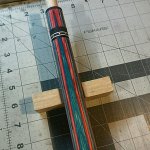
Here it is
View attachment 578128View attachment 578129View attachment 578130View attachment 578131