Could you please share your advice or a description of your procedure (or provide a link to a description or video elsewhere)? Thanks!
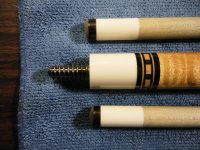
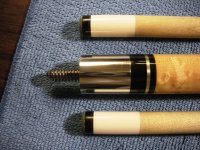
Certainly. I take off a tip like you do, but I prefer to finish the top of the ferrule with a file, being very careful to keep it square on the ferrule.
I put the new tip on about like you do, but I don't tape the sides of the ferrule. I use a gel super glue, which gives plenty of time to get the excess off. Also, I always glue a red fiber pad on the tip, as it makes finishing subsequent tips easier.
The difference is, I don't use a razor or other knives. I put masking tape on the ferrule, and use a portable vise, with the shaft inside a nice thick towel. I put enough pressure on the shaft to keep it stable, but loose enough for me to turn the shaft in the towel. Freezer tape works best on the ferrule, as it doesn't leave residue as much as standard masking tape.
I cut strips of 320 grit sandpaper, and trim the excess tip using a shoe shine motion, turning the tip every 15 seconds or so. This admittedly takes longer than cutting with a knife, but it's my preferred way. I never touch the ferrule with the sandpaper. Using this method, you're sanding over the freezer tape as well as the excess tip, so you replace the tape often, don't go through the tape.
Here's the slightly tricky part. When you've got the tip almost flush with the ferrule, but you can't go any farther because of the tape, you put another wrap of tape on the ferrule, but leave a millimeter or two of ferrule showing. Keep on sanding the tip, turning the shaft, but check quite often to see when you're perfectly flush with the ferrule. You won't go into the ferrule if you're careful. That little space between tape and tip allows you to flush the tip without going into the ferrule. You may want to use 400 grit for that last little bit.
Once perfect, burnish the sides of the tip with wet thumb and paper towel. I don't recommend those plastic burnishing tools that taper on the inside, because I've heard of too many tips popping off with it.
Then shape the tip with your choice of tip shaper, or medium-fine cross cut file. Once shaped I like to burnish the sides again. That's it. Although a bit time consuming, this method ensures that you don't decrease the diameter of the ferrule, or scratch or gouge it.
All the best,
WW