Coos Cues
Coos Cues
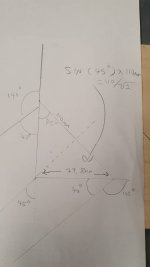
So here is the pocket angle gauge. Made from a simple framing square. The outer aluminum strips fits in the feather strip with the rails bolted down in placeFine with me buddy
And here is the side pocket gauge, again fits in the feather strip.
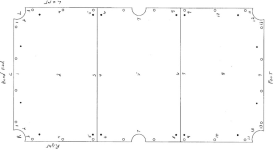
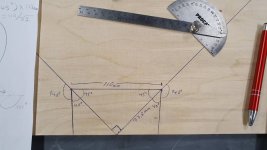
Next the lines are drawn with a sharp pencil after bolting the rails down in their final location on the slate. Notice the right hand compared to the left hand. Right off the diamond assembly line. And this wasn't the worst one, just the one I took a photo of. Had the rails been short of the desired size Glen would have had to extend them before marking them with the pencil. Fortunately not necessary on my table.
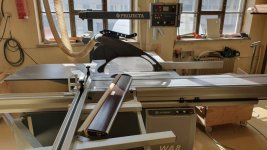
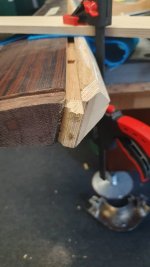
Next is the sled with the compound miter saw, sanding disc in place. The sled is designed to use the feather strip again for perfect alignment.
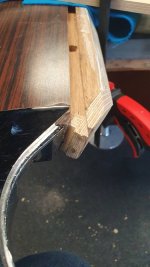
Now here is the rail in the sled on a corner pocket. Compound saw set exactly for opening angle and down angle as desired. Rail in perfect alignment using feather strip. Feed it into the sanding disc ever so gently and cut that pencil line in half. Very cool to observe!
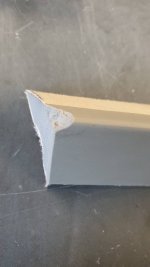
Here is the same operation on a side pocket
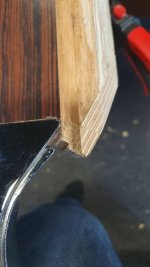
The finished product off the sanding disc
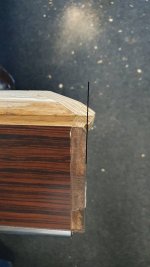
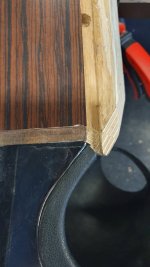
And then with the facing installed
This operation was just a small fraction of all the precise repairs and modifications the RKC did on my old diamond table. He changed the angle of the rails where the rubber glues on first to make it "Blue Label". Which was another equally enlightening and fascinating operation.
The enjoyment this table has brought to my life up until this very day is immeasurable.
I know there are haters out there for various reasons but IMO this man is a genius at what he does and some other things as well.
Hope you enjoyed!
![1 [1600x1200].JPG](/data/attachments/548/548138-ebae64a05768f6795a179485ecffc69c.jpg?hash=665koFdo9n)

")
") Aside from pool, the table is used to play "snooker" with pool ball sized snooker balls, and I thought it would be appropriate if we had that table with properly tight pockets and Simonis 760 green cloth. We have another two 9ft pool tables as well which have a more forgiving setup.
Aside from pool, the table is used to play "snooker" with pool ball sized snooker balls, and I thought it would be appropriate if we had that table with properly tight pockets and Simonis 760 green cloth. We have another two 9ft pool tables as well which have a more forgiving setup.