So in another thread, there's a little discssion going on about "A" joint adhesives. It's a topic I am immensely interested in, so I figured I'd begin a new thread so to not side track the other.
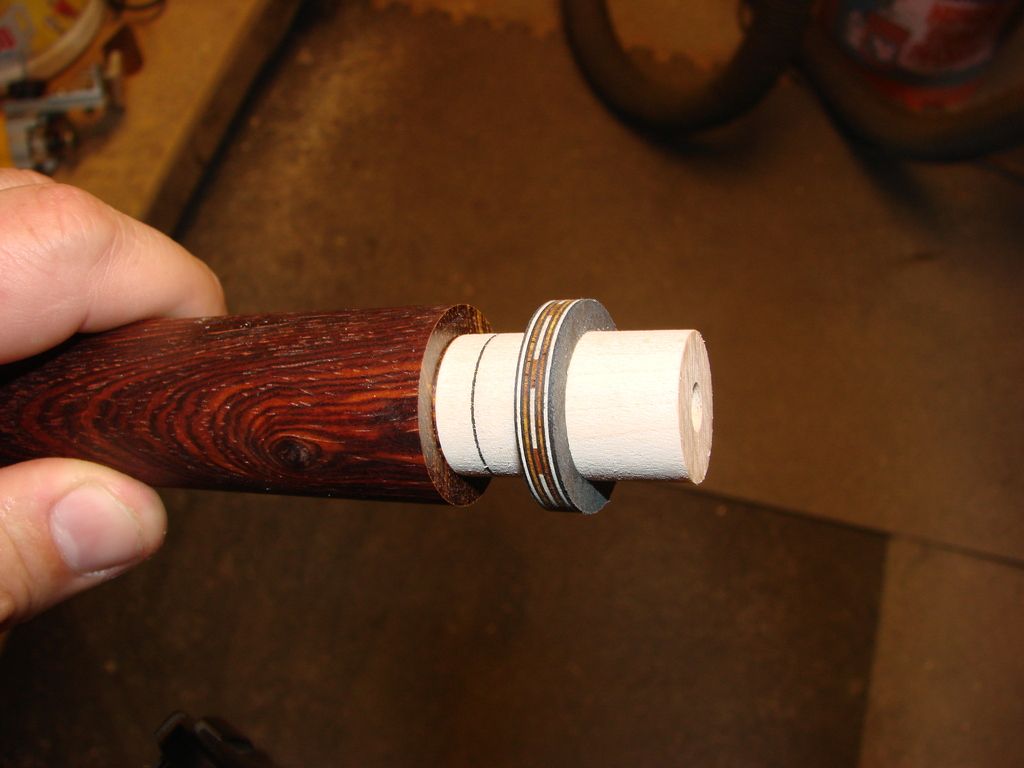
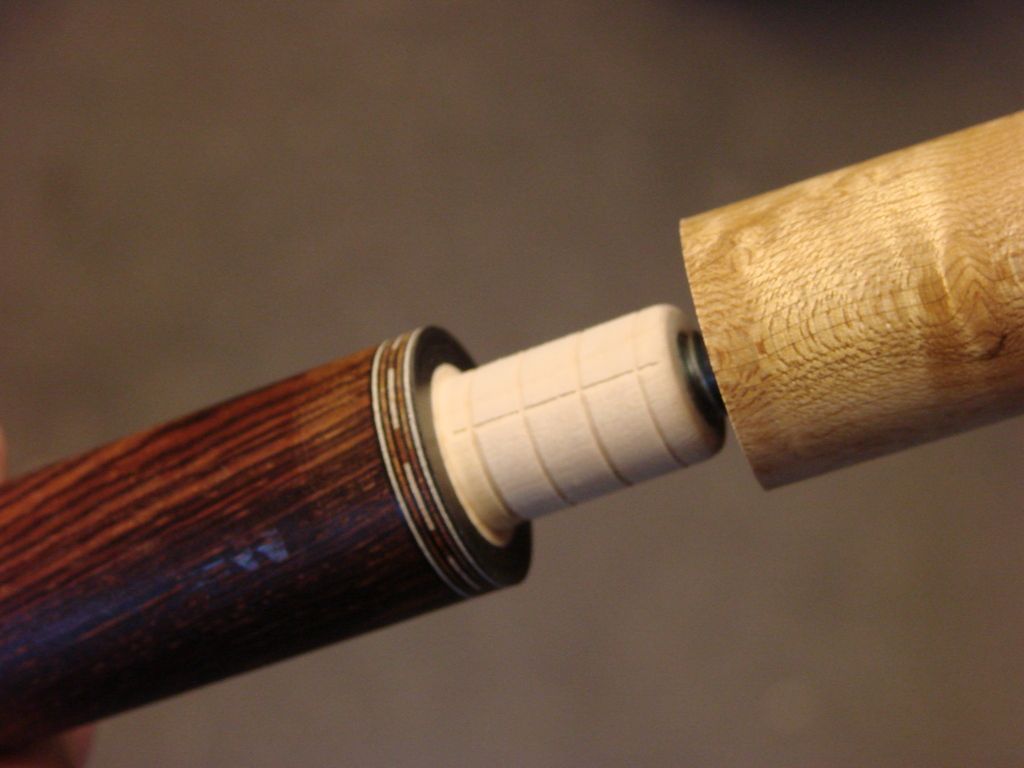
Here's some pics of a typical "A" joint of mine. I begin with a 3/4" tenon on the back of the forearm, fit the ring on, then shave the tenon on down to 5/8". It's an inch long and fits nicely into a 5/8" bore in the handle. Pretty standard stuff. My question is about the adhesive. What difference would it make if I use a thin viscosioty epoxy, or a thick viscosity epoxy? Or would it even matter? There's conflicting views on viscosity. The tenon fits the bore smoothly with only a couple thou glue room. Note the glue chanels lon/lat on the tenon. The stud is 3.75" long, equally split between handle & forearm.
Here's some pics of a typical "A" joint of mine. I begin with a 3/4" tenon on the back of the forearm, fit the ring on, then shave the tenon on down to 5/8". It's an inch long and fits nicely into a 5/8" bore in the handle. Pretty standard stuff. My question is about the adhesive. What difference would it make if I use a thin viscosioty epoxy, or a thick viscosity epoxy? Or would it even matter? There's conflicting views on viscosity. The tenon fits the bore smoothly with only a couple thou glue room. Note the glue chanels lon/lat on the tenon. The stud is 3.75" long, equally split between handle & forearm.


") I wondered if anybody would catch that.
I wondered if anybody would catch that.

")