Installing Tips

jsaxman

It's all about ass!
Silver Member
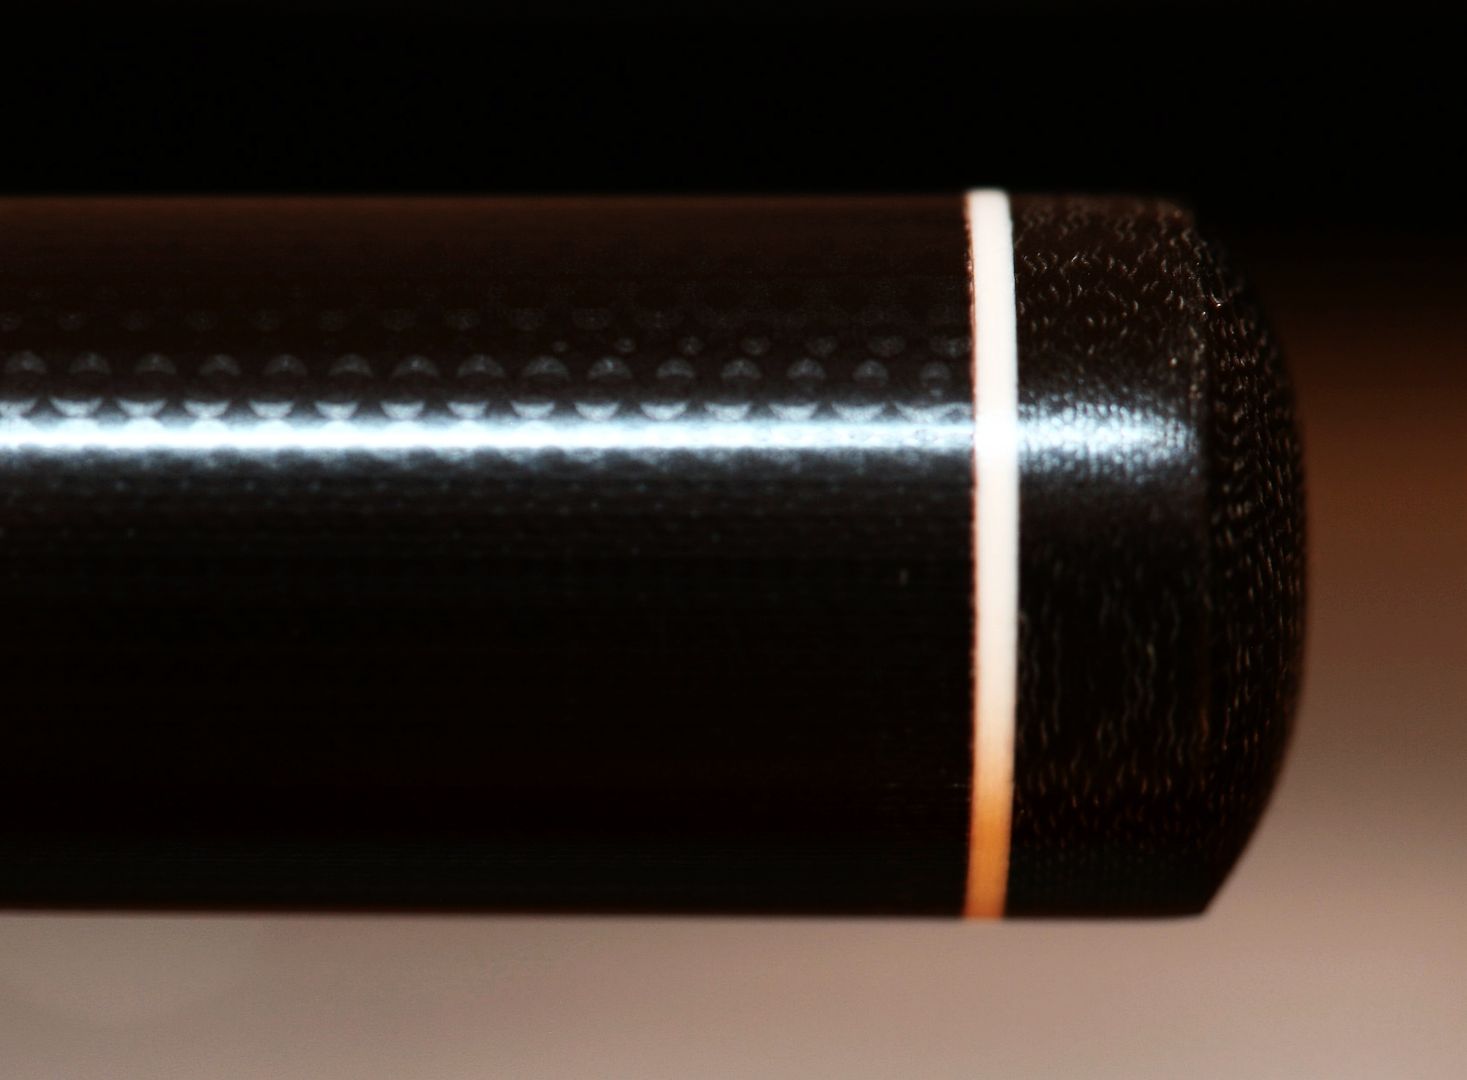
How do you install tips?
1) face off ferrule
2) sand ferrule (area to be glued ) 100 grit sand paper
3) removed
4) sand tip 100 grit sand paper
5) tape ferrule up to edge where tip is glued
6) Glue on tip Loctite Super Glue gel
7) Trim sides of tip
8) shape tip to dime curve (quarter curve for break tip)
9) clean up ferrule (remove light scratches/ chalk marks)
10) 400/600/800 grit smooth out tip/ferrule
11) black marker tip sides -Not sure if this is ok to do?
12) coat of wax
13) buff
14) light scuff tip
15) chalk up tip
MODIFIED!!! list

IS it wrong to use utility knife to make light groves in tip and ferrule? YES!
Do not do that Dumb shit Sax!!!!!


How do YOU Install Tips?


jsaxman


Any feedback is welcome....

all ways ....looking for better way to refine....how to install tips!!!!
 
Last edited:

jsaxman

It's all about ass!
Silver Member
fiber pad

Also, I install a fiber pad between tip and ferrule.
Is this a waste?
I think the pad helps protect the ferrule.

The high end tips ....I use carbon fiber pads from ob1.
 

Kim Bye

AzB Silver Member
Silver Member
Sounds about right. Do you have a tip install we can see?
I always clean the ferrule with Mirka polish before i glue a new tip on, so I don`t accidentally seal in some old chalk rests when gluing on a new tip.
When it comes to fiber and carbon pads. I ask the customer.
When I install tips on house cues, I always use a red fibre pad, that way I can at a glance see wich house cues are nearing a tip change.

Here is a Mezz Black Ingot on a G10 ferrule, it`s taken with a 100mm macro.
cca6de50-247b-4425-a6d7-de5ea77cac3c.jpg
 

jsaxman

It's all about ass!
Silver Member
glue

when I glue fiber pad to tip and
tip, with fiber pad to ferrule, I press together snug....NOT a lot of pressure

You press too hard......not much glue is in glue joint.....weak bond?

You WANT a layer of glue between parts. Does this seem the right way?

Sax
 

jsaxman

It's all about ass!
Silver Member
ferrules

some ferrules do not bond with Loctite super glue gel very good.

What other glues do you use for tips?

Sax
 

jsaxman

It's all about ass!
Silver Member
cue builders/ cue repair

Any cue builders or cue repair people wish to tell HOW do you install Tips????


Sax
 

Sheldon

dontneednostinkintitle
Silver Member
How does "scoring" make CA glue adhere any better? I have read that flat surfaces actually work better.
I could never bring myself to do such a thing, it seems too much like vandalism. :D
 

Paul Dayton

AzB Silver Member
Silver Member
Scoring the tip and ferrule was what I did in the 60's with Tweetens cement. It is totally unnecessary with Loc tite gel. I leave out 2,3,5 and 11. For most cases where the tip doesn't stick you need fresh super glue. It does age badly,(Huh, that rings a bell) Also, some tips, Moori's in particular,need to have the bottom pre treated with super glue before applying to the ferrule. Put some on, let it harden, lightly sand and apply. Also clean the ferrule with Magic Eraser before using any glue.
 

shakes

AzB Silver Member
Silver Member
1) face off ferrule
2) Clean Ferrule With Magic Eraser
3) sand tip 80 grit sand paper
4) apply Loctite liquid super glue to bottom of tip let it sit for about 10 seconds then wipe away on Delrin cutting board
5) lightly scuff bottom of tip with 80 grit sandpaper until the shine of glue is gone

6) Glue on tip Loctite Super Glue gel
7) Trim sides of tip
8) shape tip to curve customer requests. Stock is nickel (quarter curve for break tip)
9) 600/800 grit sand sides of tip
10) burnish tip with leather

11) coat of wax
13) buff
14) light scuff tip

Red comments are those I added. See dzcues video below to watch the pre glue process I mentioned in step 4.

https://youtu.be/oYARSoHlGFA
 

jsaxman

It's all about ass!
Silver Member
thank you

I wish to Thank You all for the feedback.

No more cutting groves in ferrule or tip!!!!!

A thin layer of glue on some tips......dry.......light sanding...makes sense

Some tips suck up glue like a sponge

tape ferrule before applying glue.....great idea

I still like to use fiber pad....unless customer say no way

Does using a marker on side of tip......dry out the tip?
if the sides of tip is sealed, the marker does not suck up in to the tip?

Also, Is it wrong to angle the side of tip, from ferrule to edge of tip a
few thousands of inch? this slows down the mushroom effect of tips?


Thanks Again for the feedback!!!!!


Sax
 

Kim Bye

AzB Silver Member
Silver Member
Why do you want to use a marker on the side of the tip??
If you cut the tip at a slight angle to counter mushrooming, I would check with my customer first.
How long do you leave the tip? Some tips like Kamui, Zan and Fuji are meant to be trimmed down quite a bit. If you do a nice gentle burnish, you want see much mushrooming.
 

jsaxman

It's all about ass!
Silver Member
marker/sand sides of tip

The black marker on the side of the tip.....
You get a good contrast of white ferrule / black tip
as you are down in shooting position

I do not trim sides of tip with tooling
Just light sanding the side of the tip
so, at the edge of the tip near the curve (Dia)]
is a few thousands smaller than the (Dia) at
the ferrule/tip joint.

Sometimes I get TOO into installing a tip.
Nothing is perfect
Just do the BEST I can do.....leave it alone!!!!

I hate the porcupine type of scuffers ......
so many......pound the shit out of the tip with them
scratch the hell out of the ferrule / destroy the tip

Used correctly, light tape of the tip curve, they
help the chalk stay on the tip.

so many do not know WTF they are doing, when scuffing/shaping the tip

After they destroy the tip.... then come back to me....
Sax... you put on a defective tip!... PUT ON A NEW ONE! free!

Ya! Right!


later,
sax
 

speedy5963

speedy5963
Silver Member
If you are doing the install by hand the process will probably differ a little from someone using a repair lathe etc.

Below I installed a milk dud and fiber pad, the pad was glued on with CA glue, then the tip, I did scuff all surfaces lightly. After allowing the pad to dry, I glued the tip, then trimmed with my lathes cutting tool. Getting it fairly close to the ferrule, I used some 240 grit paper on the tip to get it about flush with the ferrule. I then used some finer papers, 1500-2500 prior to burnishing the tip.


tsp&b

Well-known member
Silver Member
Good job!!

If you are doing the install by hand the process will probably differ a little from someone using a repair lathe etc.

Below I installed a milk dud and fiber pad, the pad was glued on with CA glue, then the tip, I did scuff all surfaces lightly. After allowing the pad to dry, I glued the tip, then trimmed with my lathes cutting tool. Getting it fairly close to the ferrule, I used some 240 grit paper on the tip to get it about flush with the ferrule. I then used some finer papers, 1500-2500 prior to burnishing the tip.


speedy5963, That is a very good looking job.:thumbup::thumbup::thumbup:
 

likestorack

Registered
1. cut 90% of old tip off with razor blade
2. face off ferrule
3. sand tip
4.clean ferrule and or tip
5. glue on and clean exes
6. trim sides and shape
7. sand seal burnish wax and scuff
 
Top