I am new to cue making and I have a Deluxe cuesmith that I am working with for all my cue building processes currently. I am planning on building my first few plain jane cues so I can start perfecting a taper that I like and try my hand at putting together and finishing some basic cues. So I am getting ready to purchase some joint pins and taps and all that fun stuff and I'm trying to get some opinions or advice from the people that have been there and done that.
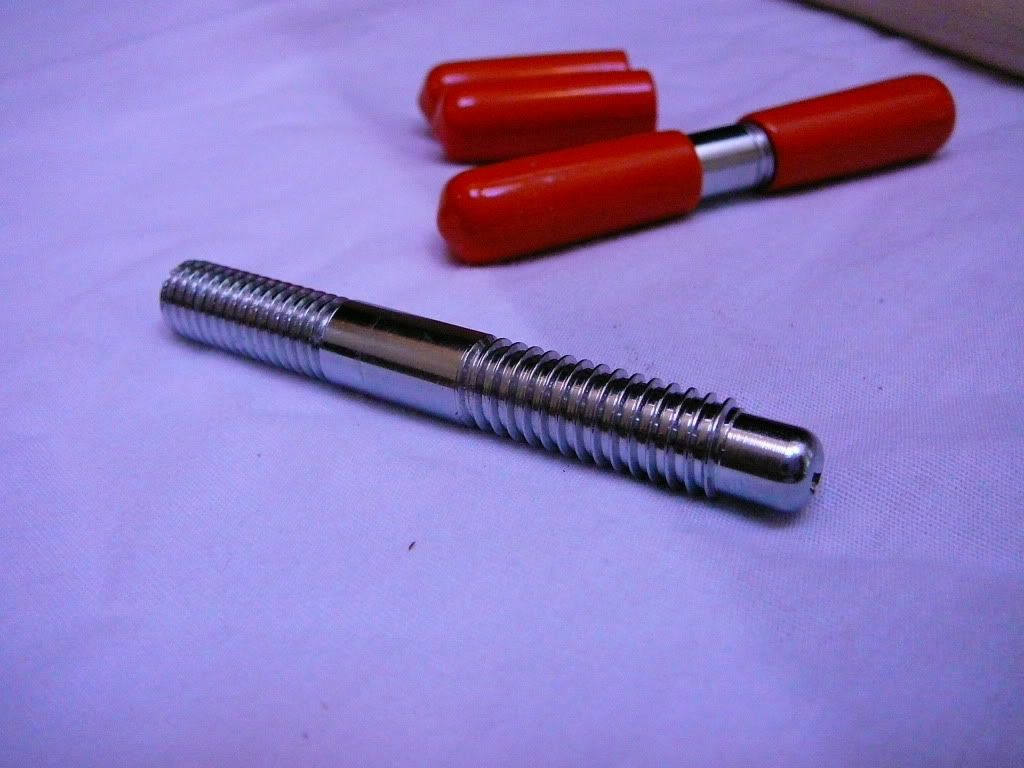
My first question is about joint pin selection and any advice on suppliers and any pros and cons. My preference is for Big Pin cues like Southwest, Bender, and my current Barnhart. I like the radial on my Barnhart, but I preferred the tighter pins on Southwest and Bender even more. So I am considering either using a 3/8x11 SW style pin or a 3/8x10 flat .308 minor dia SW style pin. One of the suppliers that I looked at has a 3/8x11 shouldered pin with a small thread 5/16x14 that attaches to the forearm which has me wondering about the advantages of this design? Also I noticed that neither of the shouldered pins that I am looking at have a glue relief notch, and I'm wondering if that is less necessary with shouldered pins versus traditional all thread joint pins? Also any other pin supplier suggestions are always appreciated.

or .......

For epoxy, are most people using a 2 ton devcon epoxy at the joint and at the A-joint or is West Systems or BSI more popular as a thinner epoxy?
Thanks in advance for any advice or suggestions.
dakota
My first question is about joint pin selection and any advice on suppliers and any pros and cons. My preference is for Big Pin cues like Southwest, Bender, and my current Barnhart. I like the radial on my Barnhart, but I preferred the tighter pins on Southwest and Bender even more. So I am considering either using a 3/8x11 SW style pin or a 3/8x10 flat .308 minor dia SW style pin. One of the suppliers that I looked at has a 3/8x11 shouldered pin with a small thread 5/16x14 that attaches to the forearm which has me wondering about the advantages of this design? Also I noticed that neither of the shouldered pins that I am looking at have a glue relief notch, and I'm wondering if that is less necessary with shouldered pins versus traditional all thread joint pins? Also any other pin supplier suggestions are always appreciated.
or .......
For epoxy, are most people using a 2 ton devcon epoxy at the joint and at the A-joint or is West Systems or BSI more popular as a thinner epoxy?
Thanks in advance for any advice or suggestions.
dakota