Attachments
Last edited:
brianna187 said:Almost ready now taking orders............
hmalakoff@chartermi.net
qbilder said:How do these work, exactly? I'm not picturing it. How does the forearm attach?
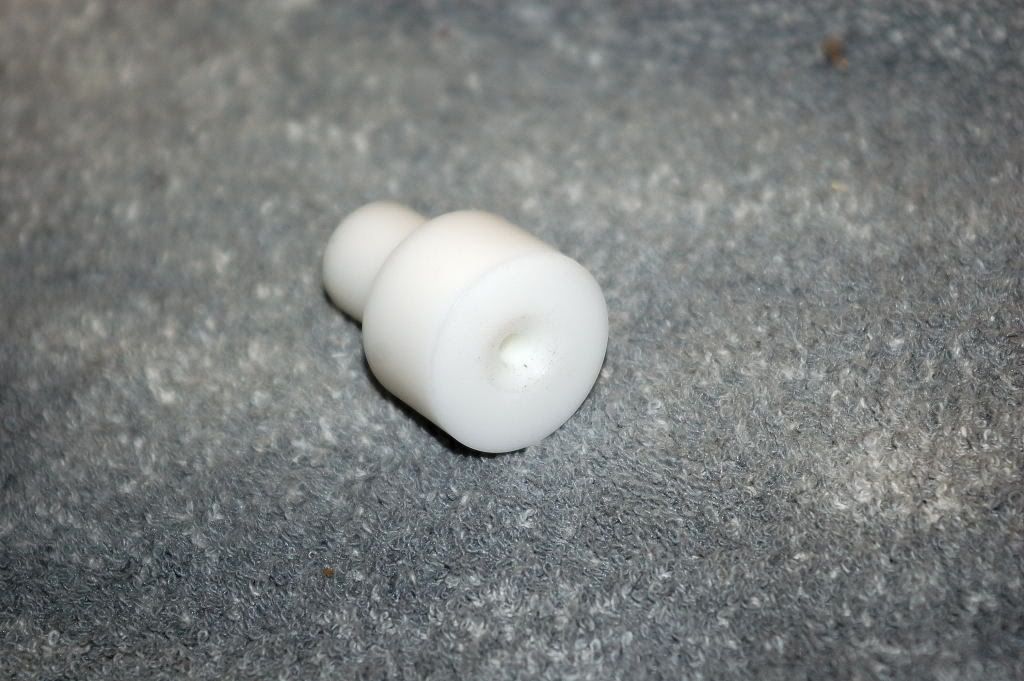
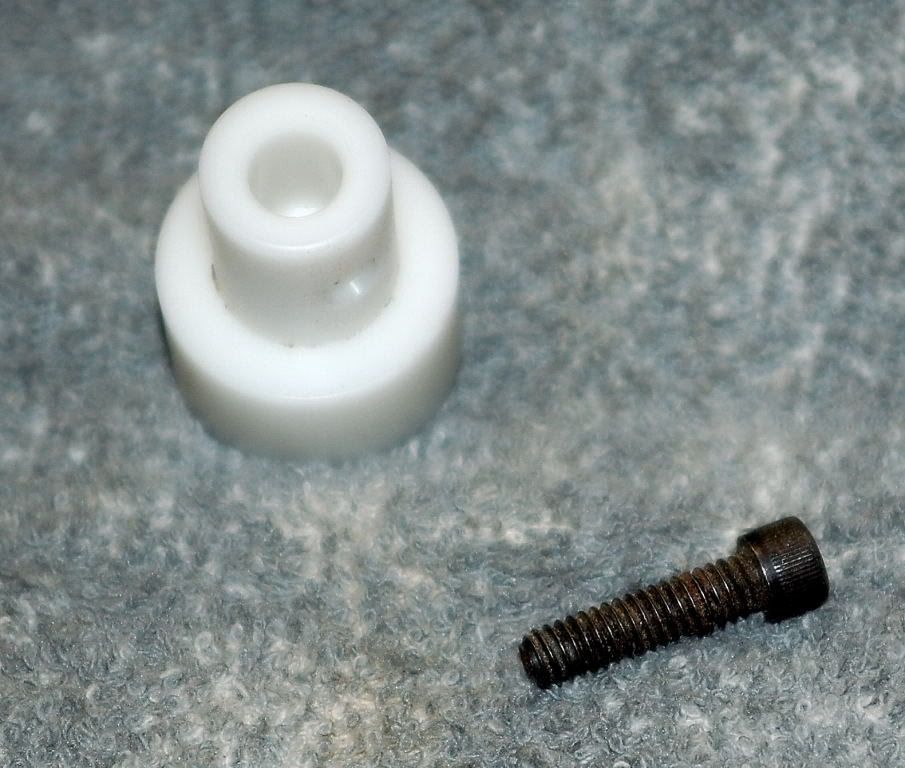
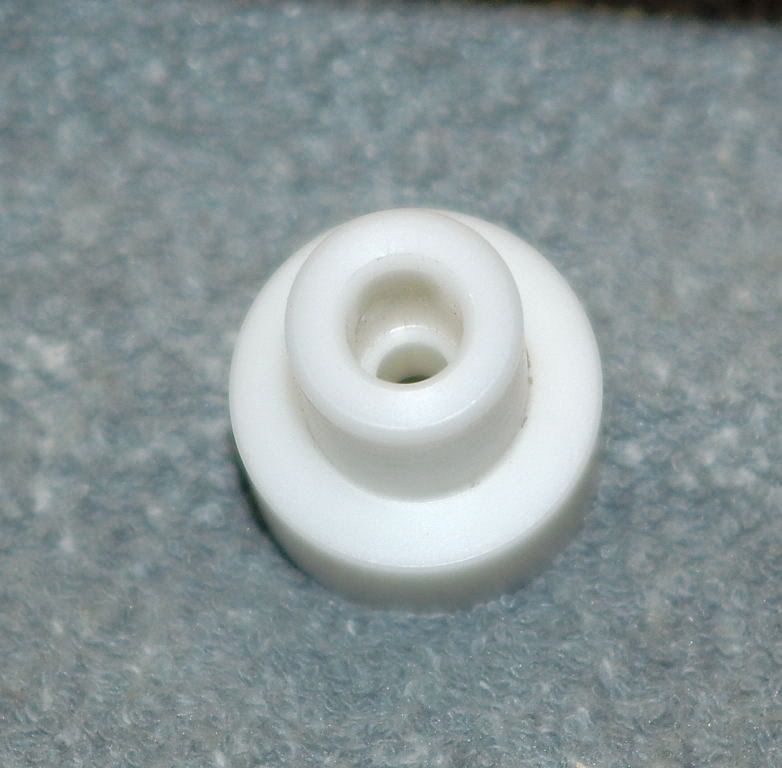
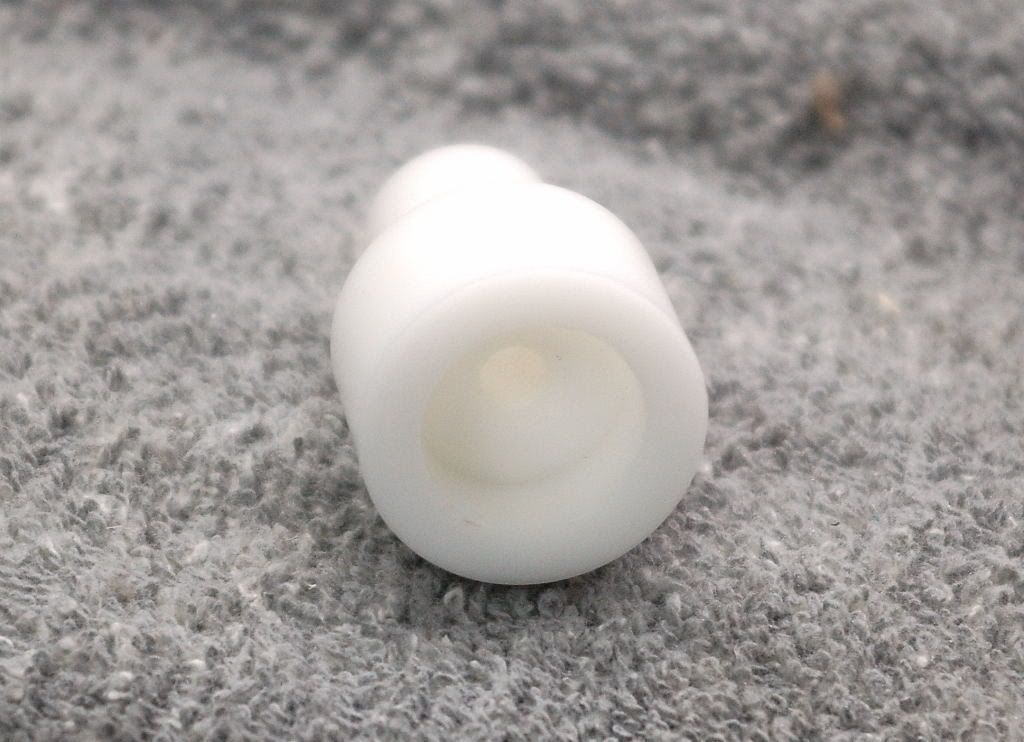
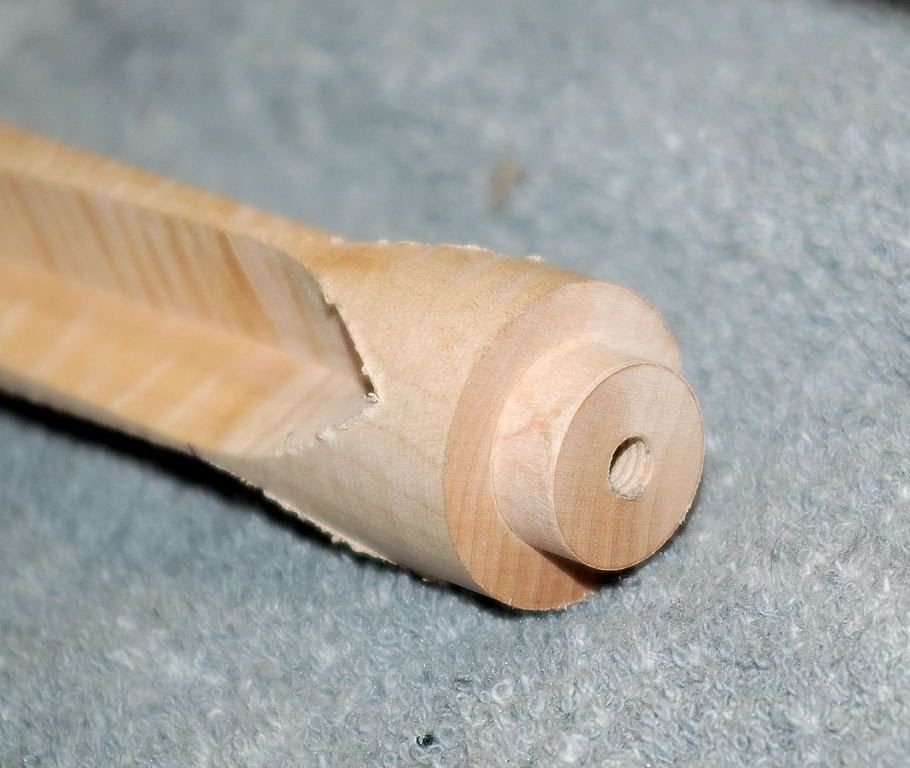
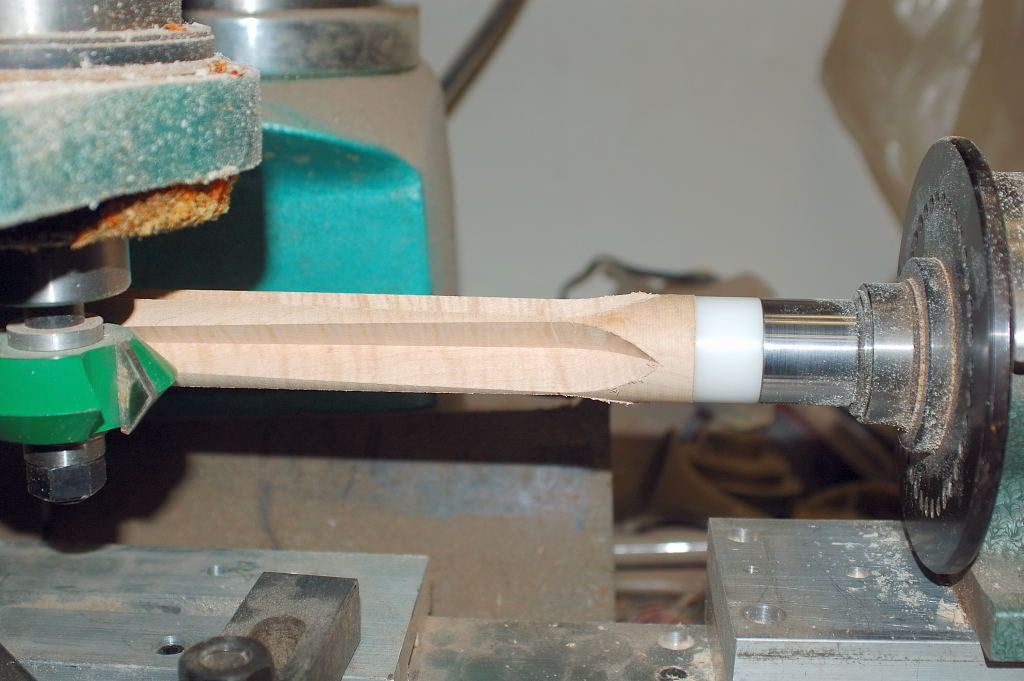
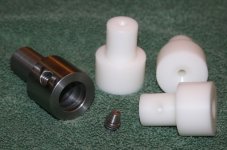
Mc2 said:I have used the prototype on this one. You will need to attach the forearm to the plastic piece on a semi-permanant bases. That means making a small tennon on the back of the forearm, drilling, and tapping to match your temporary pin. Now you will need to have already drilled, tapped, and install a pin into the plastic and make this permanant. The steal piece will stay chucked up in your mill. The forearm and the plastic piece you can be removed. Glue or turn the forearm then re-attach to the steal piece in the exact same location with out the need to re-set position with what ever indexer you are using. This makes cutting 6 or 8 points that overlap a breeze and recuts easy. Oh and the important one, if I make a mistake, I can cut out the glued in point and do over. I don't like to trash wood if I don't have to.
Jim.
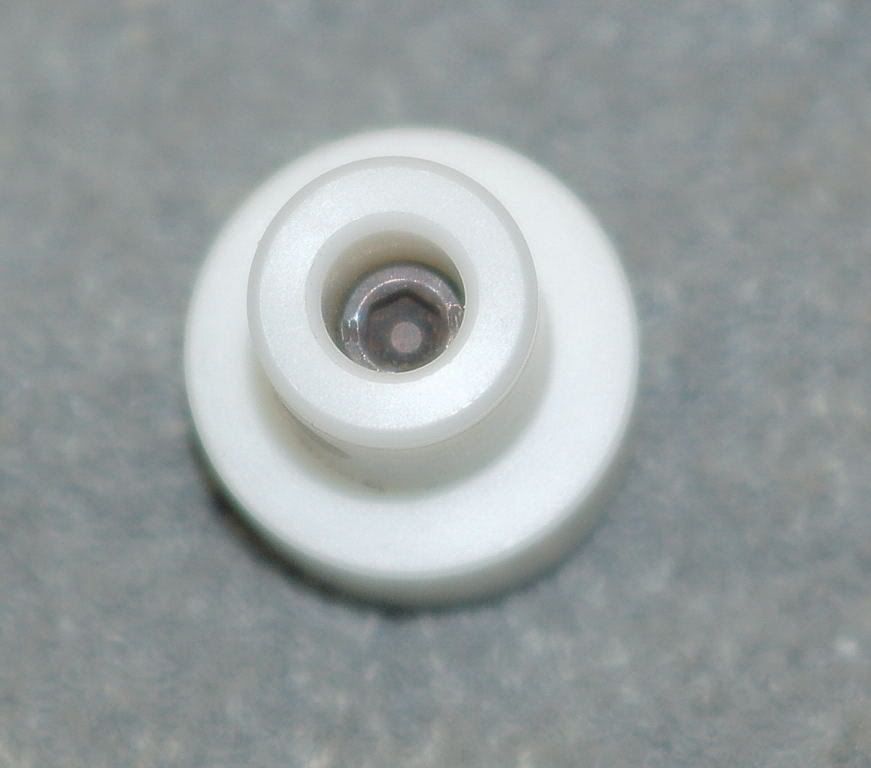
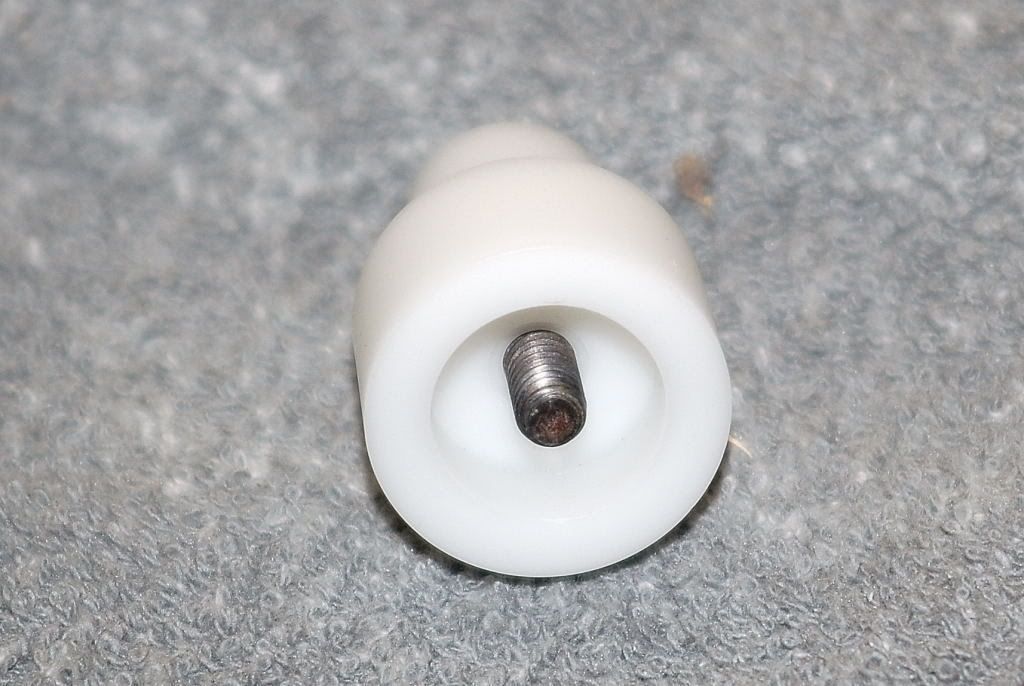
Mc2 said:Arnot, the temp. pin could be 1/4 20, 5/16 14 or 18, or a 3/8 10. The nice thing about the delrin blank is that you can configure yourself. If you wanted to tap out the delrin blank and screw the tennon directly in I would think that would work as well. I too would be concerned with glue bond in delrin whoever, the prototype I used was glue with that special glue from Atlas for delrin and I had no trouble with the pin comming out. As far as the delrin locating on the steal mandral, the steal mandral has a hole that is threaded with a locating pin inserted. The pin is tapered so that the delrin will locate in one position only with no play.
hope this helps, Jim.
jim thanks for helping out we had many differant requests for pin size we are leaving that up to the customer this works great as you know the extra plastic colllors allow you to work many fore arms as you have collarsMc2 said:Arnot, the temp. pin could be 1/4 20, 5/16 14 or 18, or a 3/8 10. The nice thing about the delrin blank is that you can configure yourself. If you wanted to tap out the delrin blank and screw the tennon directly in I would think that would work as well. I too would be concerned with glue bond in delrin whoever, the prototype I used was glue with that special glue from Atlas for delrin and I had no trouble with the pin comming out. As far as the delrin locating on the steal mandral, the steal mandral has a hole that is threaded with a locating pin inserted. The pin is tapered so that the delrin will locate in one position only with no play.
hope this helps, Jim.
Arnot Wadsworth said:If I understand correctly, you drill and tap the delrin piece to accept a standard joint pin such as a 3/8-10. Next you glue the pin into the delrin connector. You then drill and tap the forearm to accept a 3/8-10 pin. Next you screw the 3/8-10 pin into the forearm making the connection between the delrin and the forearm. You do NOT glue the pin into the forearm - just screw it tight. Now you can cut points and if necessary remove the delrin connector from the steel mandrel and replace it in the same location.
You can re-use the same fixture by simply unscrewing the forearm from the delrin connector.
Correct?
Could you give a price for complete setup, and extra collars, etc? Thanks,brianna187 said:jim thanks for helping out we had many differant requests for pin size we are leaving that up to the customer this works great as you know the extra plastic colllors allow you to work many fore arms as you have collars
we sell extra collars also i really believe this is the most precise fixture of its kind out there thanks...lee
Mc2 said:Arnot, that would be a good assesmant. If you had any thoughts or ideas on this set up please let us know. If you forsee any downfalls as well.
thanks Jim.
Couldn't the user choose which end of the forearm to use with this device?Arnot Wadsworth said:I think I would try to drive the forearm from the small end rather than the large end. This would allow you to use a very small center in the large end thus eliminating the possibility of ruining your "V" cutter by hitting the stainless steel screw thus having deeper "V"'s.
I would prefer to have LBF drivers rather than delrin because of the glue factors. With LBF you would not be concerned with slippage as I would be with delrin.
Of course I have not tried to use this tool so my ideas are pure supposition. I am sure Mr. Malakoff has worked out all the bugs and can give you much better advice than I can.
Good Cuemaking,
Arnot Wadsworth said:If I understand correctly, you drill and tap the delrin piece to accept a standard joint pin such as a 3/8-10. Next you glue the pin into the delrin connector. You then drill and tap the forearm to accept a 3/8-10 pin. Next you screw the 3/8-10 pin into the forearm making the connection between the delrin and the forearm. You do NOT glue the pin into the forearm - just screw it tight. Now you can cut points and if necessary remove the delrin connector from the steel mandrel and replace it in the same location.
You can re-use the same fixture by simply unscrewing the forearm from the delrin connector.
yes your 100% correct you use any size pin that works best for you some wanted bigger and smaller so to please everyone we just did a .200 hole with a chanfuer i my self on the first one used a 5/16-14 and glued the pin in with delrin bond from atlas it has not come out yet you could if you want put a set screw thru the side of the delrin i am sure everyone will find this system works well and is very acurate we are working on other
ideas to use the driver for so you can put it multi tools when needed...lee
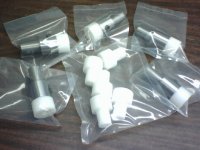
Dave sorry i missed your post the cost is $75.00 for the package shipped conus this includes the driver ,set screw, and 3 collets these are done and ready to ship this coming fridaySept 5th. we did recieve 5 set today which are already spoken for and will be shipped out this afternoon.any orders recieved will be shipped on friday sept 5th which is 1 week from tomorrow.thanks everyoneDave38 said:Could you give a price for complete setup, and extra collars, etc? Thanks,
Dave
new pictures postedbrianna187 said:Dave sorry i missed your post the cost is $75.00 for the package shipped conus this includes the driver ,set screw, and 3 collets these are done and ready to ship this coming fridaySept 5th. we did recieve 5 set today which are already spoken for and will be shipped out this afternoon.any orders recieved will be shipped on friday sept 5th which is 1 week from tomorrow.thanks everyone
--------------------------------------------------------------------------------brianna187 said:new pictures posted