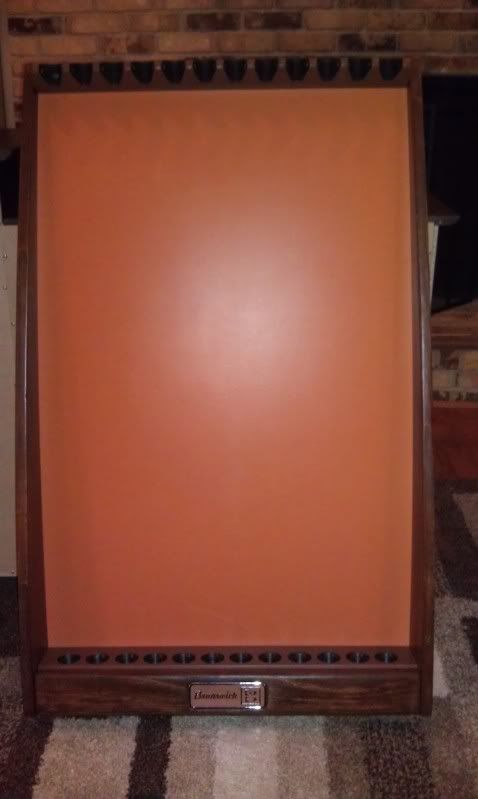
I had JZmechanix install my GC3 last october and wanted the cue rack to match. For the past while I have been using a porper cue holder for the cues I do have. So I purchased an old gold crown cue rack off of a fellow azer.
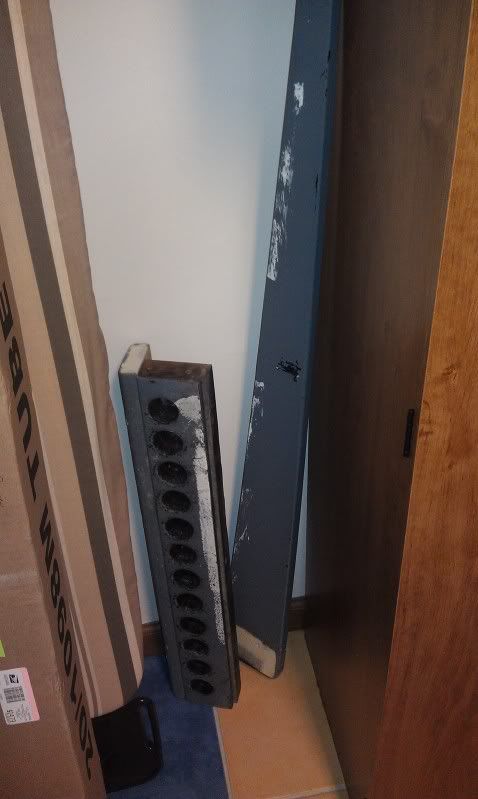
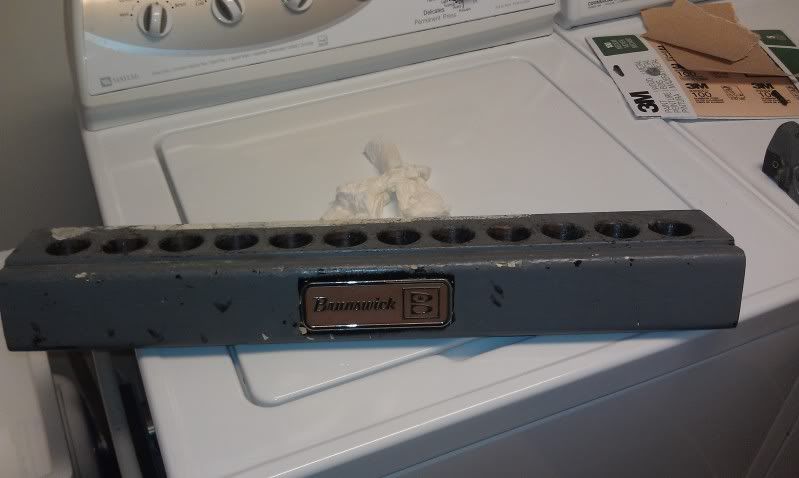
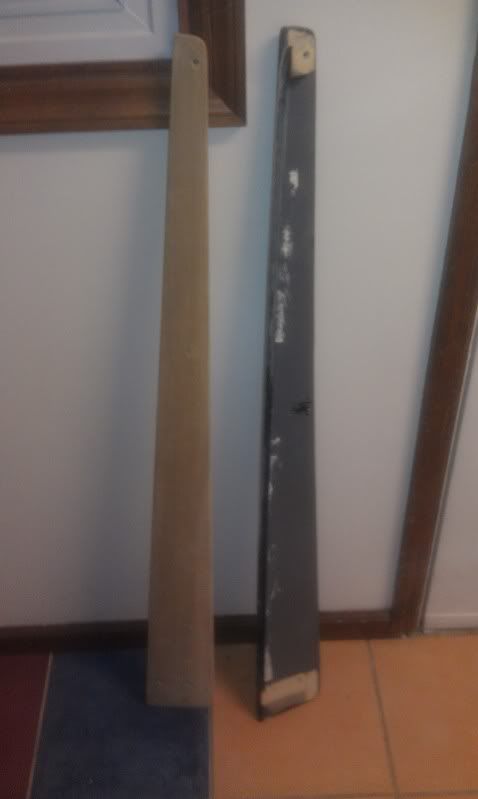
I expected the rack to be in rough shape for being 50 years old or so. The rack I purchased was sight unseen as he was selling a few of them. I got the rack with intentions of stripping it down and staining it to "match" my GC3 so any paint on it would not bother me. Got the rack in the mail and was pretty pleased with it. The Brunswick badge was in fantastic shape. Only real problems was at the top of the cue rack. Two of the "prongs" were broken off where the rubber insert goes through. Well I needed to find a way to fix that. Here are a few before pics.
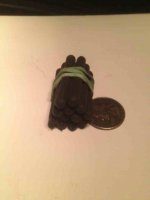
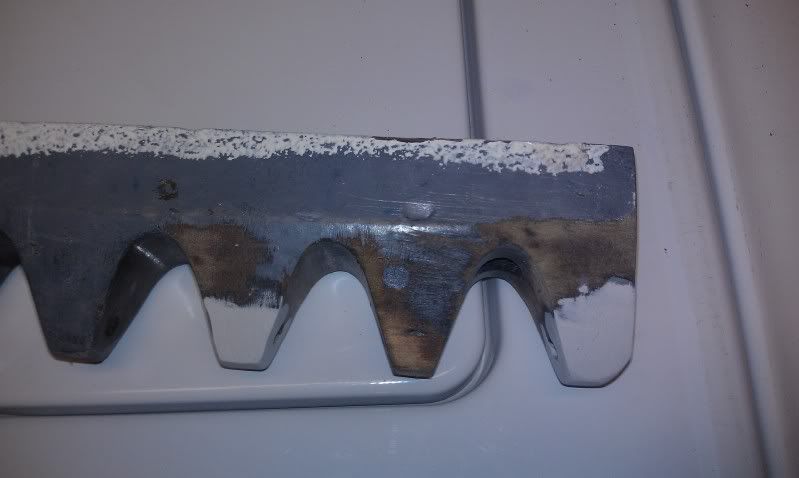
I went to ACE and found some expoxy. Basically you break off a piece of the epoxy and kneed it until the two parts mix with each other. At that point you only have a few minutes to work with before it starts to harden up. I got to caught up with the epoxy and when I went to snap a quick photo with my phone my phone told me my memory card was not inserted so I did not grab a pic of the before. Imagine the prong being completely off where the rubber goes though. I hammered a nail into each prong for the epoxy to have something extra to hold on to and then put the epoxy on. I tried to put more that what I would need so I could sand it smooth.

I let the epoxy dry over night and the next day I started to sand it down. I think it turned out pretty well!
Next I started to sand all of the THREE layers of paint off! Gray, black, and original white.
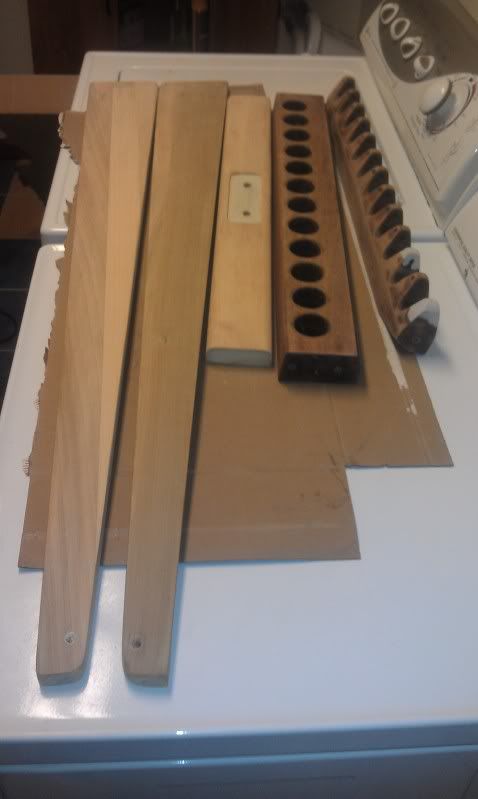
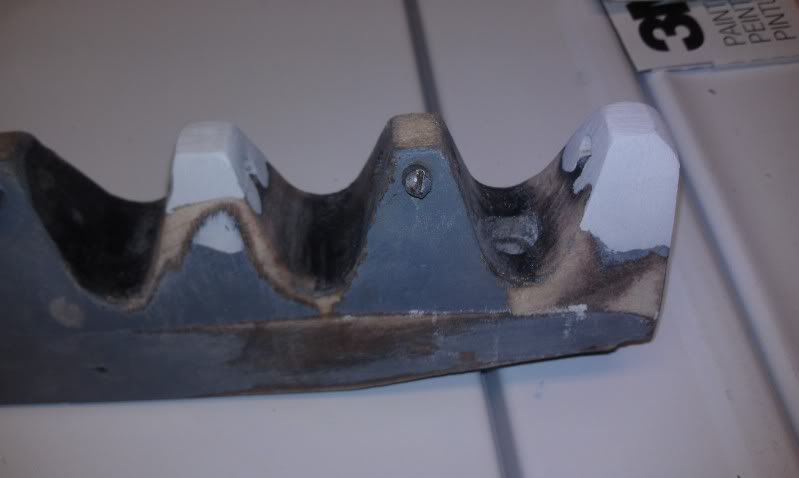
I almost forgot to fix a piece of the top part with some more epoxy.

I didn't get as much as I needed but it still worked as I needed it to. This part also has the lip for the top of the back insert. Believe the pic is pre sanding.

I expected the rack to be in rough shape for being 50 years old or so. The rack I purchased was sight unseen as he was selling a few of them. I got the rack with intentions of stripping it down and staining it to "match" my GC3 so any paint on it would not bother me. Got the rack in the mail and was pretty pleased with it. The Brunswick badge was in fantastic shape. Only real problems was at the top of the cue rack. Two of the "prongs" were broken off where the rubber insert goes through. Well I needed to find a way to fix that. Here are a few before pics.
I went to ACE and found some expoxy. Basically you break off a piece of the epoxy and kneed it until the two parts mix with each other. At that point you only have a few minutes to work with before it starts to harden up. I got to caught up with the epoxy and when I went to snap a quick photo with my phone my phone told me my memory card was not inserted so I did not grab a pic of the before. Imagine the prong being completely off where the rubber goes though. I hammered a nail into each prong for the epoxy to have something extra to hold on to and then put the epoxy on. I tried to put more that what I would need so I could sand it smooth.
I let the epoxy dry over night and the next day I started to sand it down. I think it turned out pretty well!
Next I started to sand all of the THREE layers of paint off! Gray, black, and original white.
I almost forgot to fix a piece of the top part with some more epoxy.
I didn't get as much as I needed but it still worked as I needed it to. This part also has the lip for the top of the back insert. Believe the pic is pre sanding.


")
")