Restoring a vintage Valley coin table

blackflagsailor

AzB Silver Member
Silver Member
Hi everyone. I am starting this topic because I have another topic started that is supposed to be for technical questions and I find myself posting the things that I have done to the table on there rather then staying on topic with the questions I need answers to. Here is my other topic if you'd like to take a look:

http://forums.azbilliards.com/showthread.php?t=264499

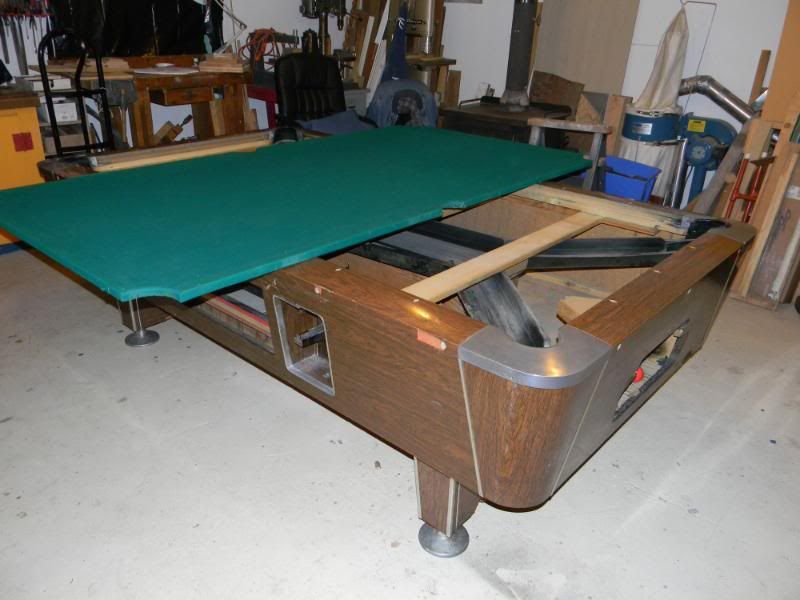
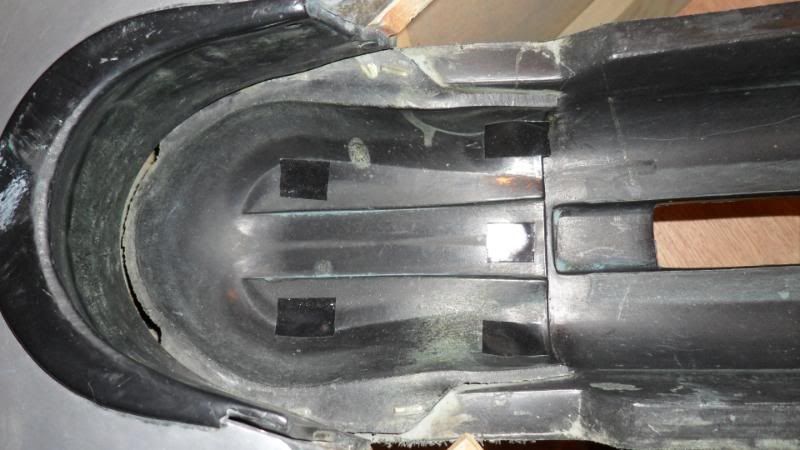
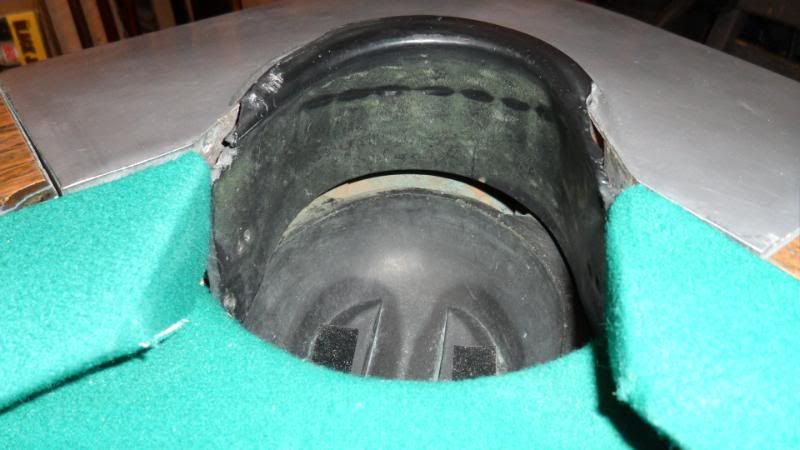
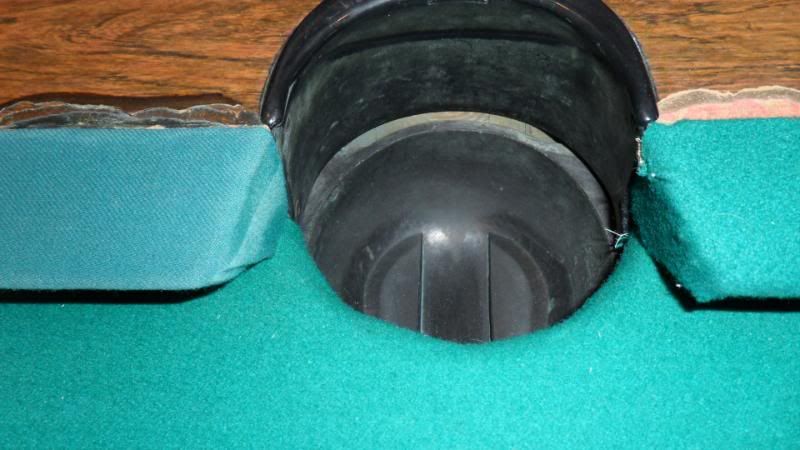
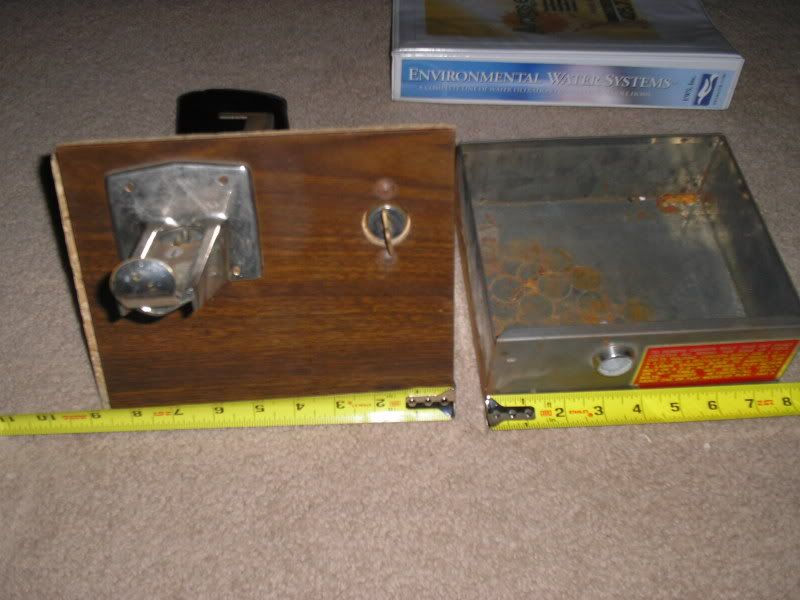
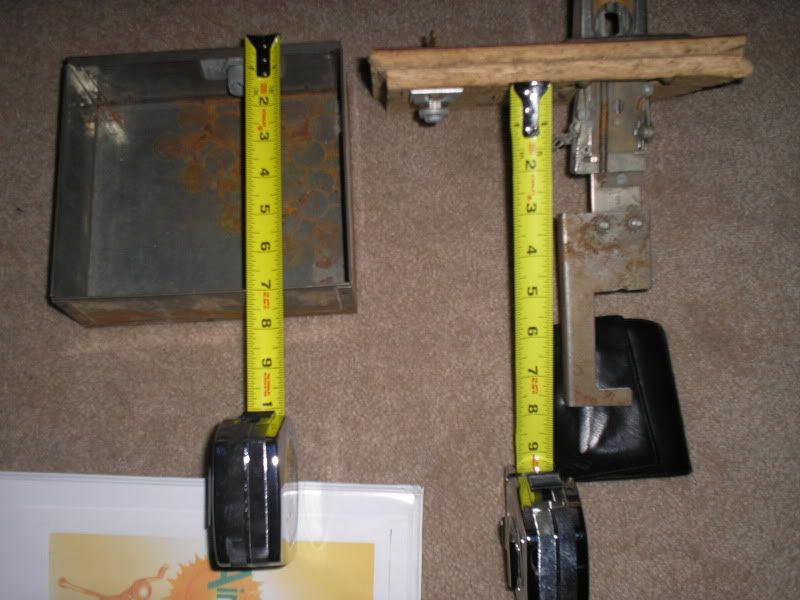
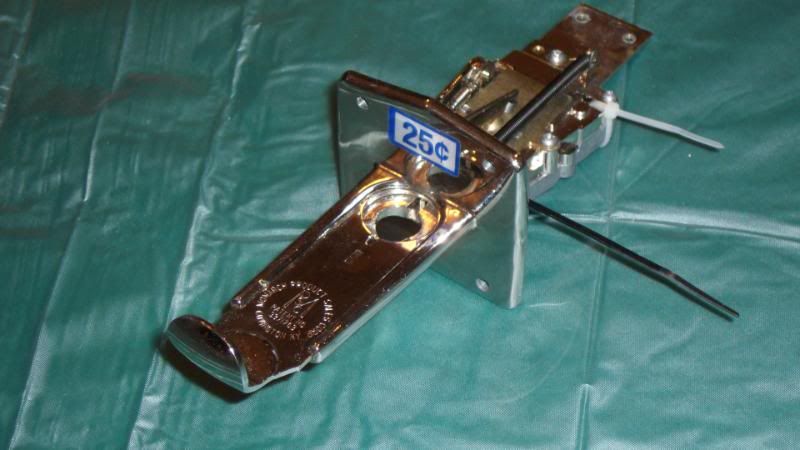
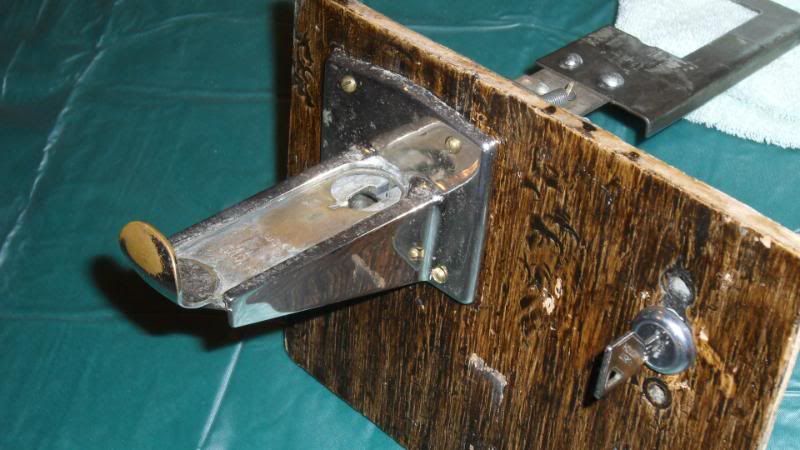
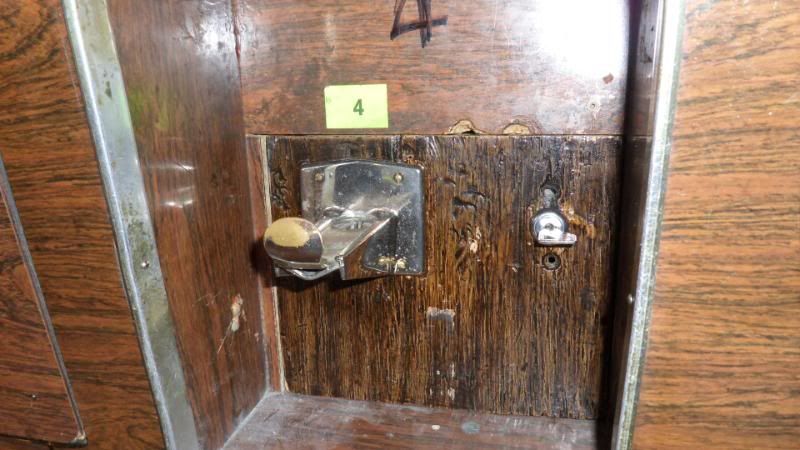
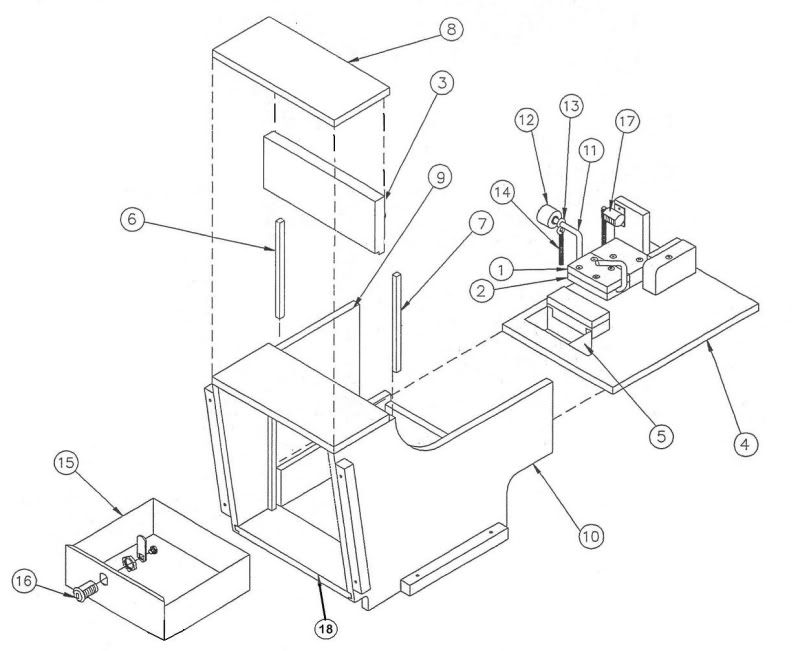
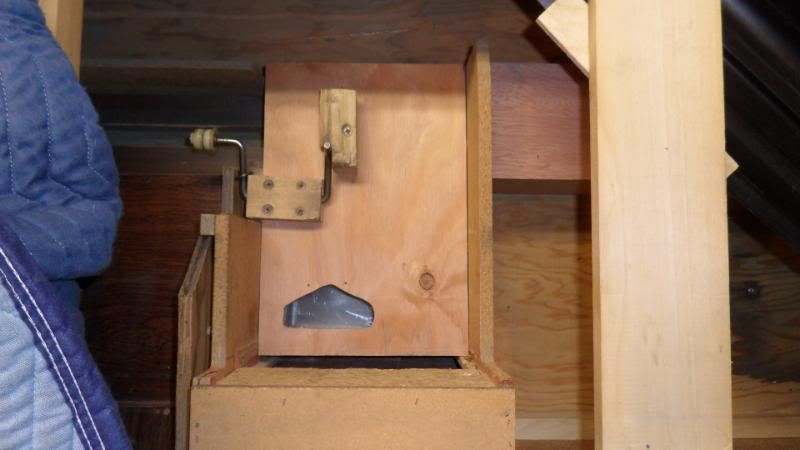
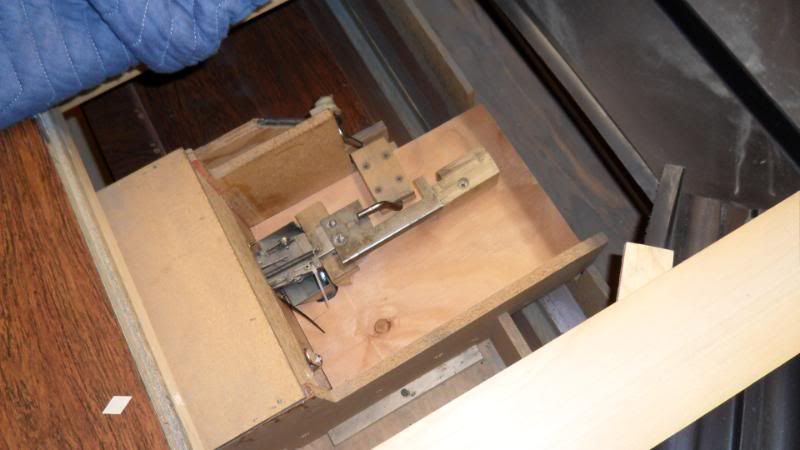
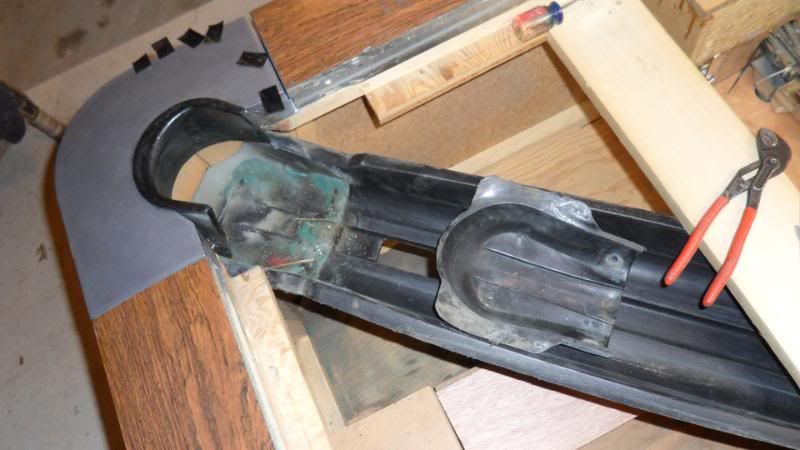
The table seems to be a 1969 model Valley coin pool table. It is an 8 foot table, with a 44" x 88" playing surface, 1" thick (actually it's 7/8"), solid single piece slate. The cue ball return will work with both magnetic and over-sized cue balls. (However, I have removed the ball trap, put the bolts back into their holes, now use the table like a ball return table, allowing me to use standard Aramith cue balls on the table)

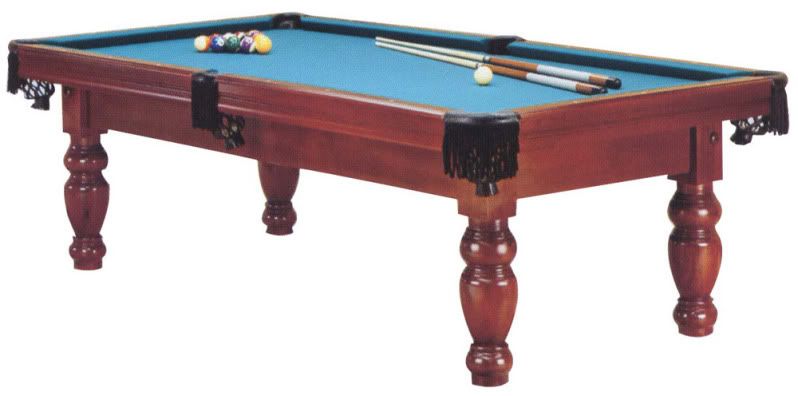
It is one of my favorite pool tables and is my favorite model that Valley has ever produced. My dad had the exactly same model when I was a kid.

I love this table. My plans are to have it restored. I know it's no antique Brunswick, but this is the table I like. I want to see about having the laminate redone. I'd also like to have mother of pearl diamond inlays installed instead of the screen printed ones that normally come on valleys. I just think it'll look nicer IMO. I also want to put Simonis 860HR on it.

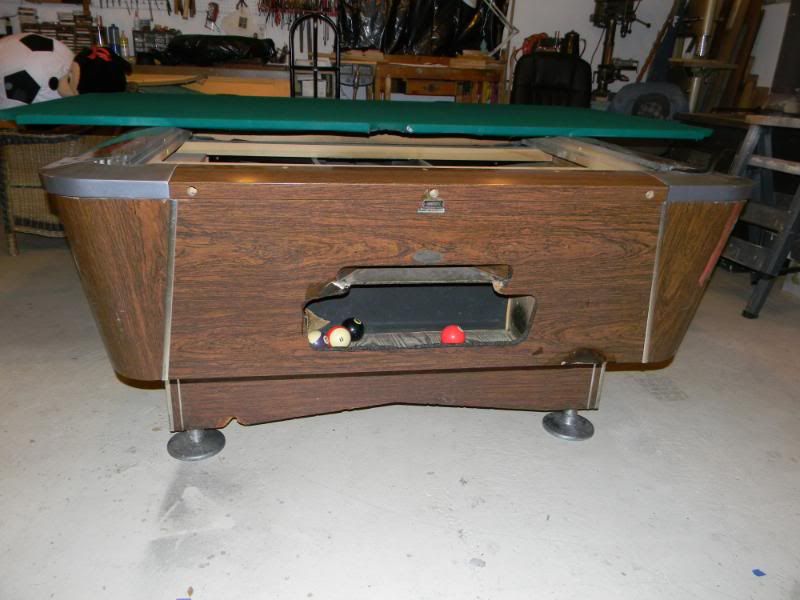
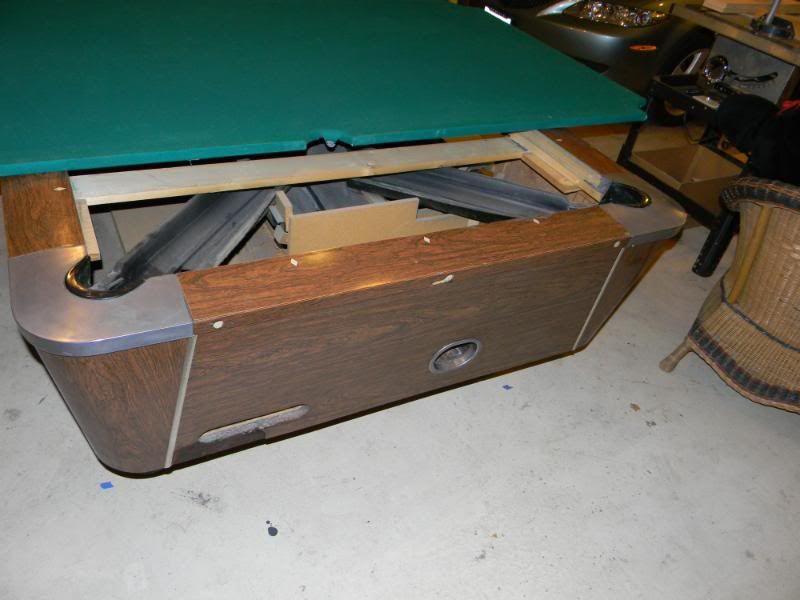
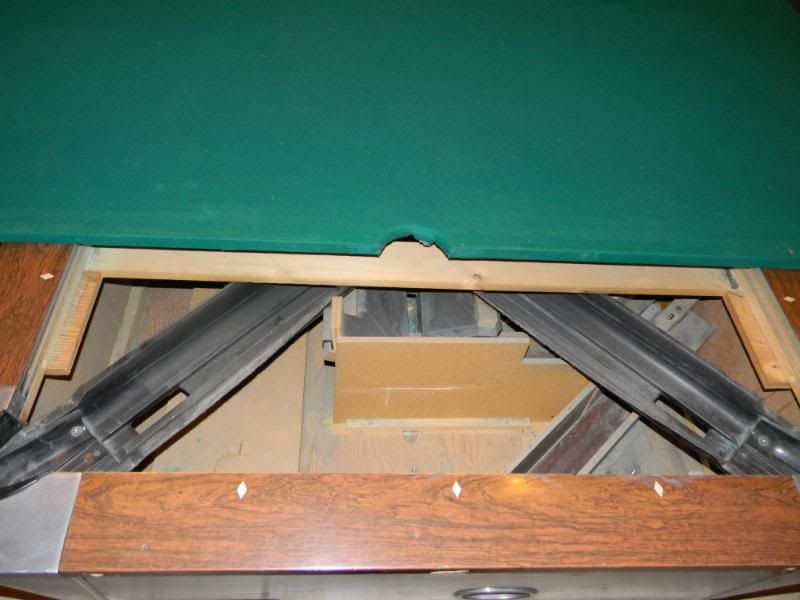
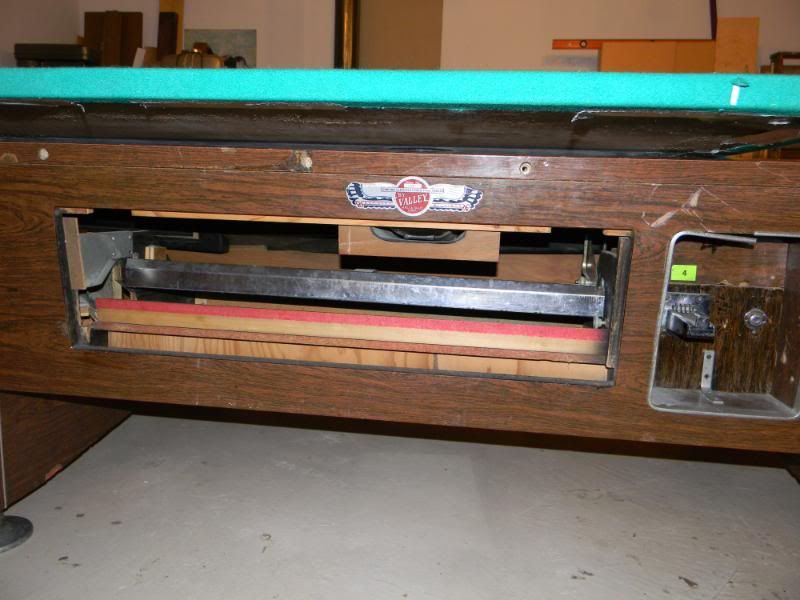
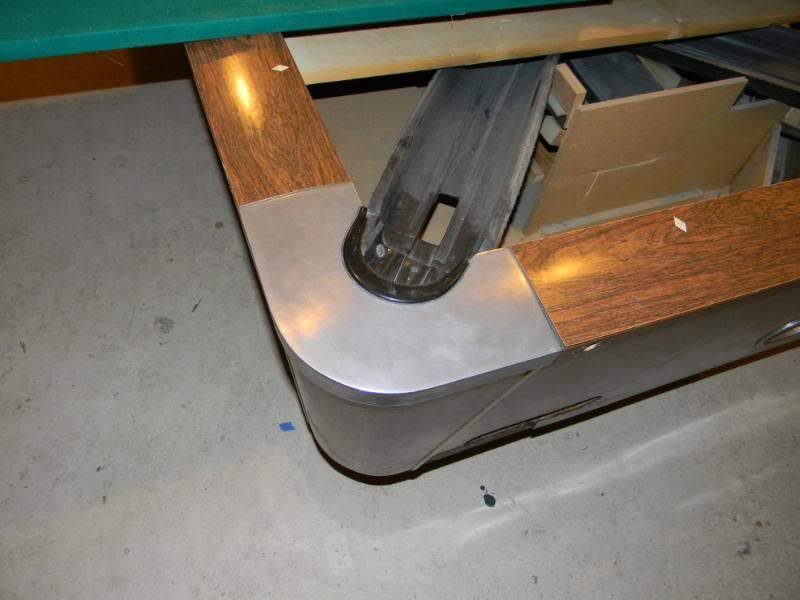
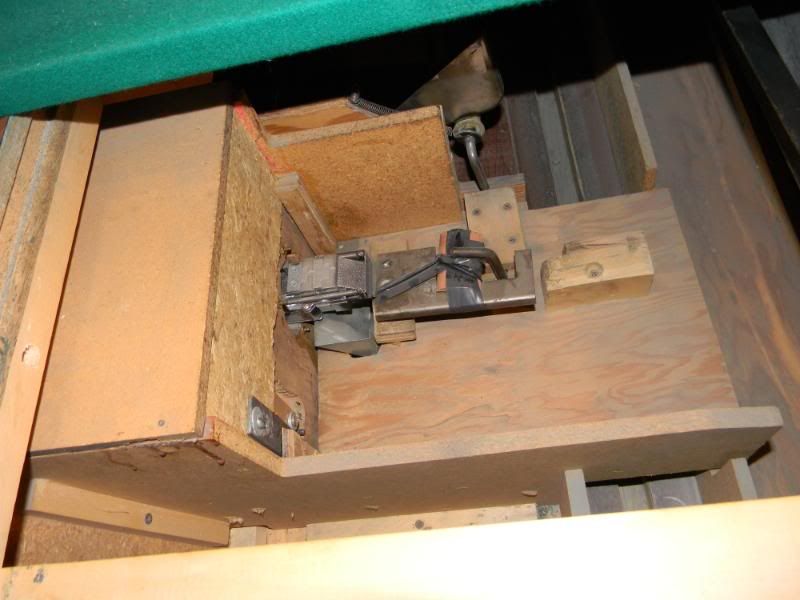
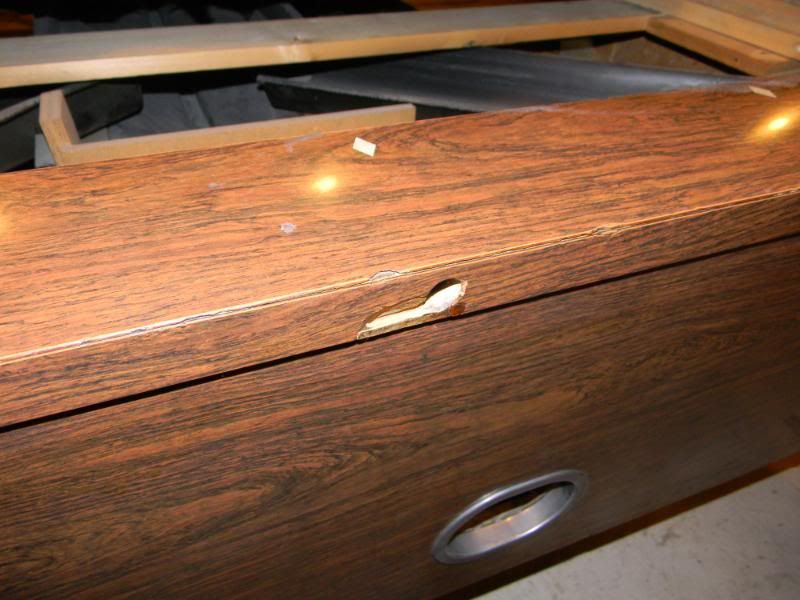
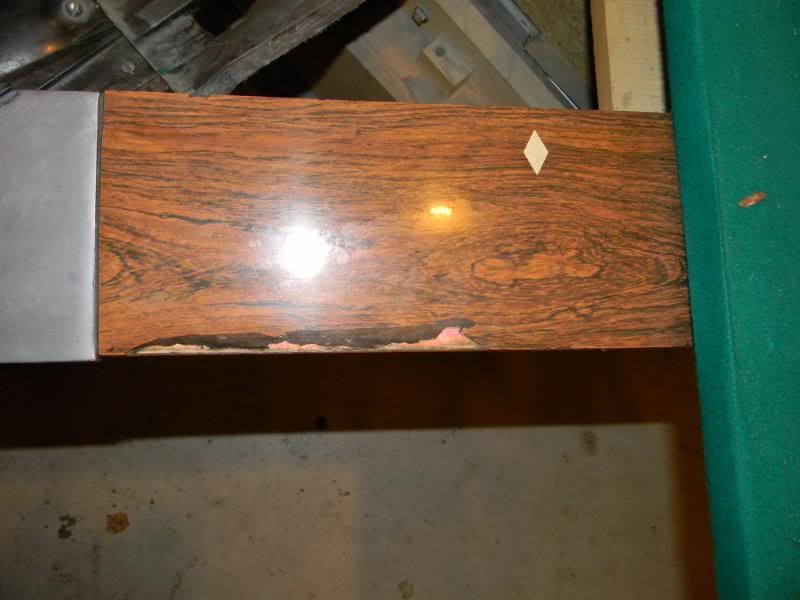
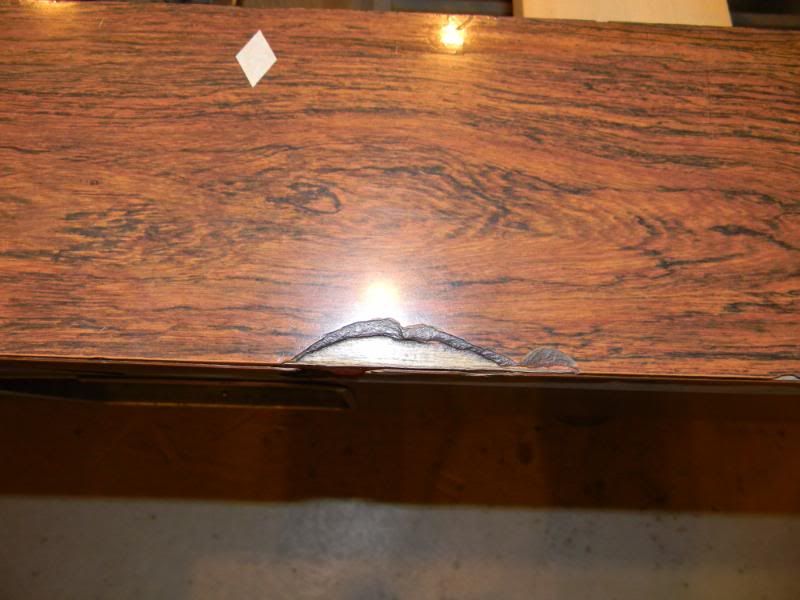
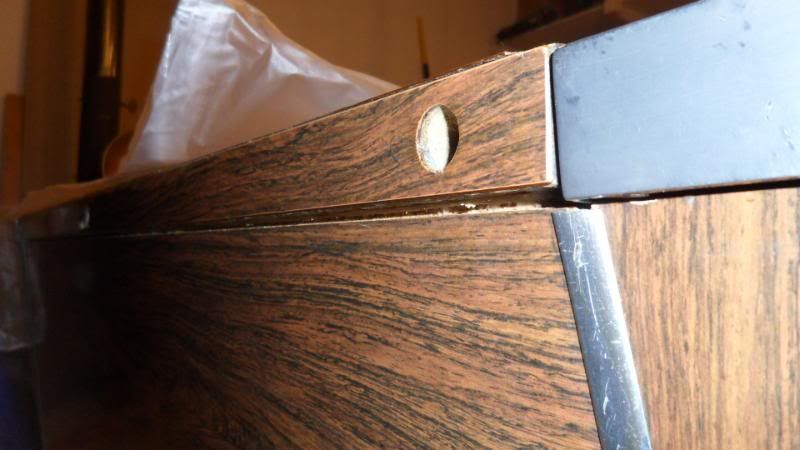
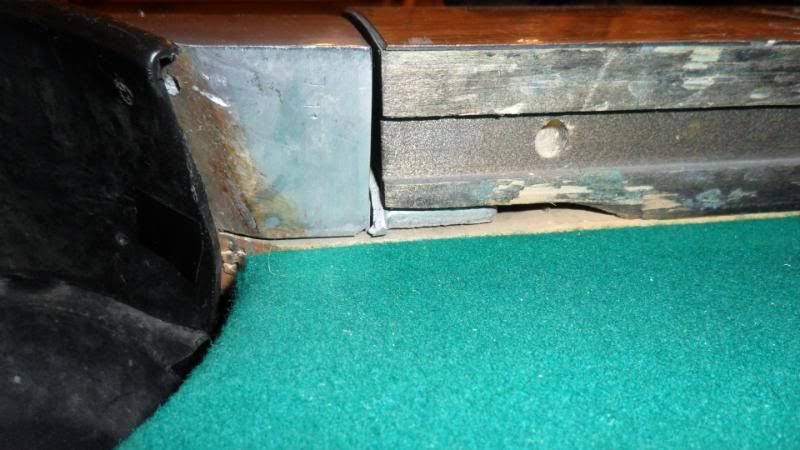
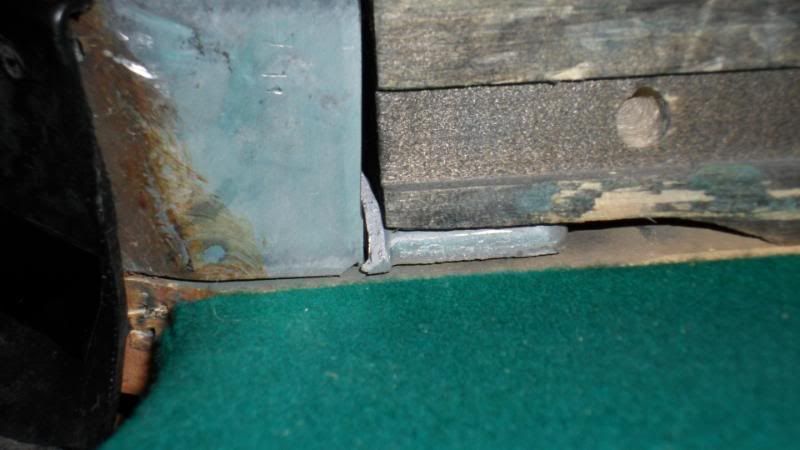
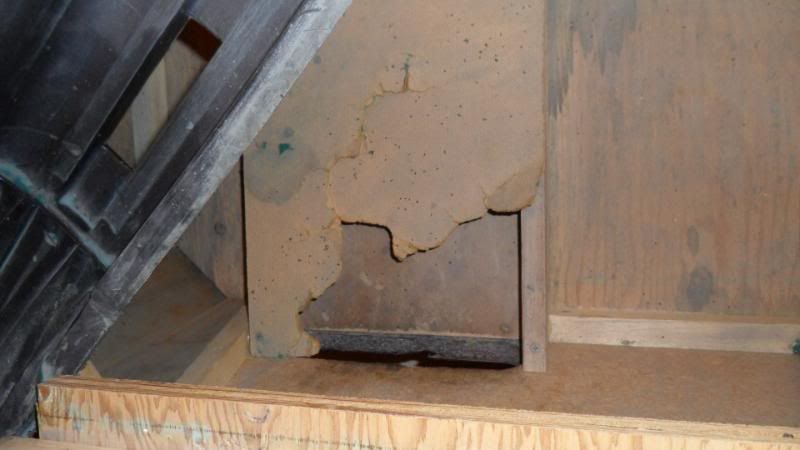
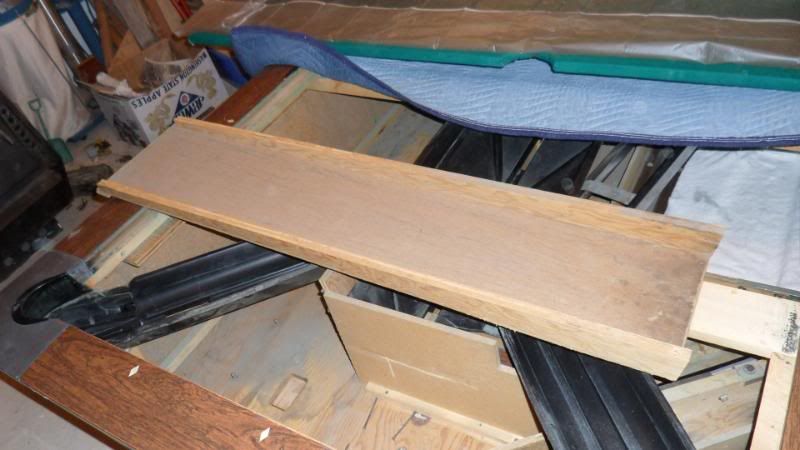
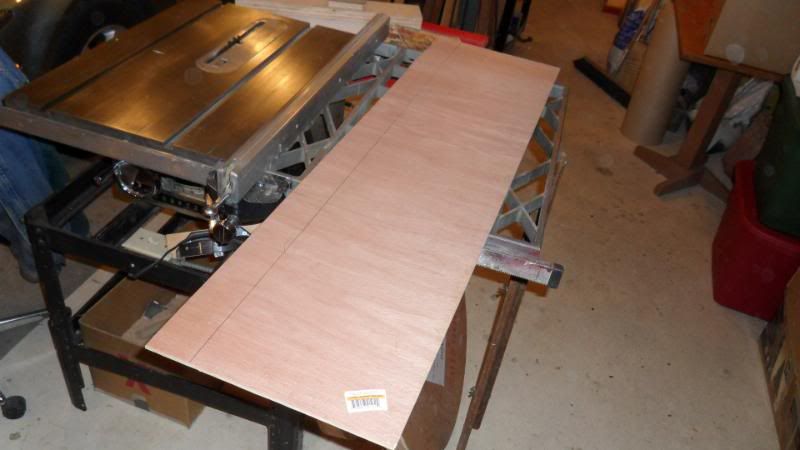
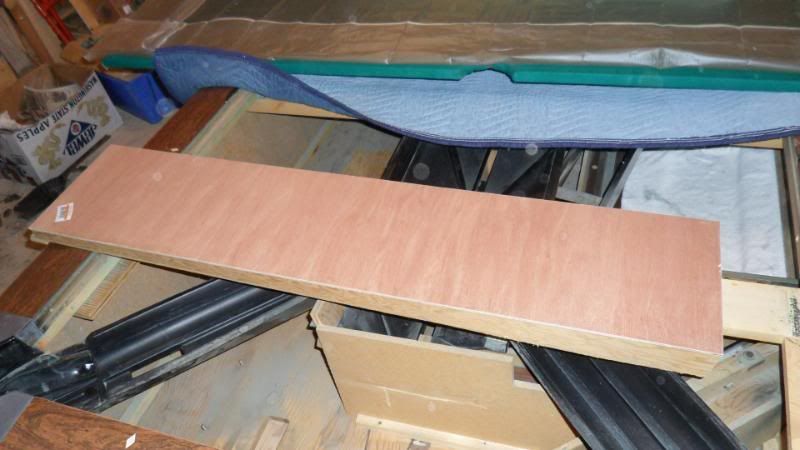
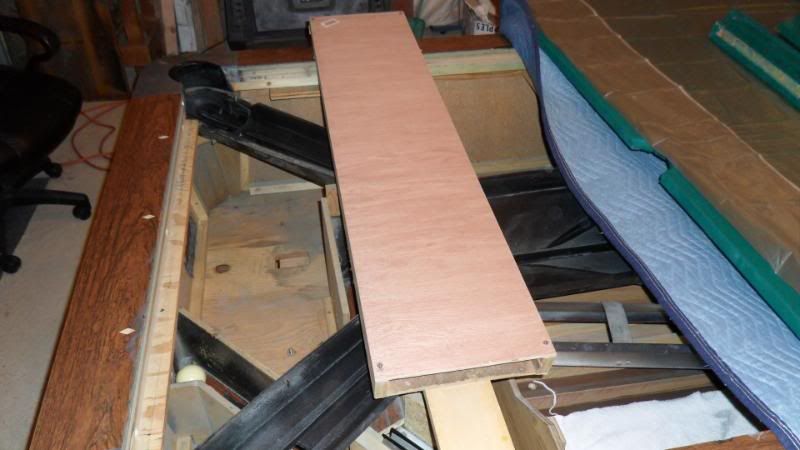
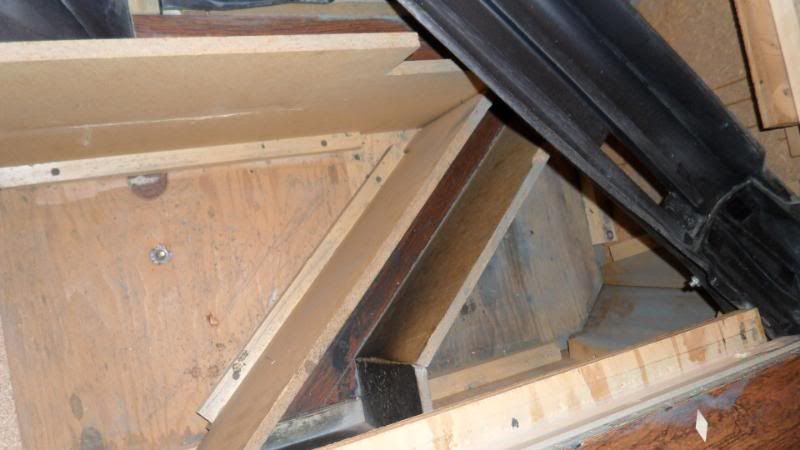
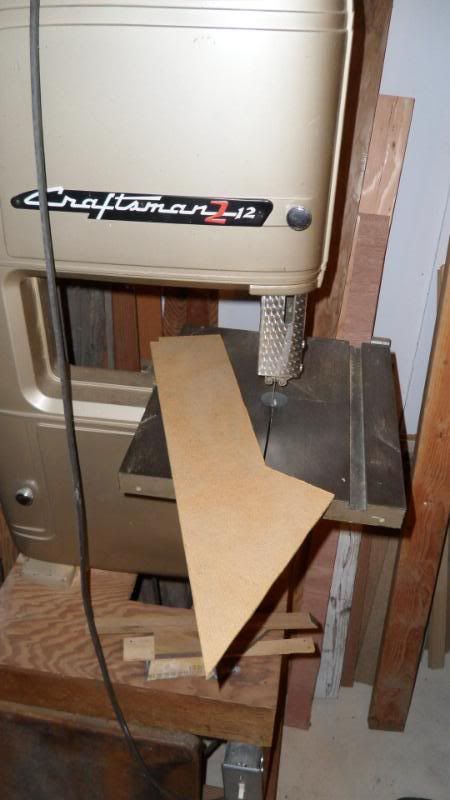
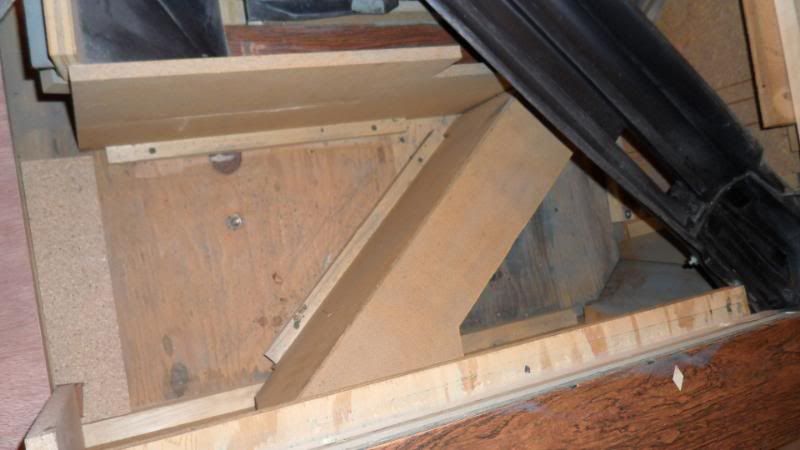
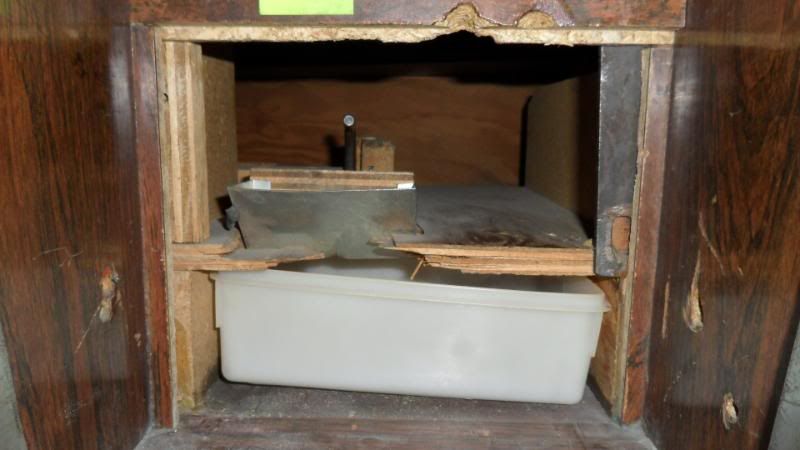
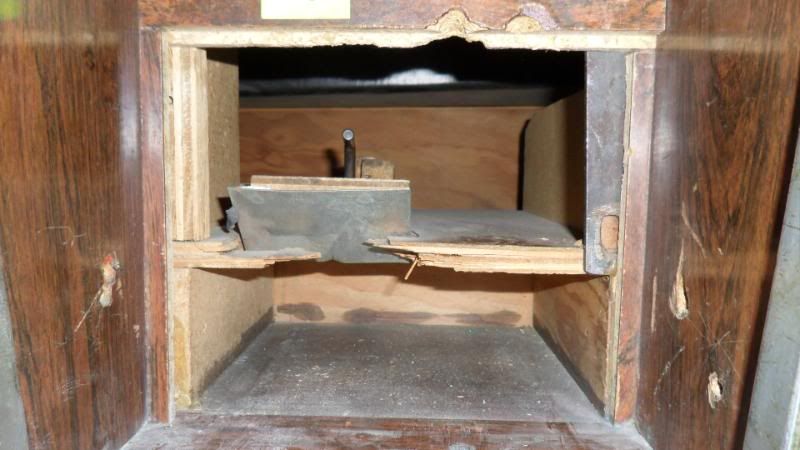
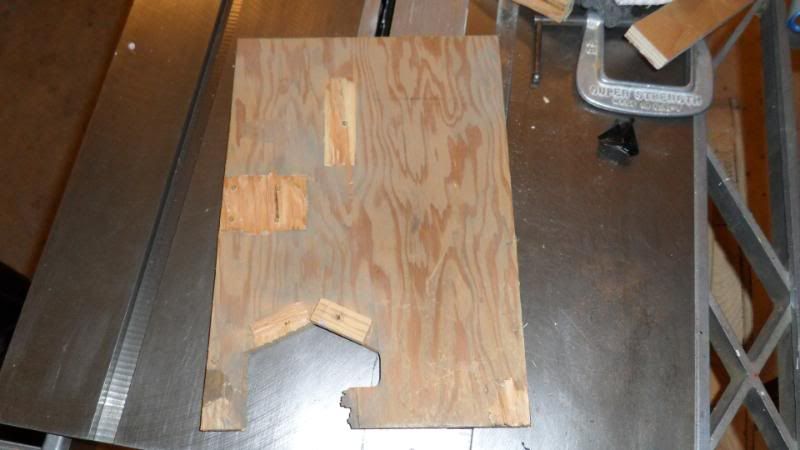
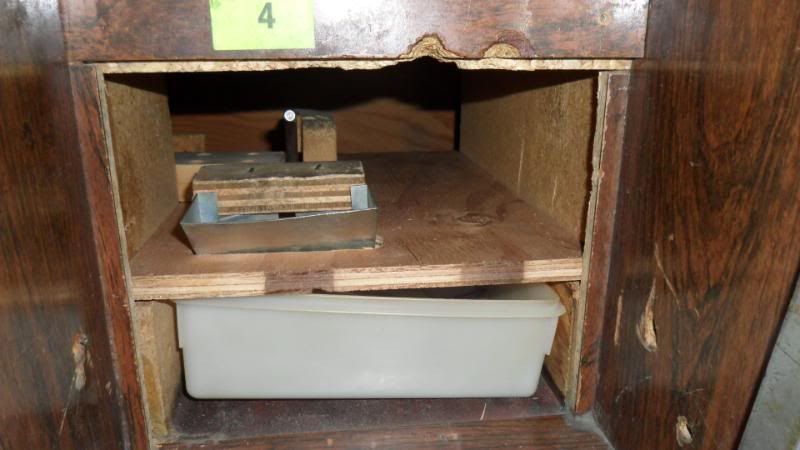
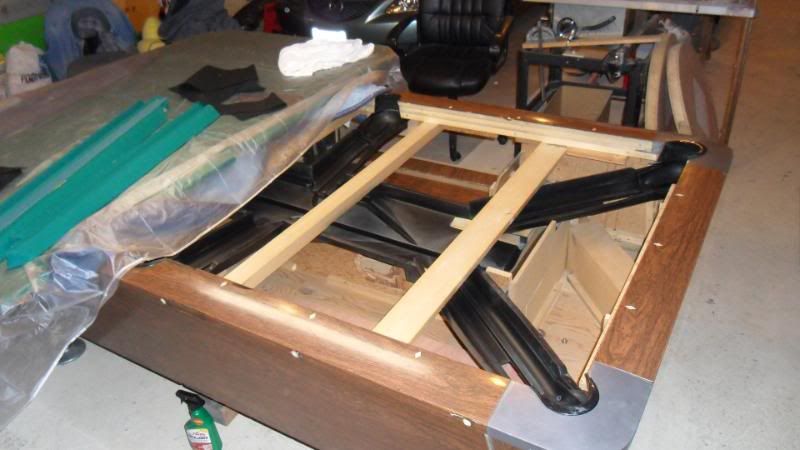
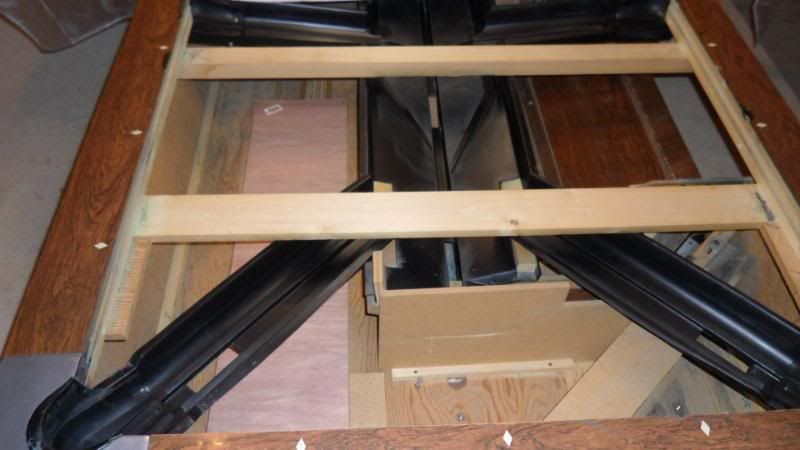
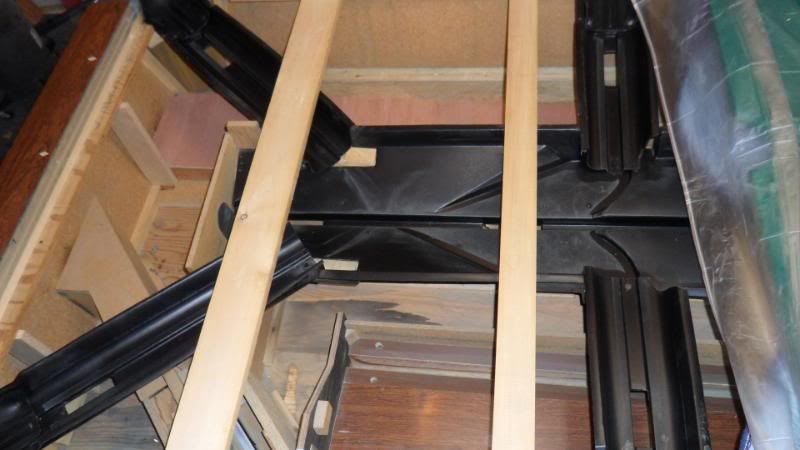
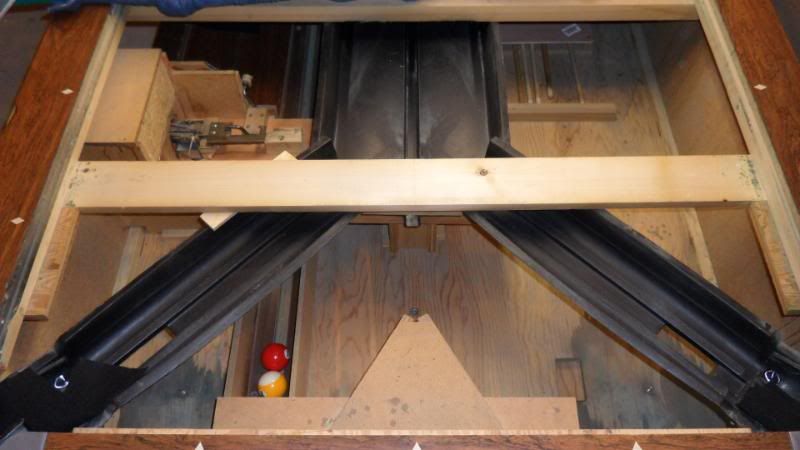
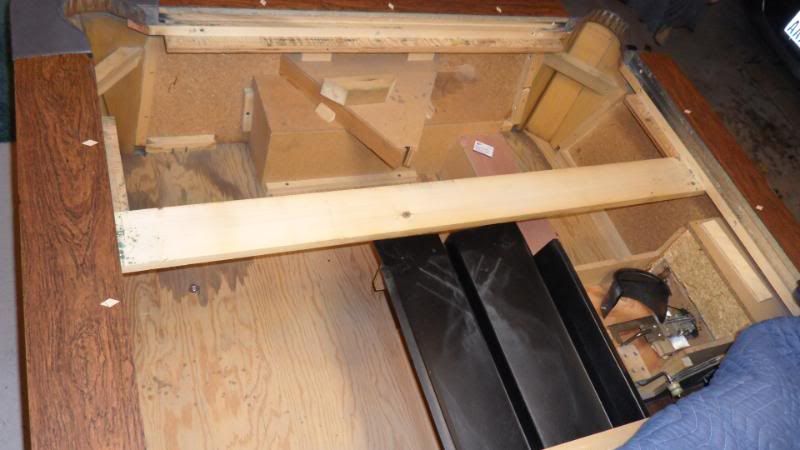
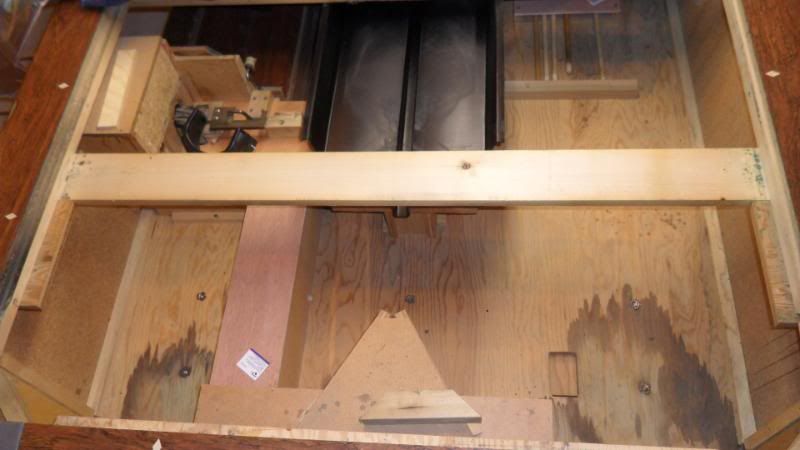
Right now the table is in pretty rough cosmetic shape. There is not of section of laminate that isn't chipped. One of the metal corners is broken off from it's piece that screws into the top rail, leaving the entire corner loose. I think this could be fixed possibly with JB wield, though I would be afraid to attempt it myself. I've never used that stuff. The bottom section of wood where the triangle storage is located, top of the ball return box, is broken off. There is some plywood damaged inside the table. (I think somebody got something important stuck in the table)

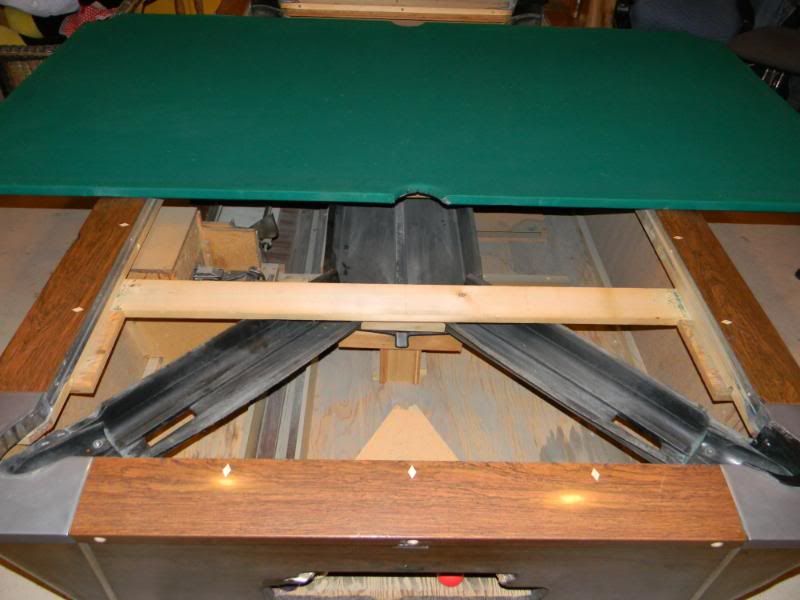
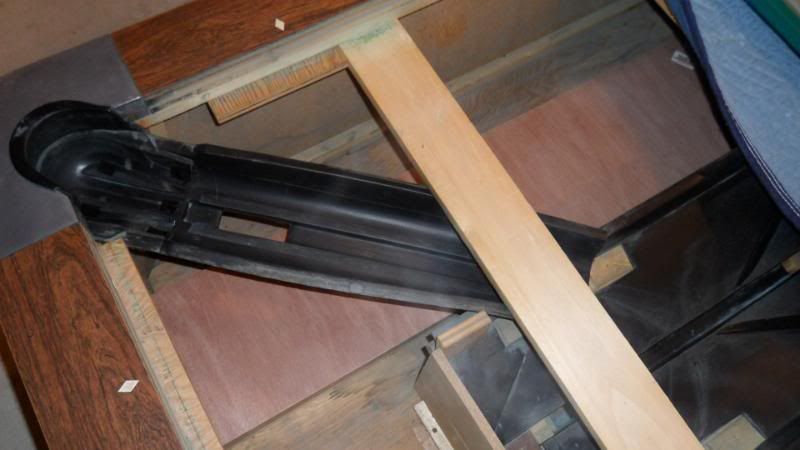
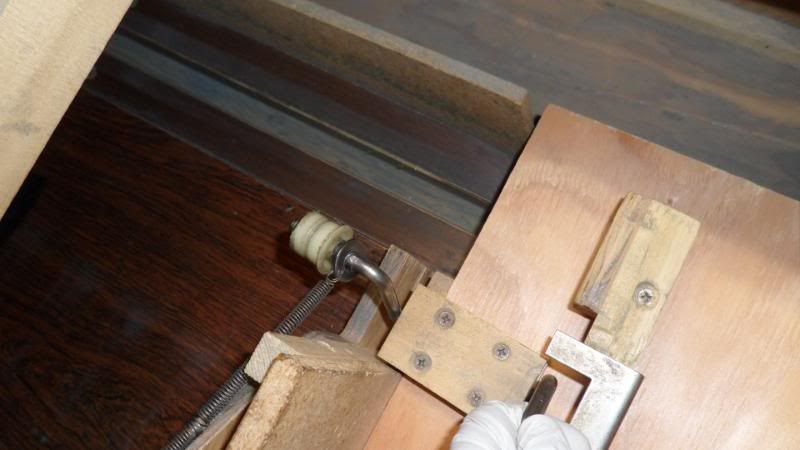
However, even will all this, the cabinet seems very solid still with the exception of the top rails. The top rails seem very screwy. The head rail seems to be sagging under the weight of the slate. I leveled the table, by placing a level on the slate. Maybe I should have placed it on the top rails? The balls see to roll true. However, at the foot end of the table, they are getting lodged between the slate and the gully. The slate does not sit on any shims as I've seen many tables do.

I believe that this may be due to too much build up of excess glue and the use of duct tape that whoever recovered this table, used to hold the cloth down.
 
These were taken before I cleaned the inside out.

DSCN0381.jpg


DSCN0382.jpg


DSCN0383.jpg


DSCN0384.jpg


DSCN0385.jpg


DSCN0386.jpg


DSCN0387.jpg


DSCN0396.jpg
 
I've covered all screws, nails, and staples with electrical tape to protect them from contact the raw metal before I put the slate back on. However, they still seem to get scratches.

Here are two pics of the head top rail, showing what I am worried about.

SAM_1644.jpg


SAM_1645.jpg


Here is the metal corner that is broken:

SAM_1663.jpg


SAM_1664.jpg


Creative use of electical tape, but will it work? Any better ideas?

SAM_1665.jpg


I don't remember my dad's table having such and open gap between the bottom of the pocket liner and the top of the gully boot.

SAM_1637.jpg


SAM_1639.jpg
 
Did a little work on the table today.


The cue cabinet was damaged.

SAM_1614.jpg


I removed it and took off the old wood.

SAM_1667.jpg


SAM_1668.jpg


Anyway, back on topic. Can anyone tell me about my questions at the top of this topic?
SAM_1669.jpg


SAM_1670.jpg


SAM_1672.jpg


The cue ball return showed signs of having a top originally.

SAM_1676.jpg


So I made a new one with the good old band saw.

SAM_1677.jpg


SAM_1678.jpg
 
My dads Valley's coin slide, door, and cash box are different then mine. I'm not sure which are original. Mine has an ESD four slot chute. My dad's has a 25 cent Monarch slide that I like better. I think I will install a Monarch slide.

pooltable002.jpg


pooltable001.jpg
 
Last edited:
I cant' wait to see the finished product. Have you given any thought to reinforcing the slate support, possibly with steal rather than wood. I always felt that Valley didn't support the slate enough on their tables.

Good luck to ya.
 
My table came with a four slot, 25 cent to $1 ESD coin chute. It's a very nice coin slide. I know these tables did use ESD coin slides but my dad's table came with a 25 cent Monarch slide.

I'm not sure which is correct. Original parts for these tables are getting nearly impossible to find now. I really liked the look of the Monarch chute so I bought two different ones. One is a new one from Monarch, and the second is a used one I found. I've installed the used one as it's the same as my dad's. However, I wish I could find one in better shape.

ESD slide

SAM_1715.jpg


New Monarch replacement. These are really nice looking.

SAM_1716.jpg


The vintage Monarch slide I found.

SAM_1718.jpg


In the coin door. This table sure needs some cosmetic TLC...

SAM_1717.jpg


The coin slides are pretty cheap. I found both for about the $10 range which helps me out a lot right now. The economy hasn't been to nice to me over the last year...
 
Ok now it seems I need a little more research. Anyone have this table and could share some pics on here? Please help!

I took some photos of inside the coin mech housing. It's missing a lot of things from my dad's. I could go off his table, but I'd like to see other tables to compare. Also, his table is a bit hard to get to.

The cash box that came with looks like a tupperware dish...lol

SAM_1723.jpg


At least it has the metal coin funnel. My dad's table doesn't have that. If I remember his has just a triangle hole with the corners rounded off. Valley doe not make this part anymore.

SAM_1724.jpg


I thought about trying to remove the entire housing and replacing the damaged plywood with a new piece. But I worry if this is such a good idea.

Diagram off Valley's website.

valleydiagram.jpg


I also have another photo up above showing the coin housing with the slate removed for a better view.
 
i respect your enthusiam

over the last few years i have owned 5 valley coin op tables, and i really like the way they are built and play. couple years ago i built myself a 24 by 28 room, so now i have a 4 by 8 brunswick at home and a valley coin op at my jewelry store.
not wanting to dampen your spirits, but you can buy a really good used valley for less than a thousand and be ready to go, it might just be me, but it looks like its going to take a lot of money and a lot of work on the table pictured. ever think of just getting rid of the worn out table and getting a better one?
 
ever think of just getting rid of the worn out table and getting a better one?

It's a thought. Can't beat the price I paid for this table. I'm trying to talk my dad into handing his down. He wants a late 1800s - 1930s Brunswick. I found four for him to look at between $800 - $1,500. His Valley is in really nice shape. Both these tables were made sometime in 1969. It's my favorite model Valley ever produced.

I think you are right; this will eventually cost way too much. I can get a new Valley for $1,500 from a music vend. After refinishing all the laminate, fixing all the missing parts and damaged spots, new cloth, new diamonds, this could easily reach that price.

But I also have to look at a few things here. Right now I have a table to play on. I can't aford to buy a table right now. Not only do I have a table to play on, but the exact model that I like. I don't often seen these older Valleys too often. Newer ones all the time. This could be a beautiful table if restored, but again could cost way too much.

If I had the time and money, i would build a table patterned after this Murrey:

murrey-brookstone-1.jpg


However, I'd give it a more european look and go for green Simonis 860HR and use net pockets with brass irons instead of leather. Never did like leather pockets.

But I like ball return tables more. There is nothing like the sound they make after making a pocket. Love it! :grin:
 
there is a lot of good tech info for these old table at the valley website. I have an old table and got a lot of info in PDF format there.
Try it !
 
You picked a heck of a table to restore. That thing looks like it has been drug down the road.

I guess when you get done it won't look anything like when you started. Not an easy task.
Good Luck
 
Yeah, I was blinded by the table type rather then condition at the time. Being that it is the exact maker/model table I was after, I took it and figured I could restore it. Probably should have considered the work it would take before hand. Ah well.


Sunday I pulled the slate out and started working on some things that needed fixed inside the cabinet. I took apart the coin mech housing and replaced the broken piece of plywood. I even cut a new triangle coin slot like the original had, though my craftsmanship skills are probably not all that great. The new piece looks great

I seem to have an issue with the arm with the roller that rolls the ball trap open. It's incredibly difficult to move. I put a tiny pit of 3 in 1 oil on the rollers but it hasn't improved.

Today I pulled out the two head corner pockets and gulleys and completely washed and buffed them a little. Put a coat of armor all on the rubber boots to protect them after washing. Took out all the staples and used a single screw in each end of the plastic gulley. It seems to work much better and I don't have all the staples everywhere. Went over everything with the shop vac again to get rid of the thick layer of dust and other crud.

Don't have my camera with today but I'll get some pics up soon enough.
 
I'll have to check into those rails. Is it something I should replace? I've heard that you shouldn't mess around with the tables rails as new rails may not fit as well as the original ones.


As promised, more photos!

Here's the original plywood piece that was in the coin mech housing.

SAM_1748.jpg


Some photos of the new one:

SAM_1757.jpg


SAM_1746.jpg


SAM_1752.jpg


This is the arm with roller that I was talking about.

SAM_1753.jpg
 
And from the two days I spent cleaning and fixing the little things inside the table.

Head end of the table:

SAM_1740.jpg


SAM_1741.jpg


SAM_1742.jpg


Foot end of the table:

Before cleaning and repairs

SAM_1751.jpg


SAM_1754.jpg


After the gullys were removed:

SAM_1755.jpg


New cover for ball return track:

SAM_1756.jpg
 
Back
Top