Getting closer and closer! I have waited in anguish for many things in my life, but never have I been as excited as I am to see this project finished! And it has absolutely nothing to do with me!! I only gain the fact of knowing that another human being owns this dream! NOT FAIR!!
Looking good, keep up the good work and hopefully someday I can stop by "The Graceland" of home pool rooms!!
Looking good, keep up the good work and hopefully someday I can stop by "The Graceland" of home pool rooms!!
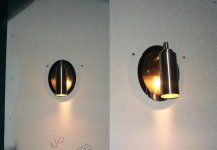
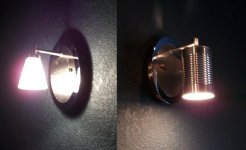


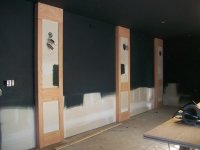
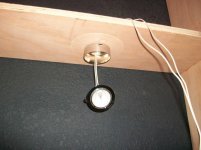
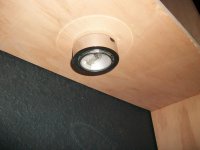
 Love the sconces! Happy New Year to you and this project!
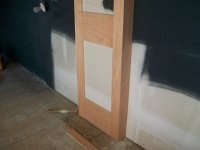
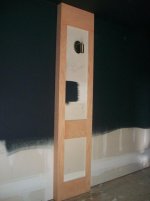

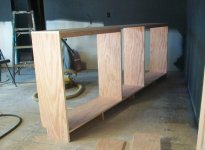


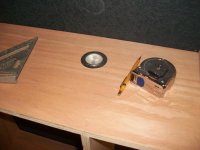


 I'll show them what plywood will look like in a Poor Mans pool room.
")