I thought you guys might like to see how Palmer did theirs. This is the part of the job the Balner's enjoyed the most.
http://www.palmercollector.com/InlayPage.html
Chris
http://www.palmercollector.com/InlayPage.html
Chris
Well done Chris!!!! I have attempted inlays using only hand tools. I calculate that, at my current rate of speed I may be able to complete an entire cue by the year 2008TATE said:
") (with no interruptions of course)
(with no interruptions of course)TATE said:I thought you guys might like to see how Palmer did theirs. This is the part of the job the Balner's enjoyed the most.
http://www.palmercollector.com/InlayPage.html
Chris
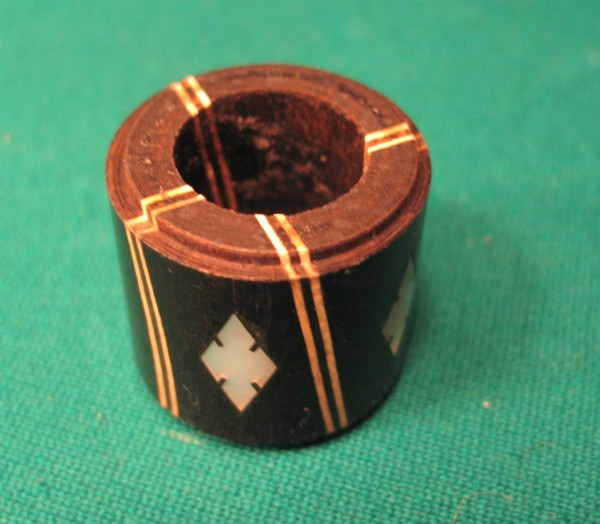
rhncue said:Almost all hand cut inlays, other than dots which a drill can make the perfect size pocket, are or were put into dark woods, as your examples show. Dark woods and dark glues mask larger glue lines.
Dick
TATE said:I thought you guys might like to see how Palmer did theirs. This is the part of the job the Balner's enjoyed the most.
http://www.palmercollector.com/InlayPage.html
Chris

chokenstroke said:Nice.
Thanks for sharing that, Chris.
Looking at vintage cues is always a pleasure that puts a smile on my face every time.
The second most favorite part is pondering how they did some of their designs.
It has been explained how they did most of their dots and diamonds but I wonder how they did the wavey veneers shown in some of those cues.
I cant recall ever seeing a cue design like that before.
TATE said:I thought you guys might like to see how Palmer did theirs. This is the part of the job the Balner's enjoyed the most.
http://www.palmercollector.com/InlayPage.html
Chris
rhncue said:I would think that would be easier than cutting a pocket for a diamond. With the use of either a pin router or an engraver with a pattern to follow you would mearly cut the pockett to the width of the three veneers glued together and then just glue the veneers in.
Dick