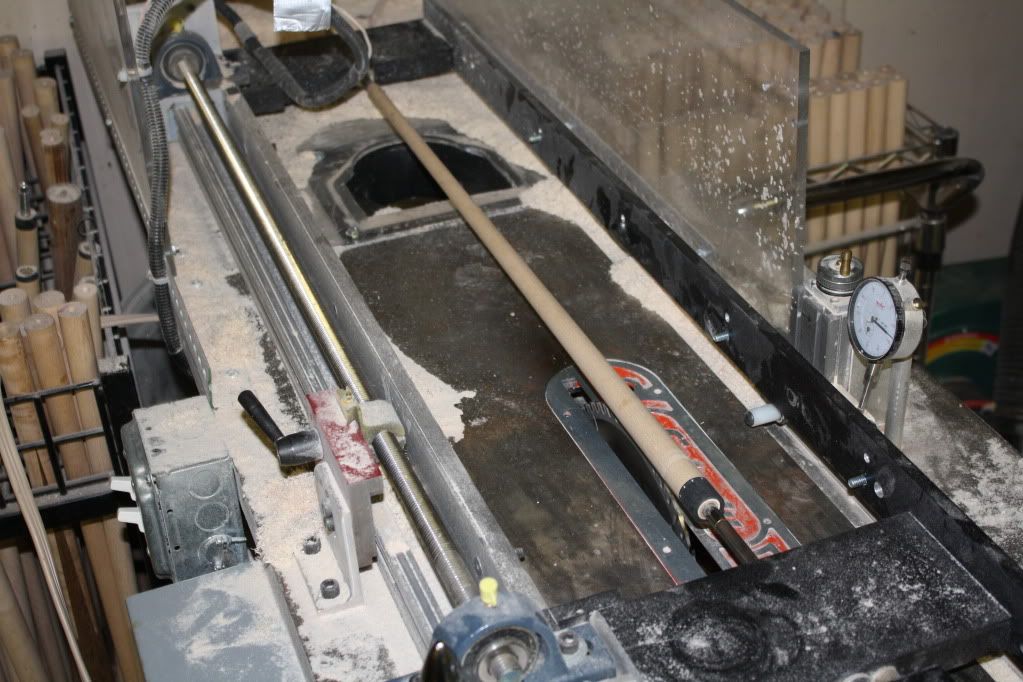
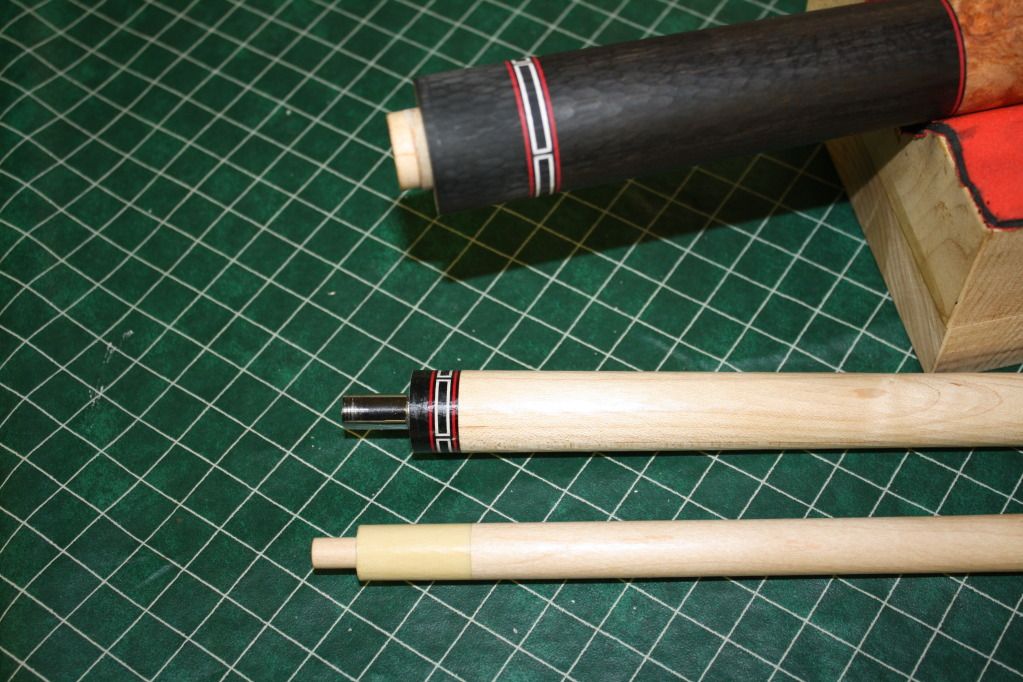
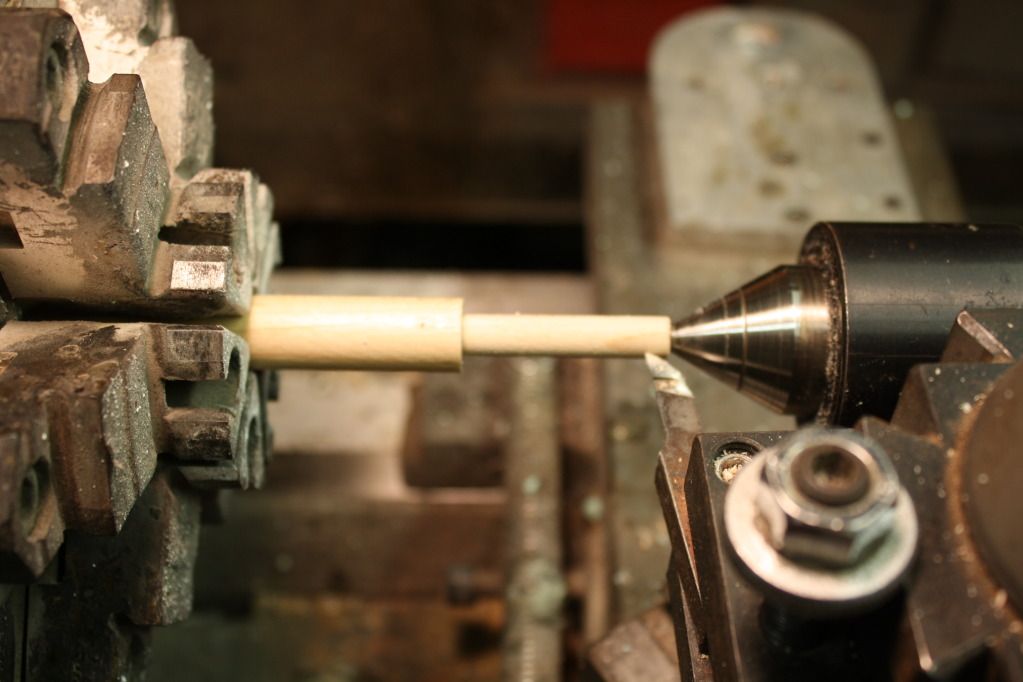
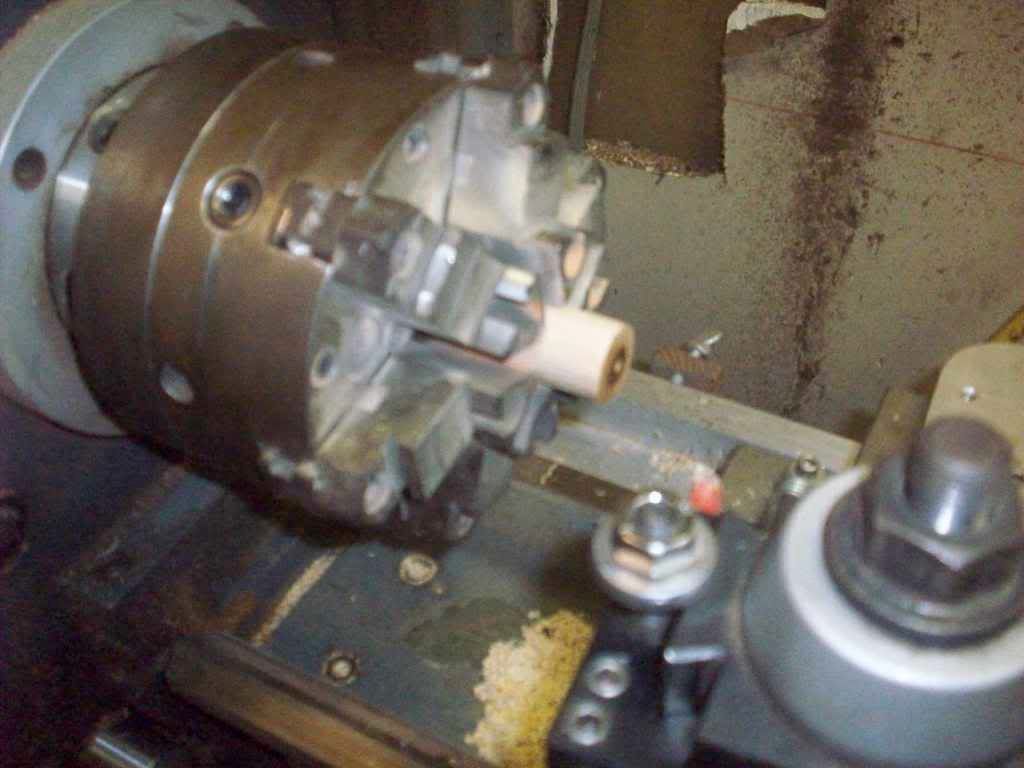
It was 3/8 so not a brass insert, but I just re threaded a second shaft for someone that was stripped, and had to do just that. The pin was close but was not perfectly concentric to the OD, and out a hair, although it was still close enough to work that way. I shimmed the collar of the handle until I indicated to dead zero, turned My plug off of the pin to fit the bore that I made in the shaft, then slipped It over,found the sweet spot where the collars matched up flush all the way around, and l marked the location on both the plug and shaft in relation to each other, so that I could easily match them up when gluing. I didn't want to screw with the face and open up another can of worms, so I cut a piece of tape in the shape of a washer to protect It from the glue, so that I would not have to reface to clean It up. In the end the shaft was basically in the the same location as original, joint collars were flush, the tip stayed down, and no bad roll. I didn't have to sand anything out of round, build finish or anything silly like that, and in fact the collars matched up so well that I didn't even have to do any finish work at all.. The person I did the work for knows a lot more about cues then the average person, so he understood what I had to deal with, was pleased with the outcome, and was particularly happy at how flush they turned out, as if he expected them to be off. He originally wanted me to make a new shaft, but I suggested It would be more cost effective to plug the original. The shaft was in decent condition, just stripped out. Anyway he was satisfied with the outcome, and I didn't have to pull as much hair out in the process..