...
If I was going to do my own tips by hand I would use a hand sharpened wood chisel .
I would have my wife or friend hold the cue upside down and straight up and down on a block of wood and I would trim the tip to the ferrule with the extremely sharp wood chisel..
And I would take great care not to cut the ferrule or sand on it .[/QUOTE]
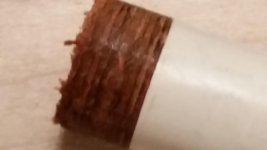
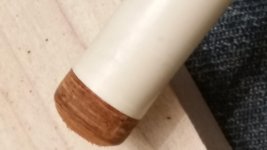
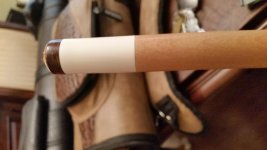
That is what I did on one of my house cues I play with at home. I will try to attach photos, as I am using my phone and haven't been successful with it yet.
1. Remove tip (mine had popped off...manufacturers tip, not one of mine)with razor as close as possible to the glue line at top of fiber pad or ferrule.
2. Sand tip remnants and excess adhesive using suitable sander . I used a squared sanding block across a plastic carpenter square from Harbor Freight. I padded My bar cue in 1 layer of thin blue shop rag from Big orange box store...ensured straight section of shaft remained flush while carefully sanding across shaft.
3. Remove dust after sanding, do not touch the gluing surfaces with bare skin, to prevent oils interfering with bonding.
4. Lightly sand base of tip...
I followed DZ cues advice on tip and ferrule surfaces/ prep before gluing...which also calls for lightly sanding the tip.
5. Glue using superglue gel or the pro super, same as mentioned in previous posts.
6. Carefully apply light pressure and ensure tip remains centered on shaft.
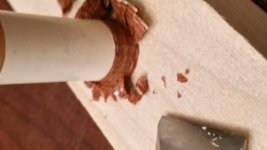
7. Once set (i waited a half hour)use razor sharp chisel and backer block to rough cut the excess edges of tip away.
8. Repeat again on the higher spots left from the first series of cuts to remove additional excess material. Repeat as necessary to allow a skimming style cut with the chisel skewed, while carefully rotating the cue by hand along your pants leg (seated position)
Caution: This step requires good technique and very steady hands with a good feel for the chisel biting into the sides of the leather tip for the skim cut...
9. Lay the chisel's back face flat on the ferrule in a skew cut orientation, with the leading edge of the chisel near the tip/ferrule's glue line and trailing edge across the top of the tip. (My chisels are polished mirror bright on the back face and won't scratch the ferrule.) The tip will lie inside the left and right faces of the chisel. I used a 3/4" wide chisel for my standard bar cue ferrule.
Gradually Elevate chisel while maintaining flat face contact, while slowly rotating cue.. too much elevation will bite into the leather very fast and likely result in damage to the ferrule.
The idea is that the chisel is perfectly flat against the ferrule, and the leather tip will only catch the cutting edge if it is a larger O.D. than the ferrule. Elevating the blade too much will dig into the ferrule as well.
10. Start trimming away the excess leather at the glue line, around the entire circumference of the ferrule/shaft while slowly rotating the shaft with one hand and cradling the chisel flat and skewed against ferrule with the other.
11. Maintain the same chisel elevation and Gradually work your way up the tip until enough excess material is removed to enable faster skim cuts ( tip is becoming more perfectly rounded.)
12. Increase elevation and repeat the trimming process until the tip is fairly even with the ferrule.
13. Carefully sand the tip sides with 600 grit, followed by 1200 and 2000. Don't sand the ferrule with the 600. Mask if necessary. I rotated my shaft by hand using my thumbs and the factory edge of the sand paper to slowly put the finishing shape to my tip.
14. I polished the ferrule and sides of my tip with the 1200 and 2000 grit.
15. I applied a very light coat of a gold class car wax (carnauba) to the ferrule and sides of tip. I burnished with a brown paper towel.
16 - 17. I took a beveled cut from the top of the tip, to speed the shaping process along. I then use a chute style shaper to round the tip. I followed it up with a Willard tip tool for final shaping.
The tip shown is a Wizard, if I recall correctly.
Thanks for reading, I know it was a bit long winded. I was hoping to give too much info versus not enough.
I would like to say that I will be investing in a sander and clamping device for future repairs. The entire process took me about 45 minutes, plus the additional cure time of 30 I gave for the super glue gel to set.
Sorry for repeat pics, can't get rid of them now...bah.
Sent from my SAMSUNG-SM-G850A
