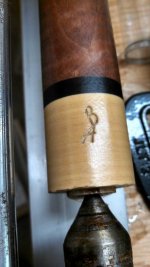
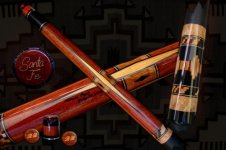
I have decided to engrave my name on my cues instead of using waterslide decals as I have found that after a few years, the clear background yellows on the decals.
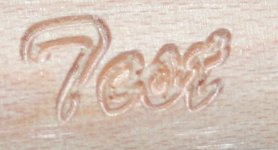
I want to engrave in solid letters but I cant seem to figure out how to do that, I can only get the outline of the text as seen in the picture. I am using Bobcad v21 with a 30 degree engraving bit. Im sure its something simple I am missing :smile:
I want to engrave in solid letters but I cant seem to figure out how to do that, I can only get the outline of the text as seen in the picture. I am using Bobcad v21 with a 30 degree engraving bit. Im sure its something simple I am missing :smile:

")