When you get your tool steel from the supplier, it comes in a softened (annealed) state. You need to cut it and shape it while it is still soft, then heat treat it to the proper hardness:
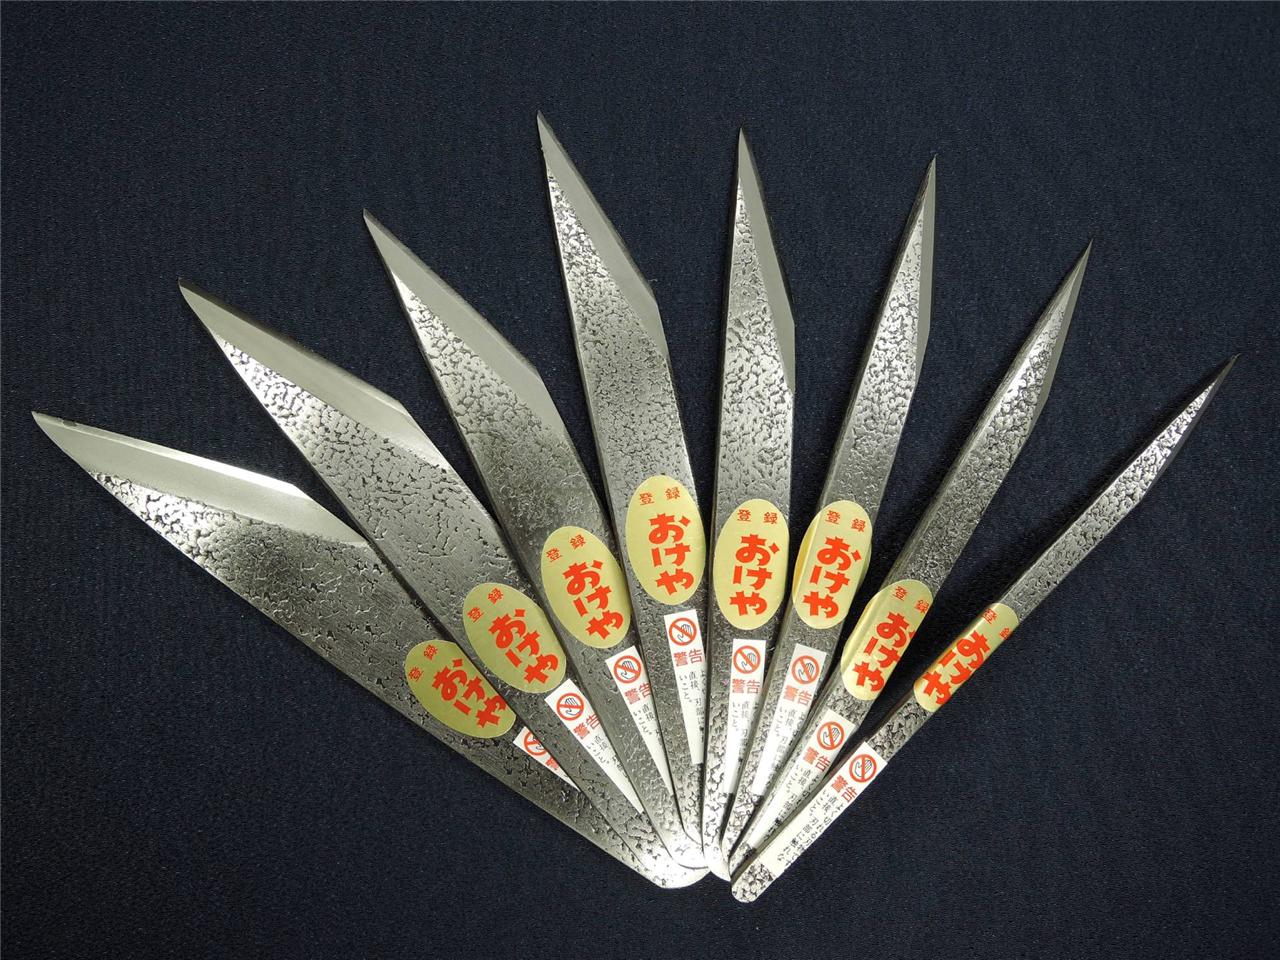
1. Cut your steel to a comfortable length with a hacksaw. First decide what angle (skew) you want the basic shape to be and cut it at that angle. 45º is a good compromise, but many of my knives are shallower/steeper than 45º. Steeper (more square) acts more like a chisel, shallower (more angled) makes more of a slicing cut. You want a slicing cut for leather, so I would just copy the angle on the ready-made ones. Don't worry, there are no patents on any angles that I am aware of.:wink:
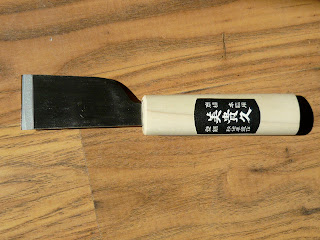
2. Grind or file the single bevel for the cutting edge. If you are right-handed, you will want to grind so the bevel is on top when the point is to your left (like the one in the video).
The shallower the angle, the sharper you can get the edge, but the less durable it will be. A 15-20º included angle would be a good angle for leather. Besides providing a flat surface to ride against the ferrule, a big advantage of a single-bevel design is that it is way easier to grind and maintain a shallow included angle.
You cannot ruin the temper at this point because it isn't there to begin with, so you can grind aggressively. Don't try to make a sharpened edge at this point, though, the initial heat treatment will totally destroy that edge anyway.
3. Get your torch, can of oil, a pair of Vise-Grips, and a magnet large enough to hold in your hand leaving about an inch sticking out. You will see why soon.
If your torch comes with a stand, all the better, otherwise just stand it up on end and it should stay. A one-pound coffee can is a good size for the quenching oil. I really like to use olive oil, and bought a gallon years ago for the purpose (smells great during the quench). You can also buy specialized quenching oil, but used motor oil works perfectly fine for our purposes. Just make sure there is no gas mixed in it or you may be visiting the ER soon after. Best to have a small plate of scrap metal to cover the can anyway, just in case of a flash fire.
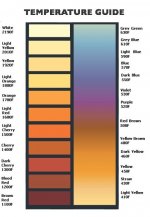
4. If you are right-handed, hold the magnet in the left hand with the oil can to the right of you. Clamp the steel at the end with the Vice-Grips, light the torch and proceed to heat the steel up. Try to play it in the flame in a way that heats it up as evenly as possible. You want to get the steel red-hot (see colors on the left side of the photo below) as quickly as you can (MAPP gas works better in this regard) and quench it in the oil at about 1450ºF. Best to do this all in a semi-dark place if possible as it makes it easier to see the proper color of the hot steel.
How do you know it's at 1450º? Well, an interesting property of tool steel is that at the very temperature that the proper crystalline structure for hardening occurs (carbides are formed within the steel), the steel also loses it's magnetic properties. So, when that magnet won't pull the steel anymore (longish magnet is so you don't burn yer fingers), that puppy is done. Instantly plunge it into the oil (be careful, it may cause a small flash fire, best to do this outside) and shake the piss out of it while it is still submerged until it is cool (couple minutes for a small, thin knife blank).
Don't cheat the agitation part, it is critical to keep cool oil flowing over the surface of the steel in order to cool it as quickly as possible. Just jamming the blank into the oil allows it to heat up the oil in the local area around the blade, defeating the rapid cooling you are trying to achieve. You should be able to feel the vibrations in the steel during the beginning of the quench.
5. Once the steel has cooled it will be just about as hard as the file you shaped the bevel with. In fact, a file should just slide over the surface and not cut the steel if you did it right. It is too hard at this point, so now you need to remove some of that hardness by tempering the steel.
I was taught to shine up the steel with some fine wet-or-dry sandpaper and slowly re-heat it while paying careful attention to the color changes. If you apply the heat to the butt end and watch the surface, you will see it change color. As the blade heats, the color changes from a light straw yellow to brown, then purple, then blue. The heat will migrate toward the other (business) end of the tool, as will the changes in color. The instant the steel at the edge turns a light straw color, plunge the steel into the oil and agitate until it is cool. The back end of the blade will be softer spring steel, while the cutting end will be the proper hardness for edge retention. Look at the colors on the right-hand side of the photo below as a guide to the proper color.
OR...
Set your oven for about 425º and leave the steel in there for a few hours. This will temper the entire blade to the proper hardness. Use a good oven thermometer because temp is critical here. I'm lucky enough to have found a used lab kiln that gets up to 2000ºF, and is very accurate (I can also use my wife's digitally controlled glass kiln) but a regular oven and an accurate thermometer is all you need.
6. Grind the final edge bevel. This can be the trickiest part, because if you get the edge too hot and blue it.... Guess what you just turned into fine spring steel? LOL
Take your time, go lightly, and quench frequently in water. Stop grinding when you can feel a burr forming on the back of the edge. Switch to stones from here on to sharpen the final edge. Or you can use plain old wet-or-dry paper, just Google "scary sharp" and you will get all you need to know about putting a shaving edge on a tool with finishing paper alone.
Didn't turn out quite as planned? Well, you still have two more pieces that you only paid about $3 apiece for. And that file you used to shape them? Well, it's probably pretty much worn out by now. Go to the gardening dept. at the big box store and get a bag of vermiculite. Go home, put it into a baking dish, heat up that file until it is bright cherry red all over and immediately bury it in the vermiculite. Leave to cool slowly overnight and you will have a fine piece of W-1 or W-2 tool steel, perfectly annealed for the next project.


")

") Probably doesn't even need to go through all the forging and hardening process if he starts out with hardened steel to begin with, albeit it will take a lot of work to grind down one side of it to create the bevel.
Probably doesn't even need to go through all the forging and hardening process if he starts out with hardened steel to begin with, albeit it will take a lot of work to grind down one side of it to create the bevel.