Starting Basement Pool Room

"Q" Protectors

AzB Silver Member
Silver Member
Once again this thread is driven from Dsoriano's pool room thread which deserves mad props!! Check it out here if this kind of stuff interests you.
http://forums.azbilliards.com/showthread.php?t=237445&highlight=custom+room
I also started a thread with a custom pool ball polisher which is still in progress but I'm having fun building it and have enjoyed all the comments I've received over the progress, which can be seen here.http://forums.azbilliards.com/showthread.php?t=290693&highlight=custom+room

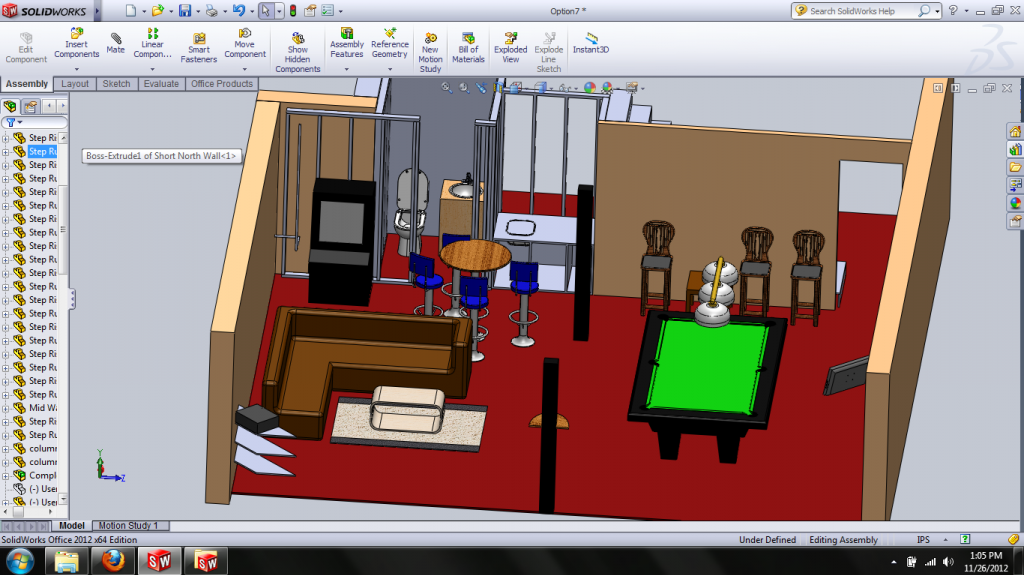
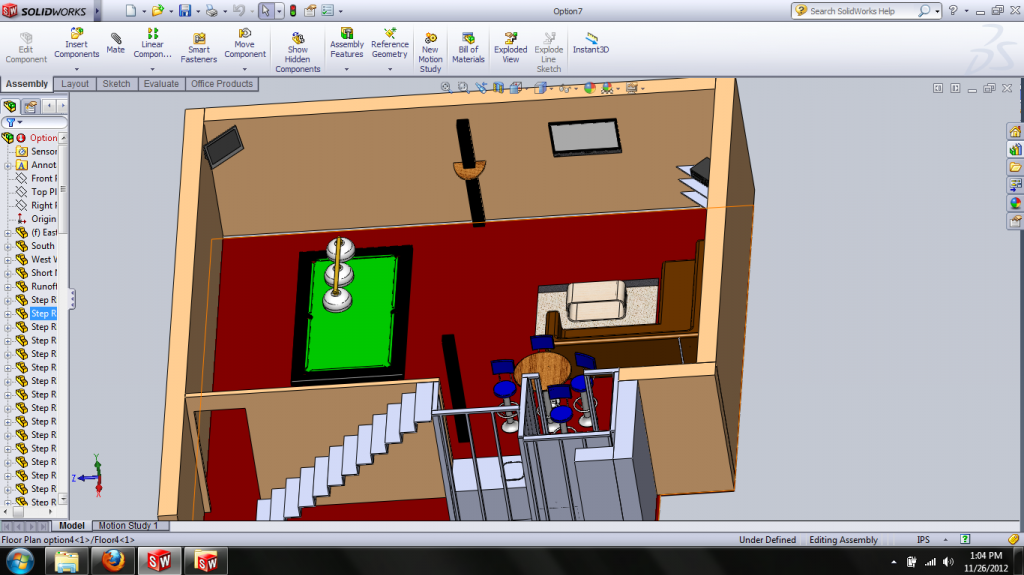
This is what I've kind of played around with in Solidworks to utilize the room as best as possible. The room is actually made up of 2 rooms that I'm removing the load bearing wall and putting up an LVL to make a 21x26 ft. space. minus the column in the room to make it code.
Please feel free to give any comments on what might work well in this space. I'm in the planning stages so It's an open canvas.!!

Untitled3.png


Untitled2.png


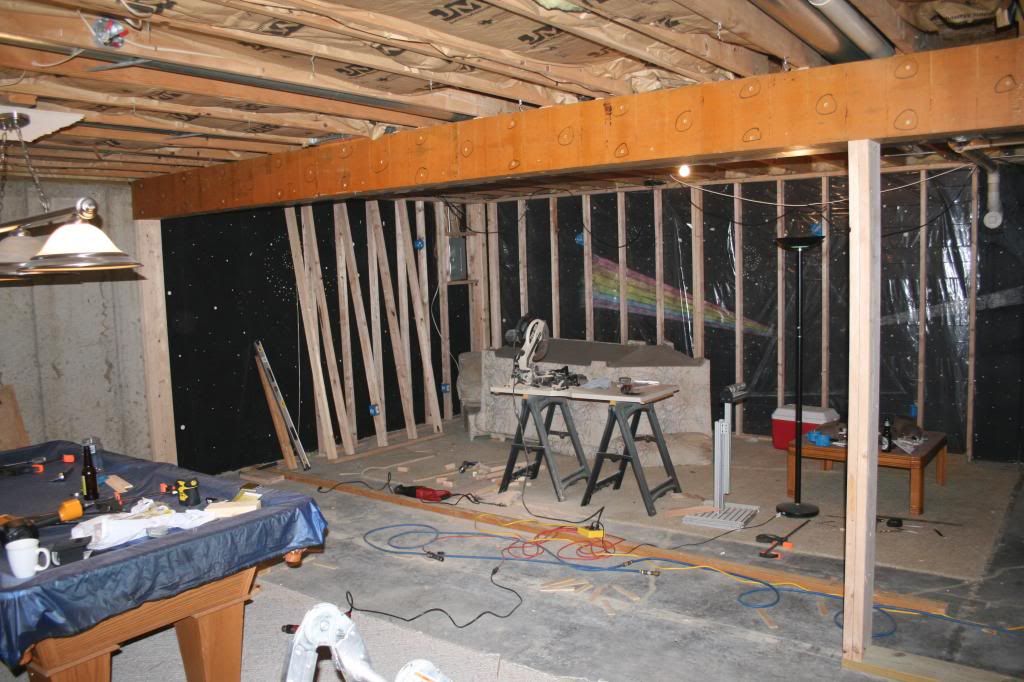
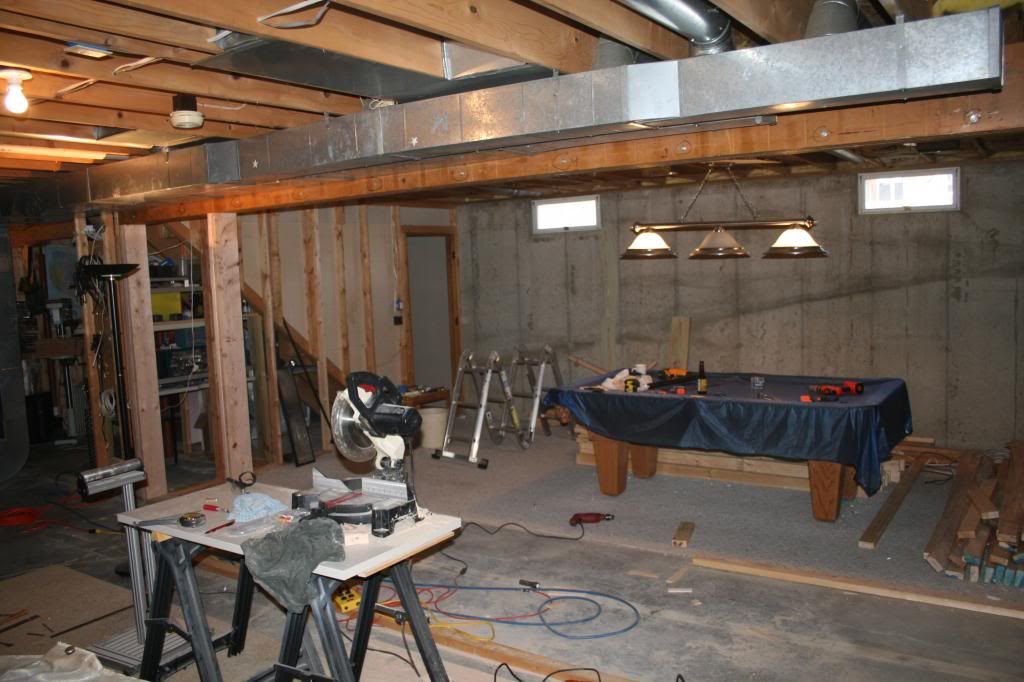
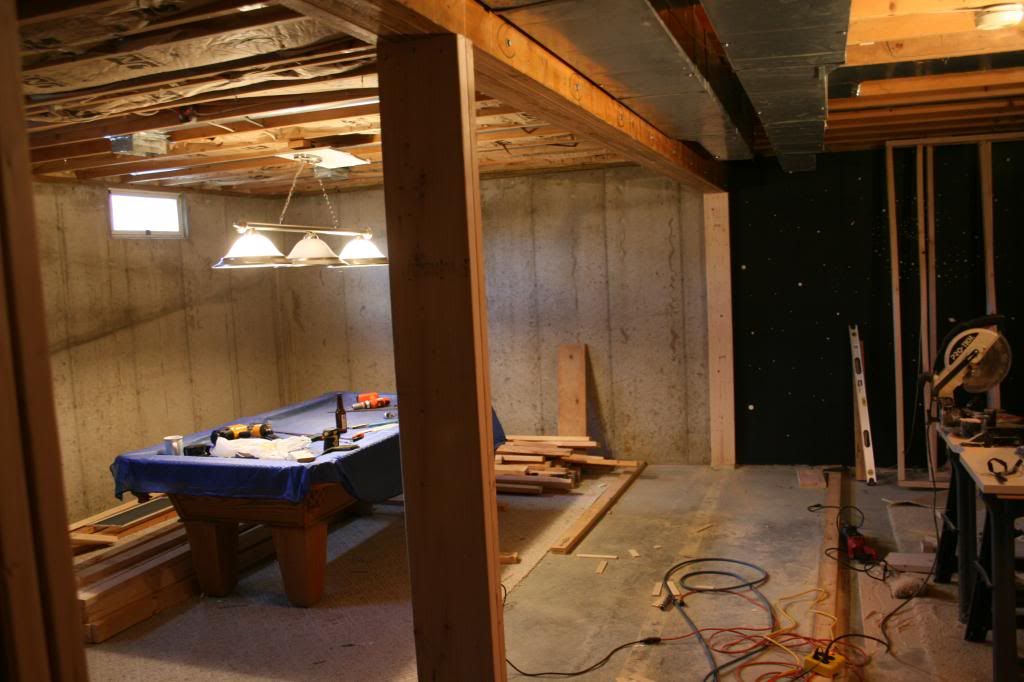
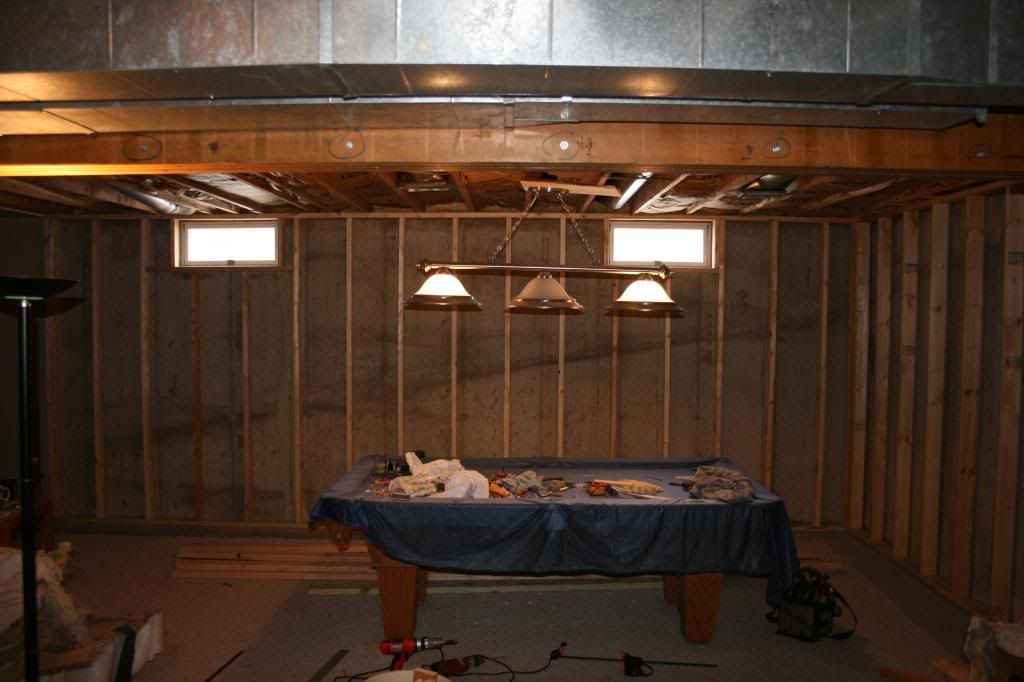
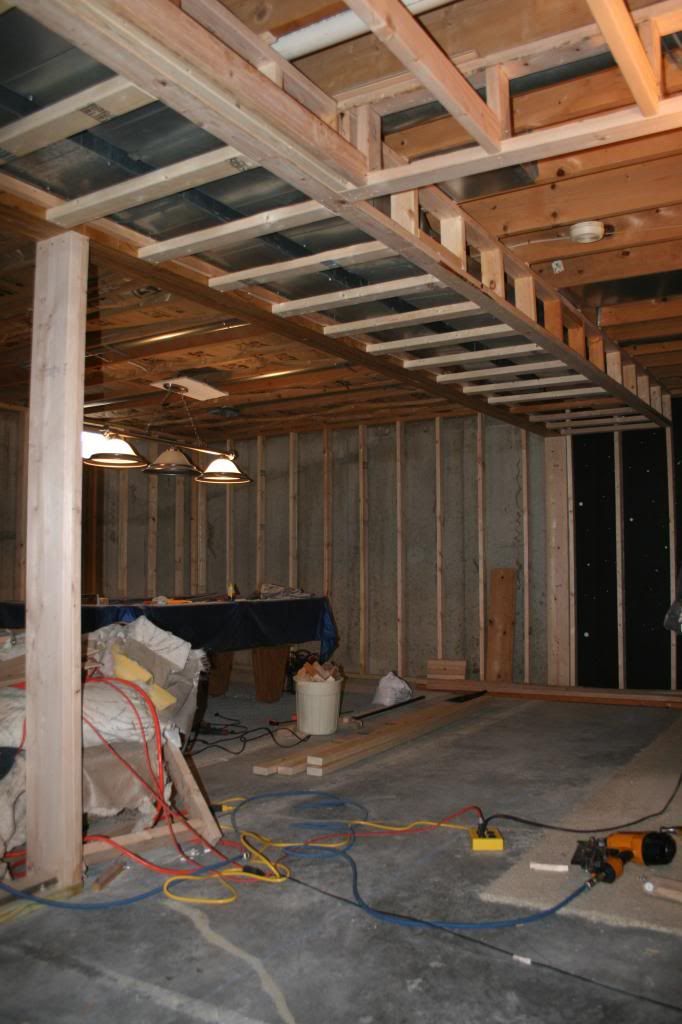
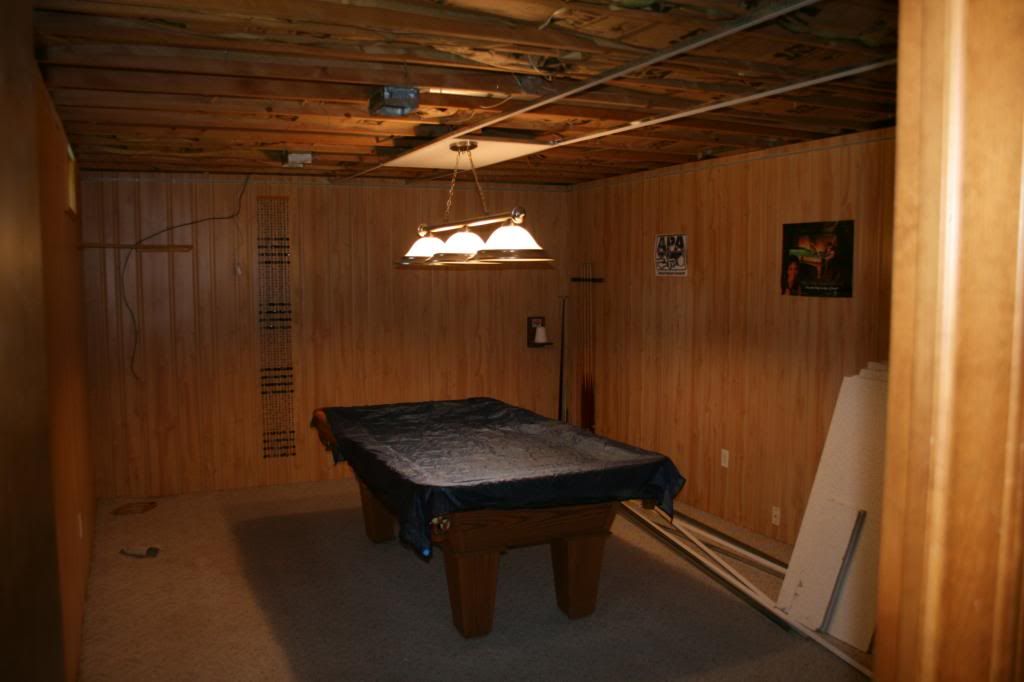
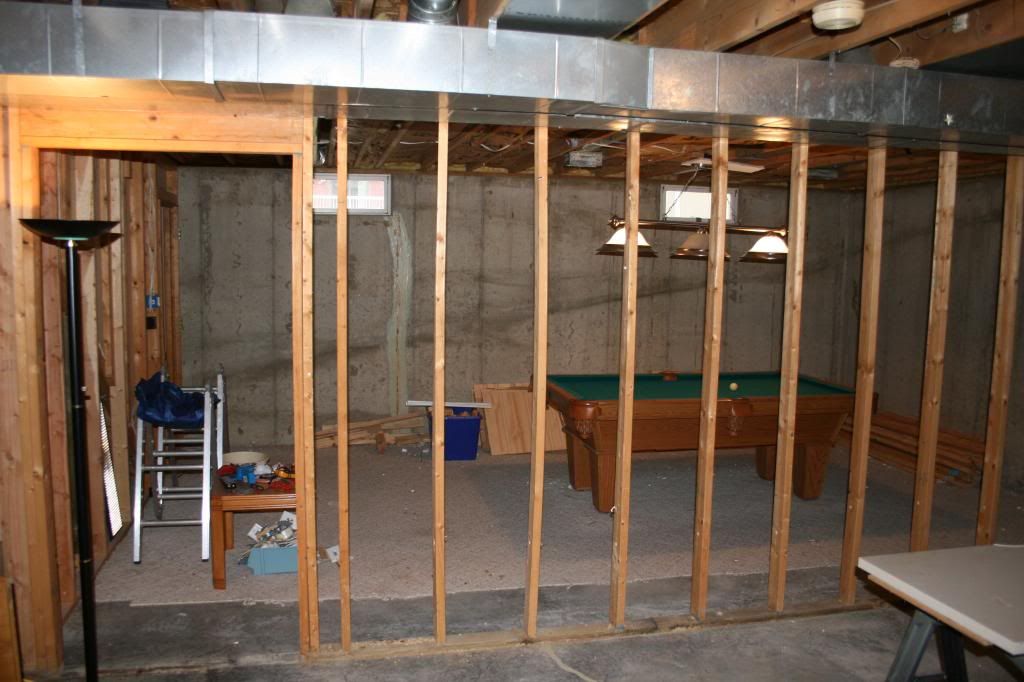
So here are a few pics that I've gotten so far. This half of the basement was split into two halves which I have a baby bar box table on one side and had a TV room in the other half. I've always wanted a 9ft table so this is the construction process to make this possible.

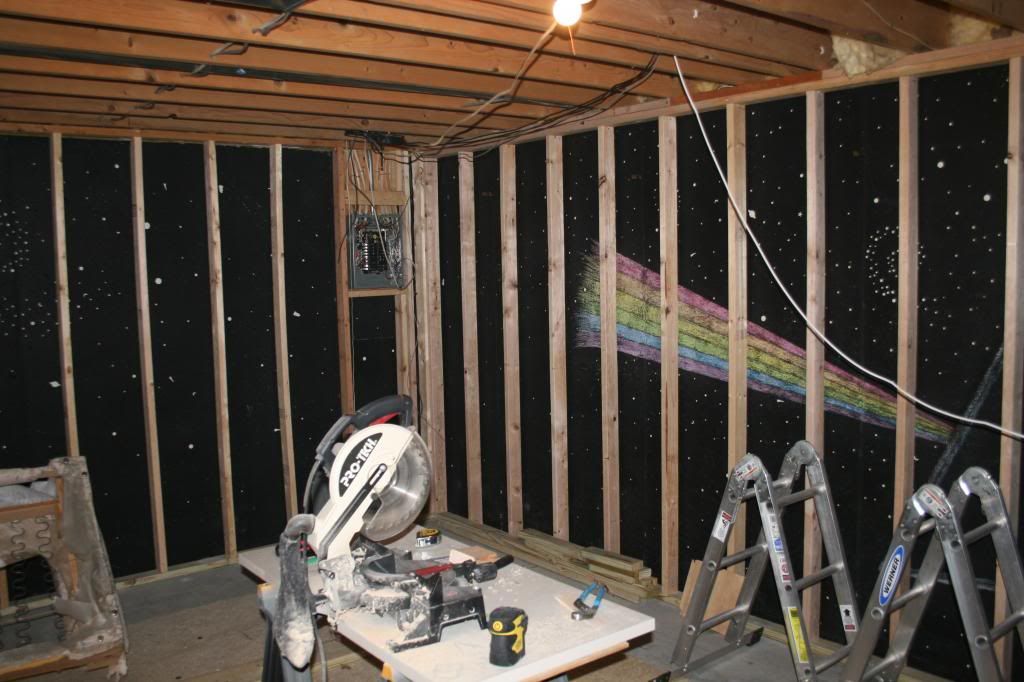
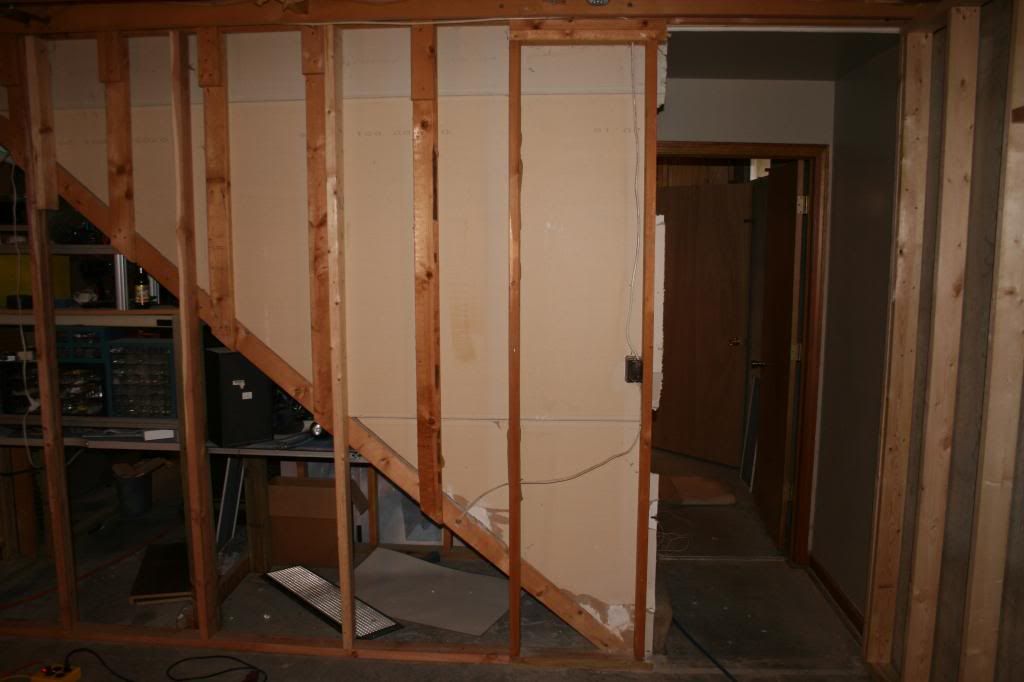
Pool room before tear down. Minus the drop ceiling I pulled down before i took pics.

IMG_6890.jpg


IMG_6898.jpg


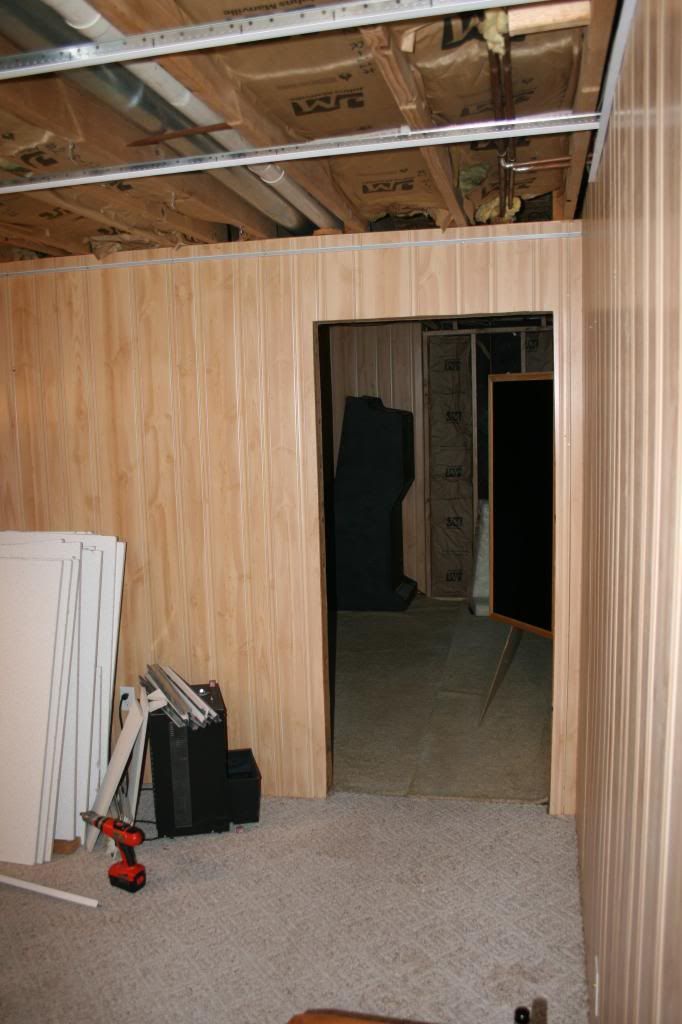
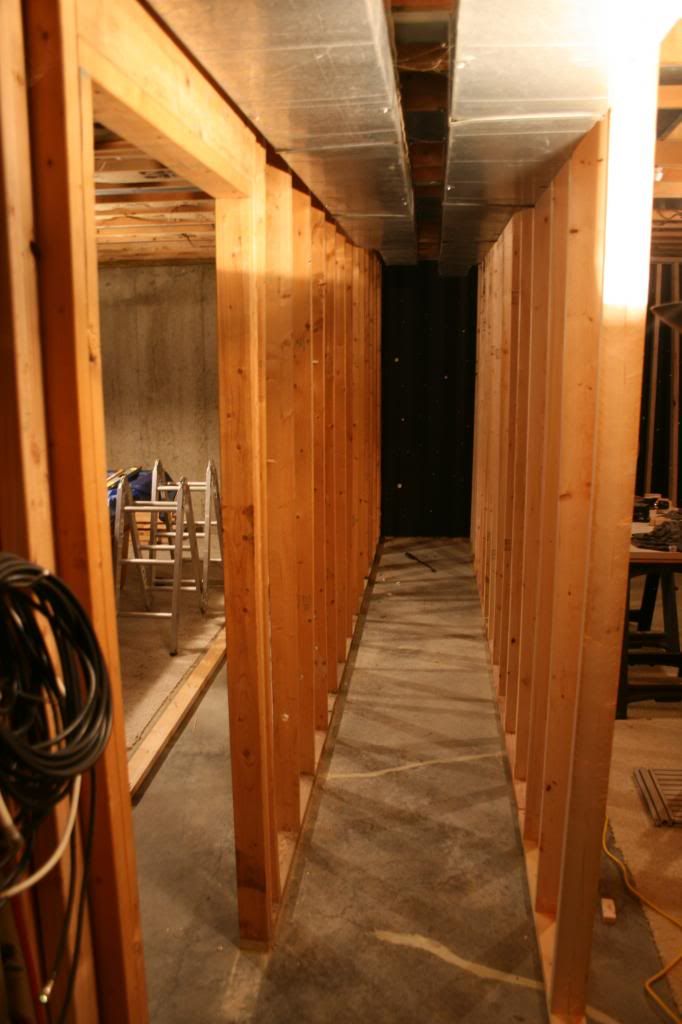
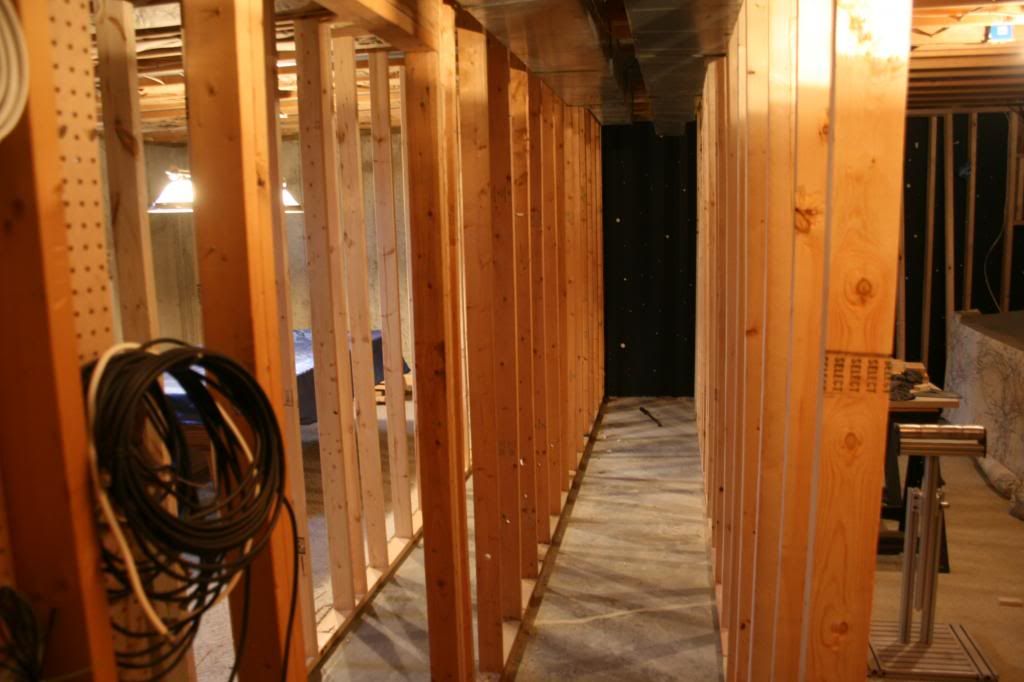
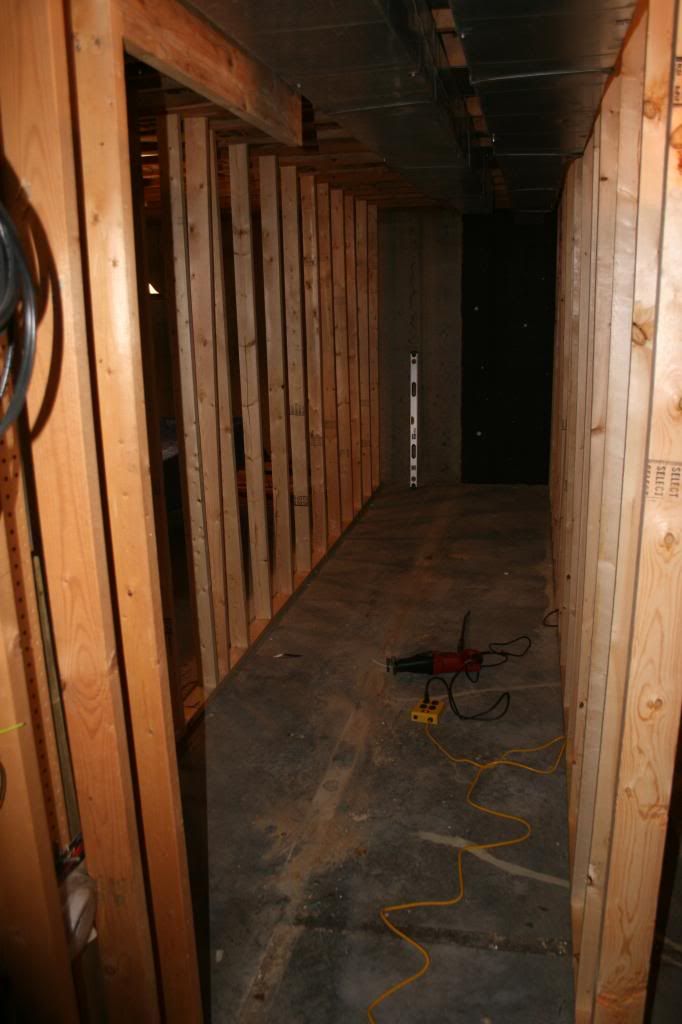
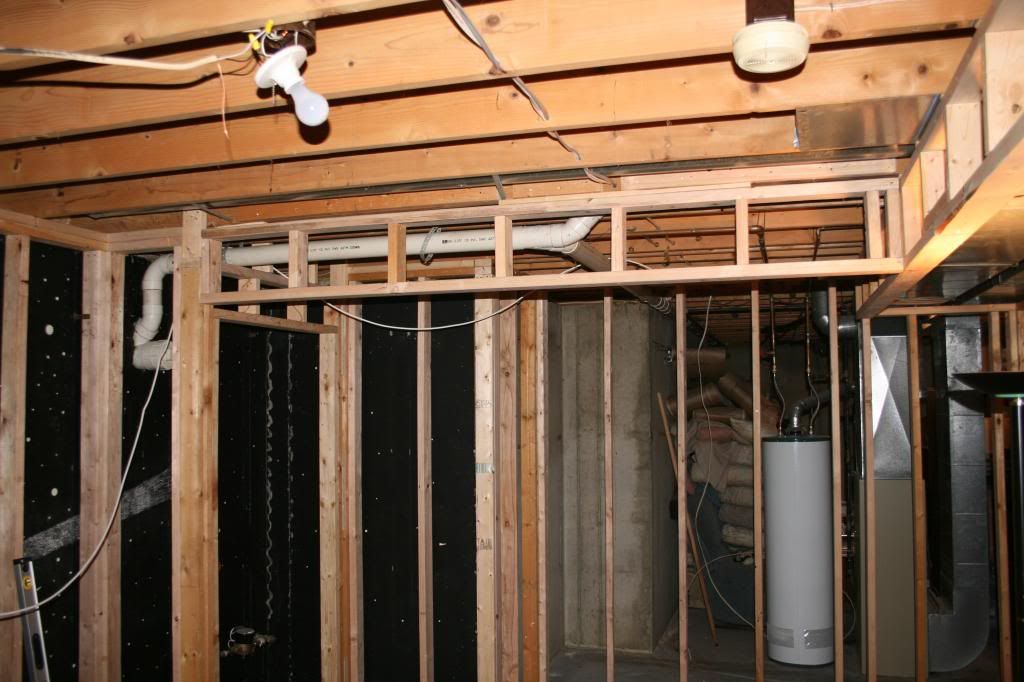
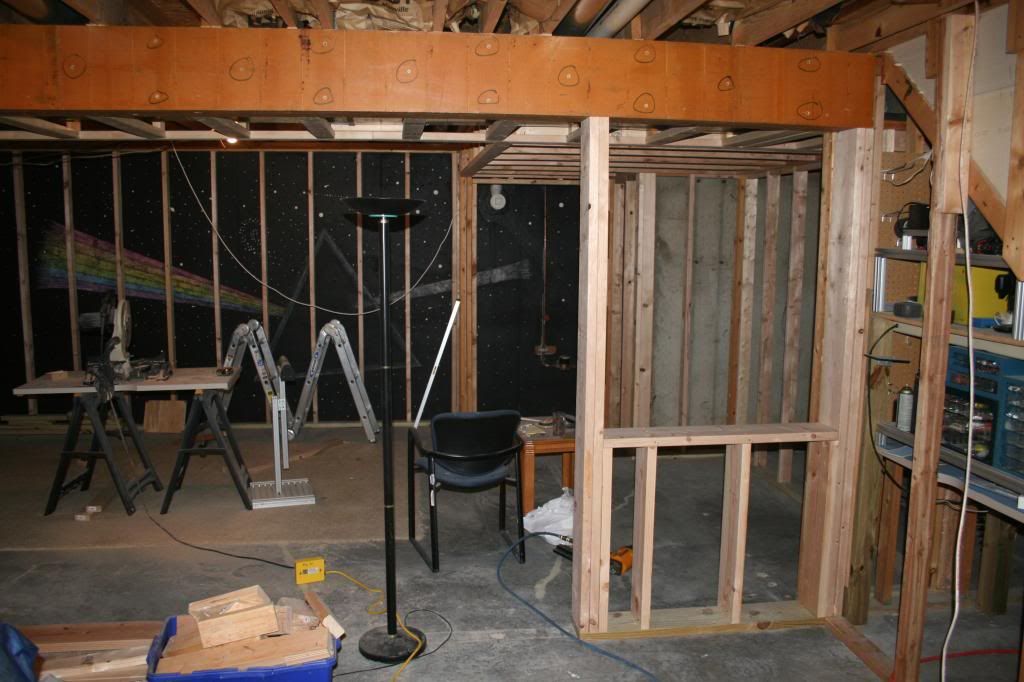
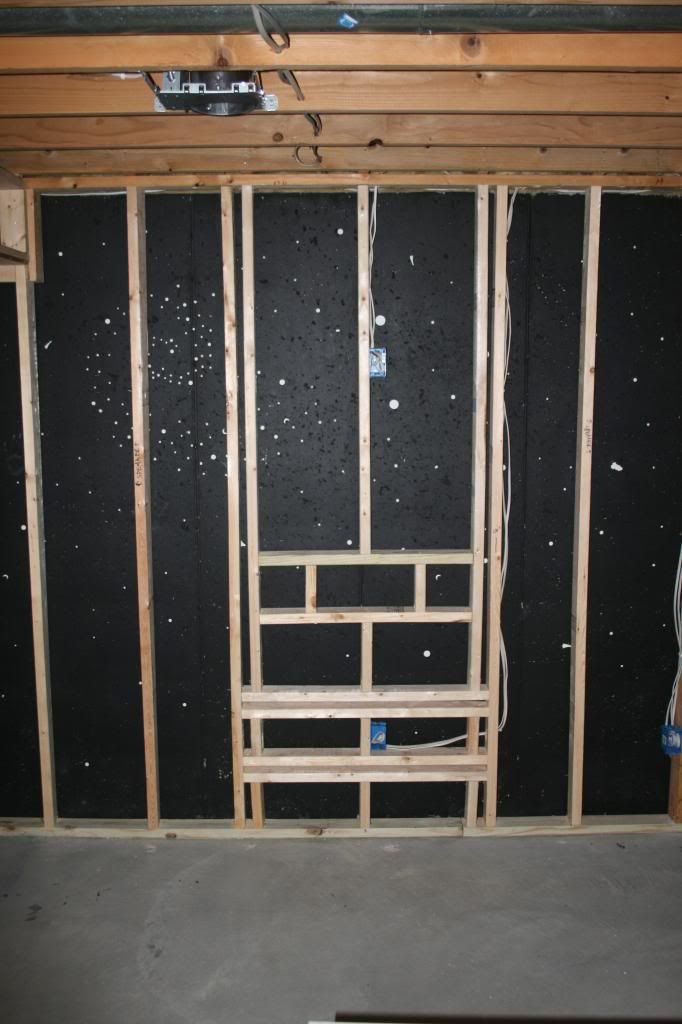
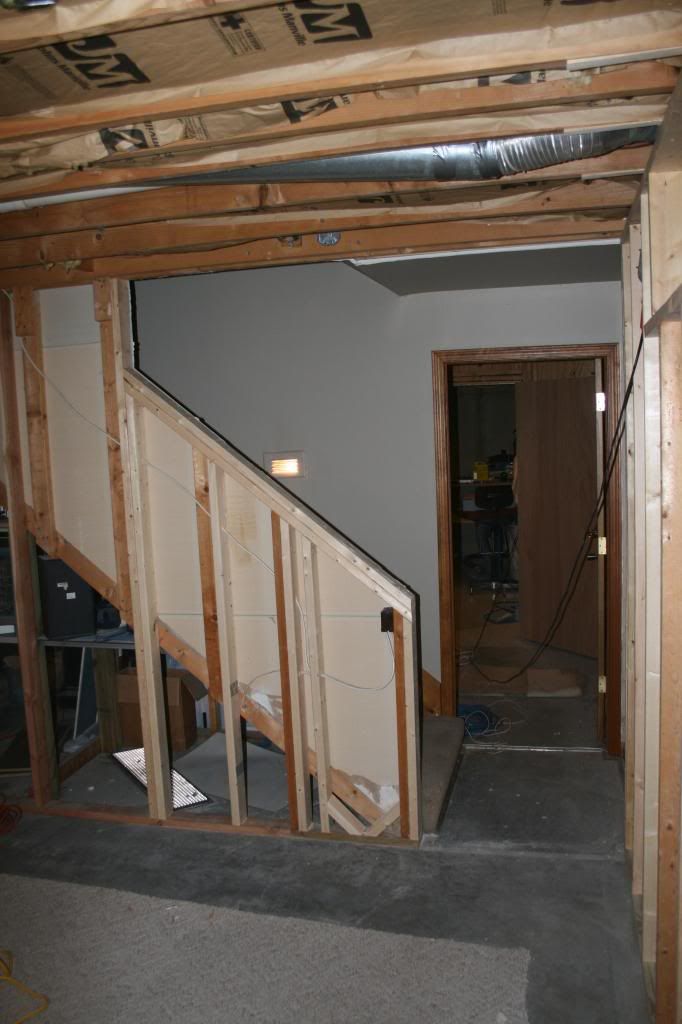
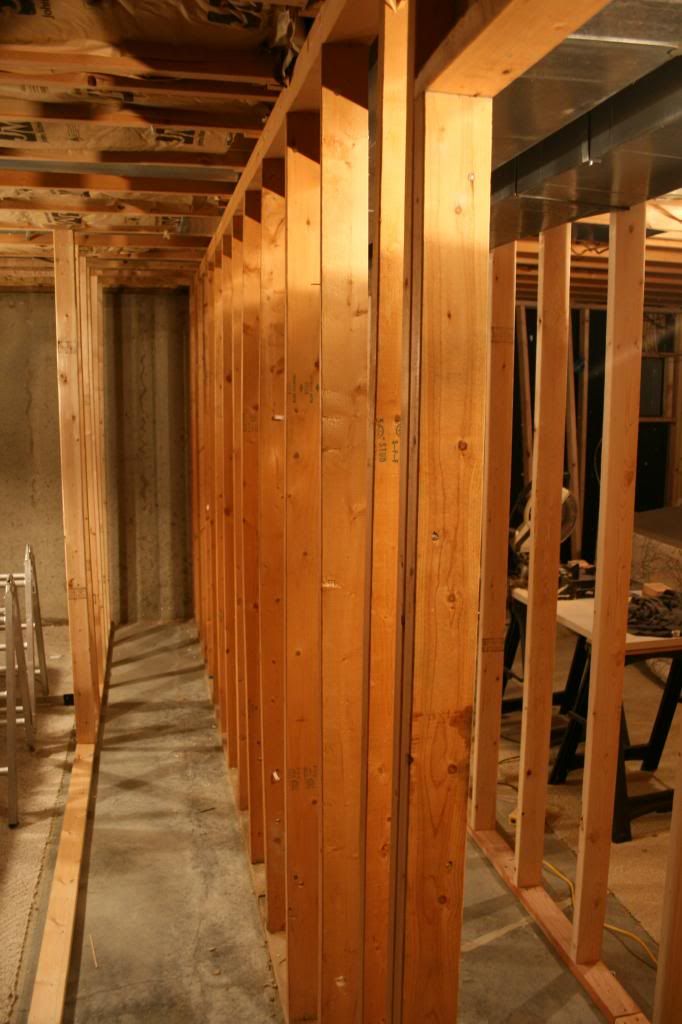
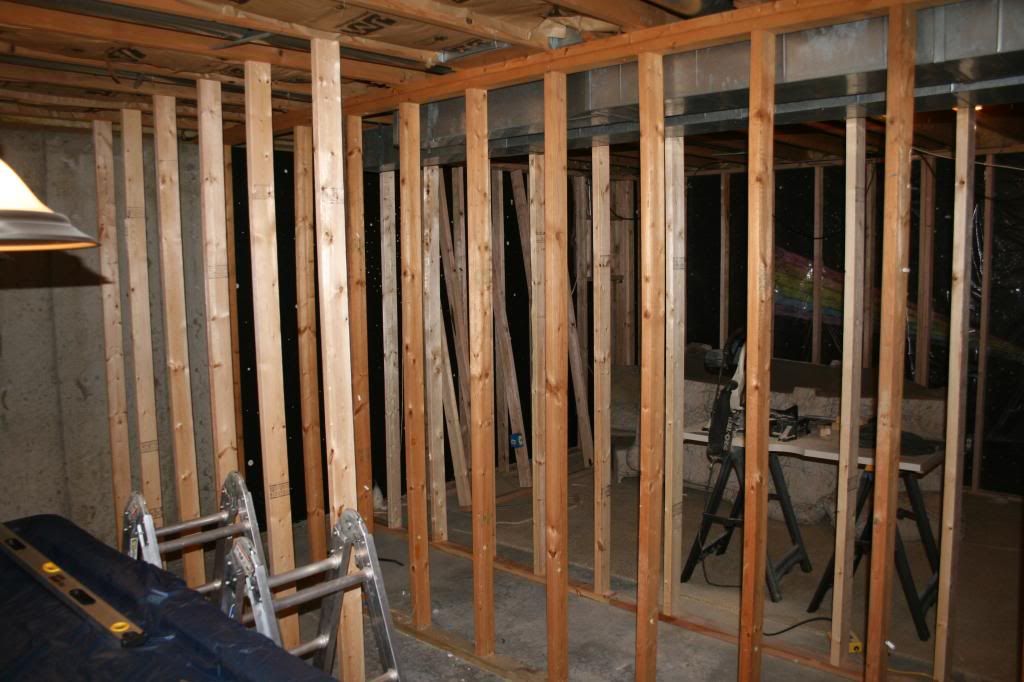
So I stripped everything back down to bare cement and a couple studded walls that will get moved.

IMG_7289.jpg


IMG_7292.jpg


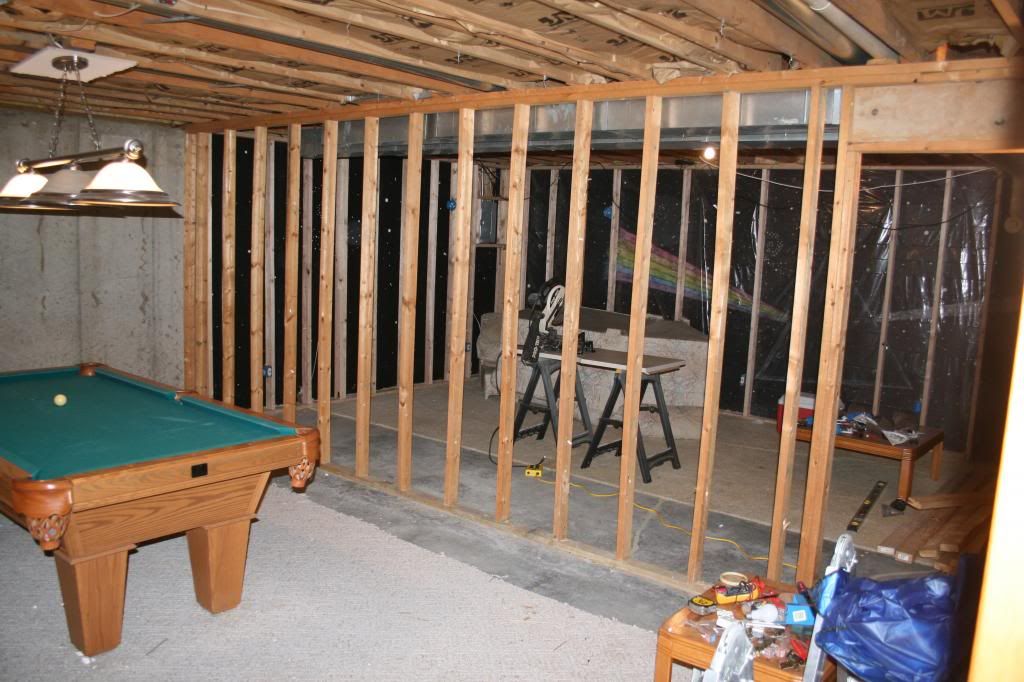
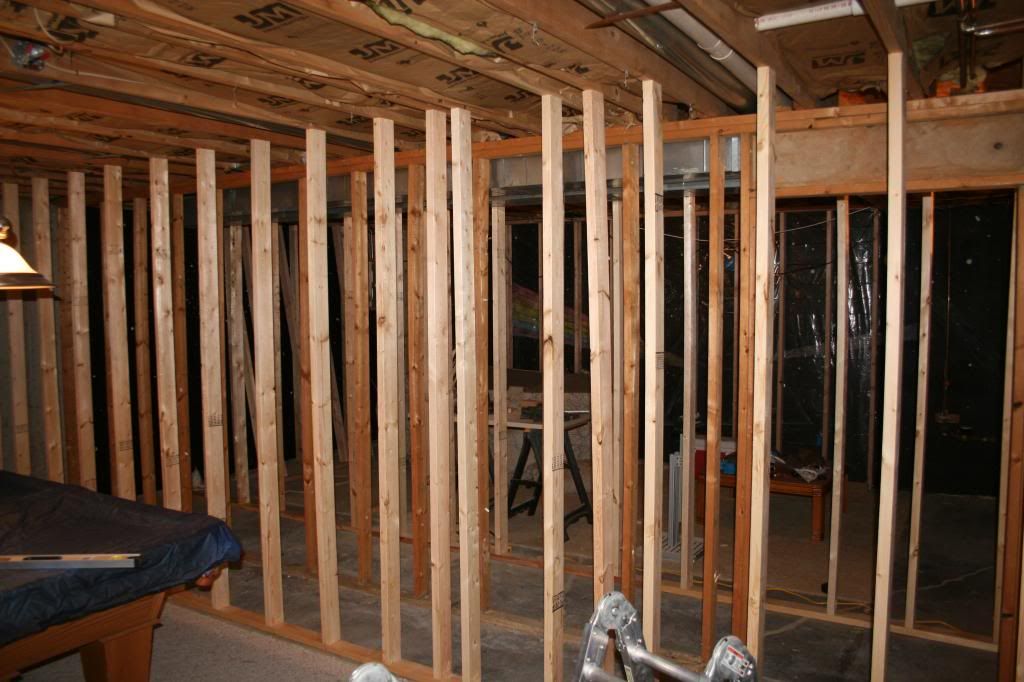
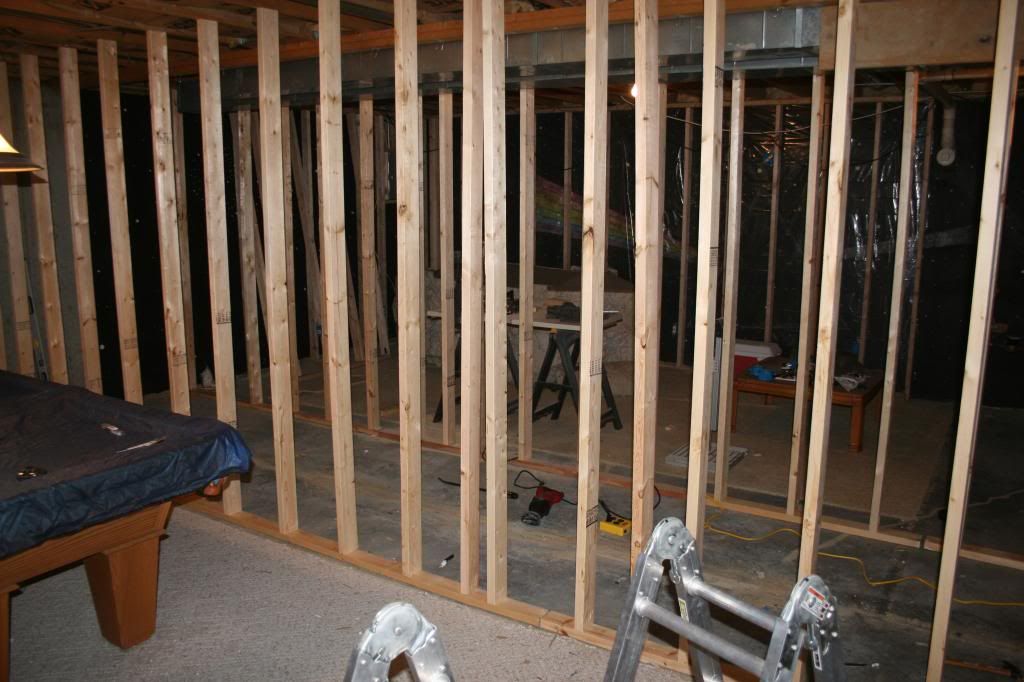
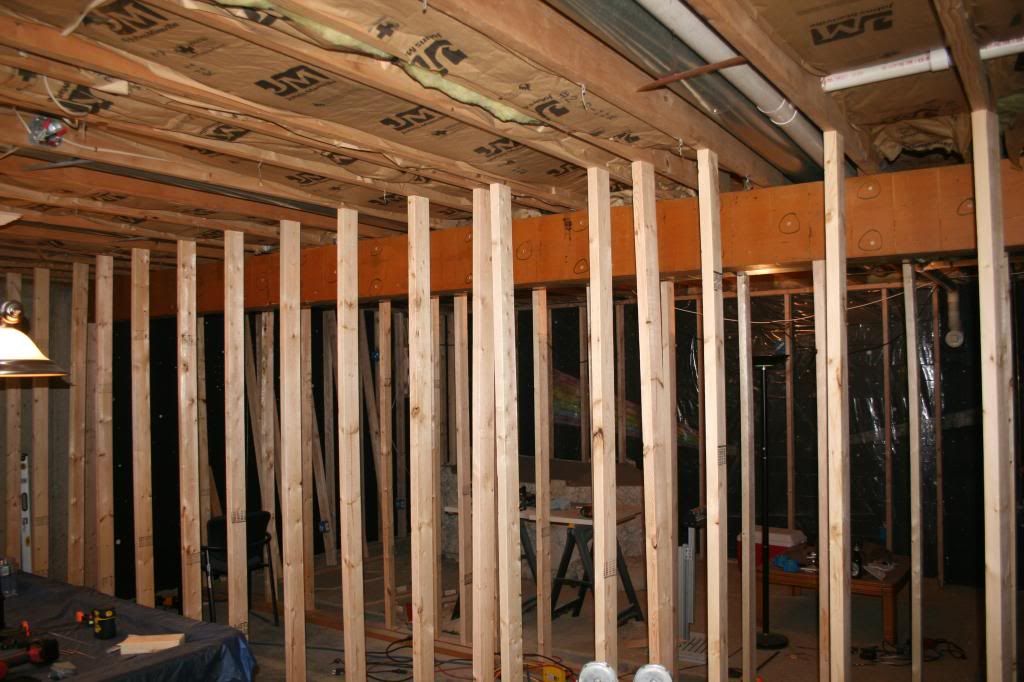
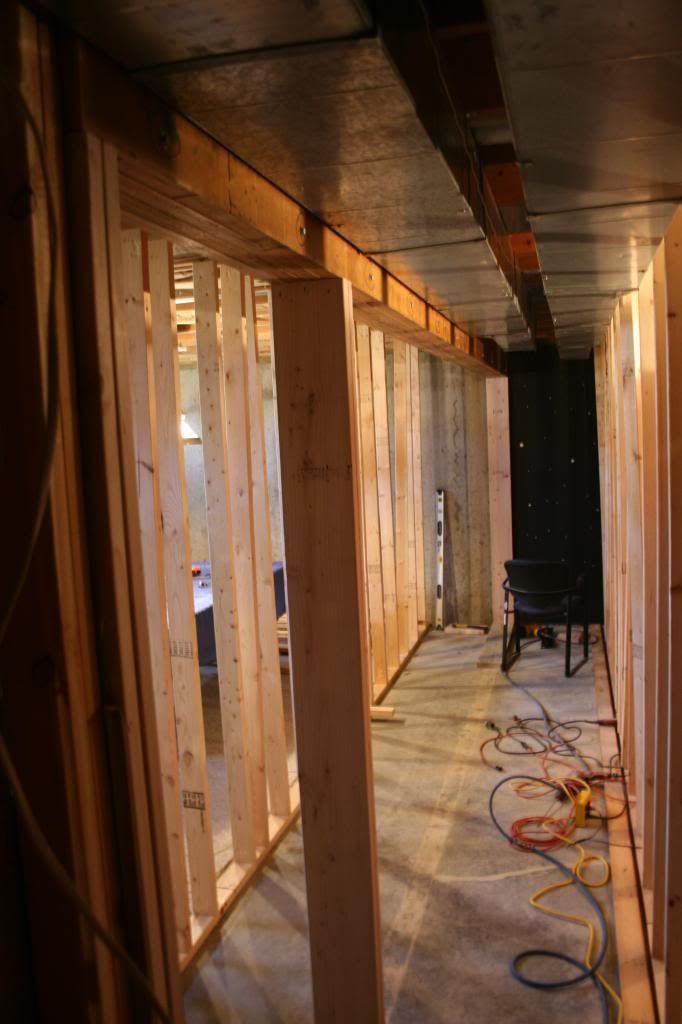
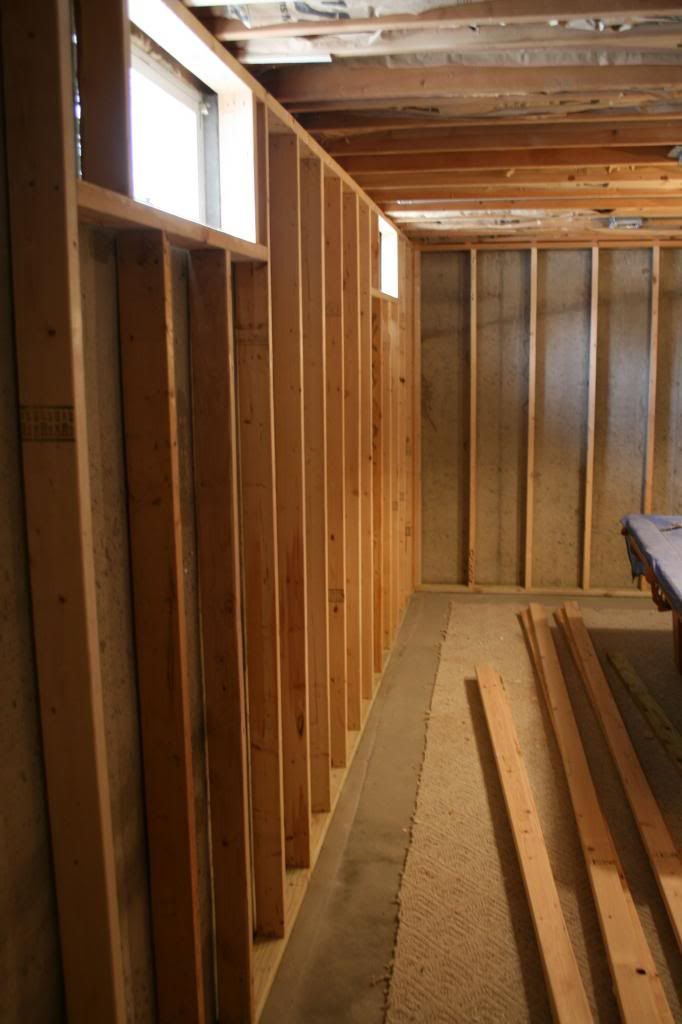
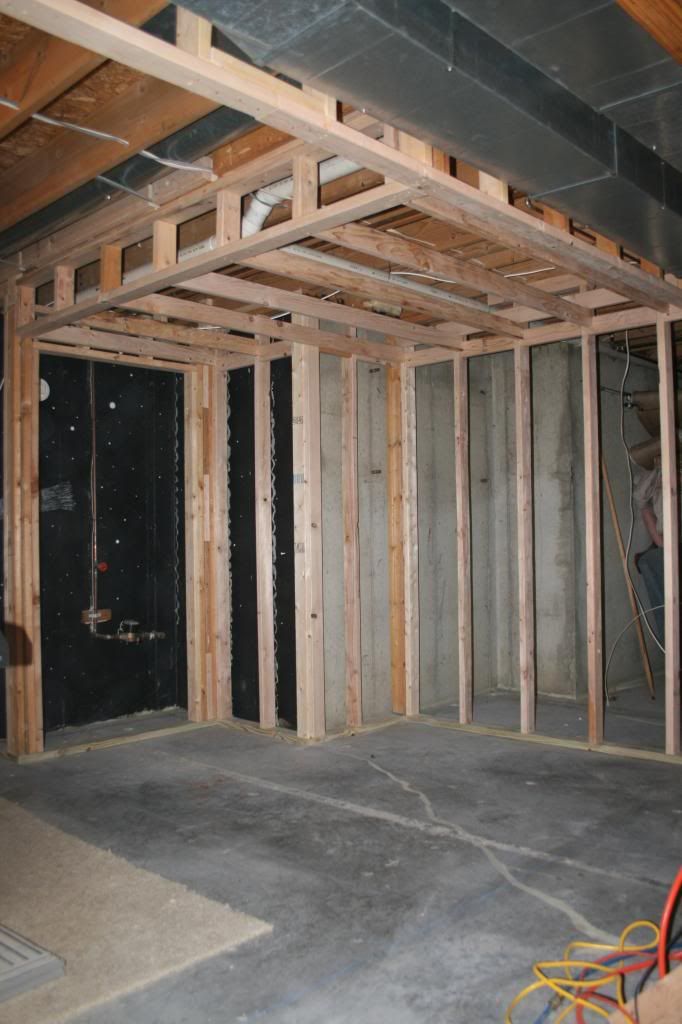
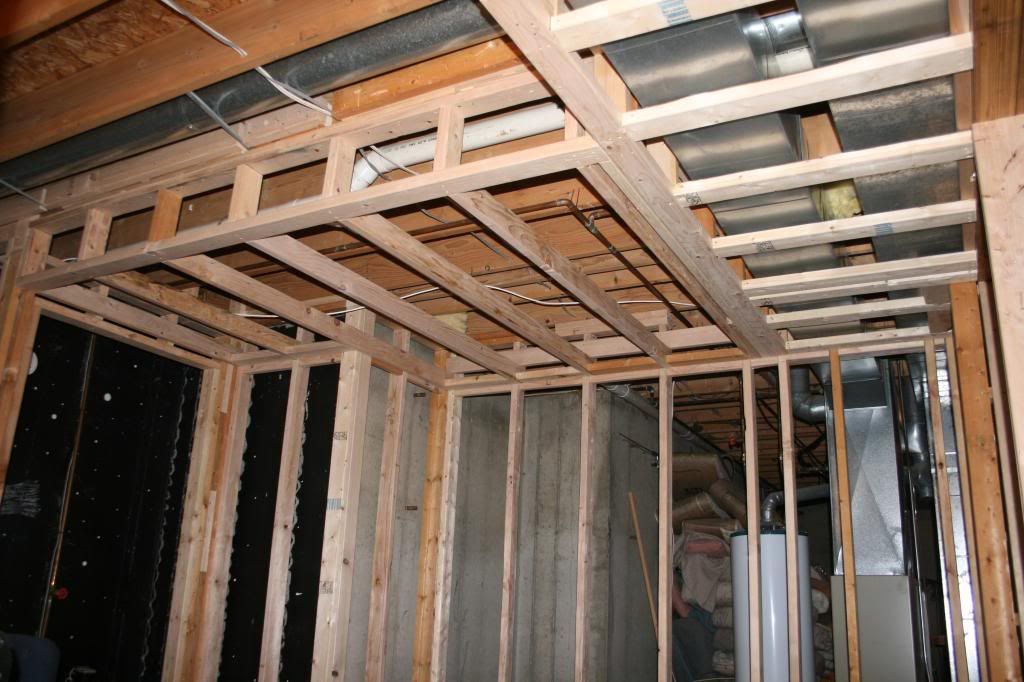
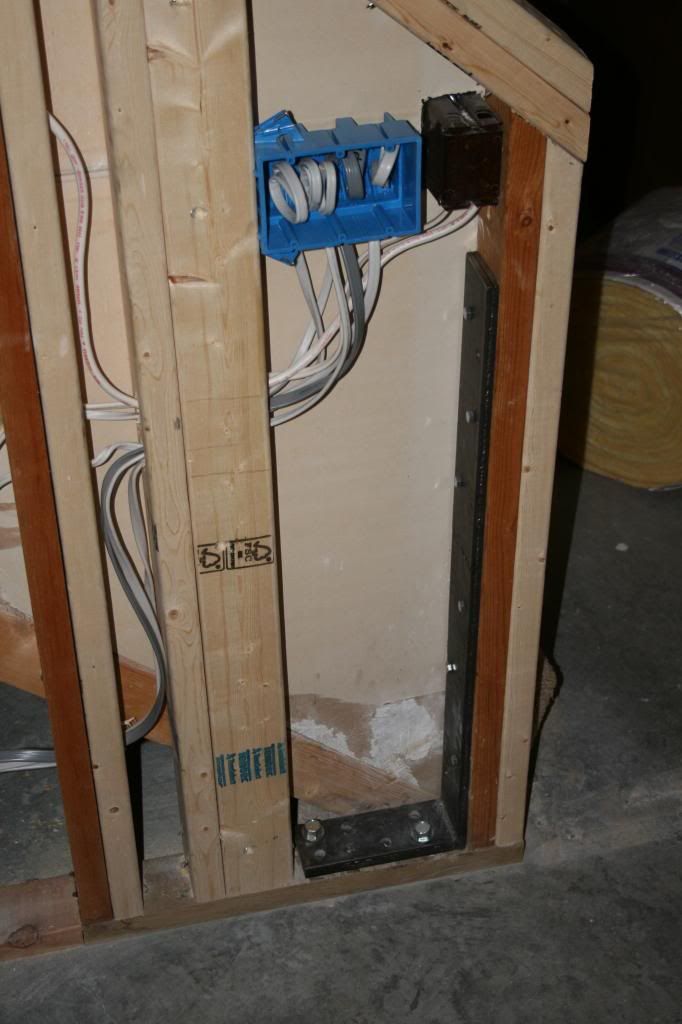
I started prepping temporary walls this weekend so I can remove the load bearing wall.

IMG_7293.jpg


IMG_7296.jpg


IMG_7297.jpg


Hope you follow along and enjoy it as I proceed with this project.
 

3RAILKICK

AzB Silver Member
Silver Member
Big project..hope it goes smoothly for you. Be safe and have fun with this.

KickenChicken/Brian did something similar recently.

Thanks for the progress pics
 

javi2

AzB Silver Member
Silver Member
This basement looks like mine did before I ripped the wall down....same dimensions. Even the AC ducts are in the same place. I'll pm you some photos of what I did.
 

Catalyze

AzB Silver Member
Silver Member
Very nice photos and effort so far! Please keep the photos coming and good luck with your efforts.
Craig
 

"Q" Protectors

AzB Silver Member
Silver Member
Little more progress on the room. Got the temp. walls complete and removed my load bearing wall. Getting ready for Fridays "beam raising party"
I provide the beer and the bodies show up! :smile:

Finished temp walls
IMG_7298_zps07ea962a.jpg


IMG_7300_zps673f8318.jpg


Bearing wall removed

IMG_7303_zps9bb02d7b.jpg


IMG_7304_zps89016c63.jpg
 

javi2

AzB Silver Member
Silver Member
I meant to tell you when you were asking about the steel poles, be careful which pole is closer to the table. I just started playing alot of straightpool and the damm pole comes into play when I'm playing. I just rack at the other end when playing 14.1.
 

"Q" Protectors

AzB Silver Member
Silver Member
So got a bunch done this weekend. Last night I had a "Beam raising party" and had a pretty good turnout. Had 13 people show up to give a hand. Thanks to all who helped out!!

IMG_0996_zps71a892d2.jpg


Took 45 minutes to move four 254"x 12" LVL beams from my garage through a small window to the basement, raised to the ceiling, temporarily wedged in place, glued and lagged together. It was quite an amazing job by everyone working together.


IMG_7311_zpsa6bf1370.jpg


IMG_7313_zps032df87f.jpg


So I got a big itchy this morning with an enormous hangover:grin-square:
and got to work so I can finally get the chance to see the room open. I put in the columns and shimmed the top of the beam to the joists, popped out the temp walls and finally got it open. It's been hard to picture it with so many studs down there.

IMG_7315_zpsed27c8f6.jpg


IMG_7320_zps361b9434.jpg


IMG_7317_zps9448fbd9.jpg


I got a HUGE week ahead of me, took the week off from work for the holidays and hope to have most of the framing done by the 2nd. Drywaller booked for Feb. I can start to taste my 9ft table!!
 

"Q" Protectors

AzB Silver Member
Silver Member
I meant to tell you when you were asking about the steel poles, be careful which pole is closer to the table. I just started playing alot of straightpool and the damm pole comes into play when I'm playing. I just rack at the other end when playing 14.1.


I'll be good. I decided to flip the table the other direction in the room Now I'll have 17' width wise. More then enough! Kind of pushes into the other half of the room a bit more then I would have liked but, I would rather lose a little there then have to worry about a pole.
 

Richm

AzB Silver Member
Silver Member
How did you fiqure what size beam you needed? did you have to go to an enginer?
 

dsoriano

AzB Silver Member
Silver Member
Thanks for the kind words. After seeing that awesome Ball Cleaner you made I have no doubt you have the skills to complete your room the way you envision it.
And thanks for posting! For once I can sit back, relax and enjoy following someone else's project for a change.
 

"Q" Protectors

AzB Silver Member
Silver Member
Been quite a busy fellow on my "week Off" from work. I have almost completely finished the framing minus a few things, but I'll share where I've gotten to this point.


Walls framed around the room.


IMG_7790_zps60690f6c.jpg


IMG_7795_zpsf9f3d310.jpg


IMG_7798_zps520cce87.jpg


I had a relatively major change in my floor plan!! I started laying out my lower plates for the walls, and I didn't add in my Furnace and hot water into Solidworks when I built the room up....So long story short I had to remove the bathroom due to it being pretty useless due to the small size. I had one other option I could have played with to keep it, but it would have left me with no wet bar. Nope!!
So instead I now have an ENORMOUS wet bar! I just turned prints into my buddy for a 98" area to install cabinets.
I had to do some soffit work to get around some ducts and pipes. My soffit ladder was 23'9" long and about 12" tall. Trust me when I say it was a B***H to put in by myself. I had to raise it as 1 unit and hit a chalk line the full distance and then had to put the bottom at the lane level as the bottom of the beam.....It went ok, with a little ingenuity.

IMG_7805_zpsbe61b969.jpg


One more the other direction (but a MUCH shorter one) to box some more pipework.


IMG_7806_zps858d1675.jpg


Next was to just connect my dots to box the dropped ceiling.


IMG_7810_zps03e0c445.jpg


Tomorrow I have to connect the dots the other way to the LVL beam to cover the ducts.


IMG_7808_zpsa44de10a.jpg


Hopefully by Monday sometime I'll be able to get to tearing out the wall by the stairs!!! Here's to positive thinking!:thumbup:
 

"Q" Protectors

AzB Silver Member
Silver Member
Kudos to keeping your work place clean! Its looking great!

Thanks! I have learned over the years that it's easier and more enjoyable to work in a clean space. Might get messy over a 12 hour work day down there but always clean for the last half hour:thumbup:
 

"Q" Protectors

AzB Silver Member
Silver Member
So I've been a bit busy still but it's all coming together slowly, but times flying down there!

I finished up the bulkhead and tied it off to the beam

IMG_7814_zps993cb61f.jpg


IMG_7812_zps5101b009.jpg


I also had to add a half wall between the 1 column in the room back to the wall.


IMG_7827_zps87b81193.jpg


I also decided to cut in a couple floating shelves for the audio equipment and also a hole for the in wall center channel speaker.


IMG_7830_zps77788241.jpg


I also had to cut out my stairway since I was unable to get full sheets of drywall down there. So I had made the decision to just open it up and make it feel a bit more open down there and gives it a good feel coming down the stairs as it opens into the room.

Along with that came a wobbly end of the handrail so I had to make a 3/4" thick plate steel bracket to fasten to the concrete and the end of the wall.


IMG_7816_zps65e65d5a.jpg


IMG_7823_zps1d959f8b.jpg


IMG_7834_zpscf097650.jpg
 
Top