
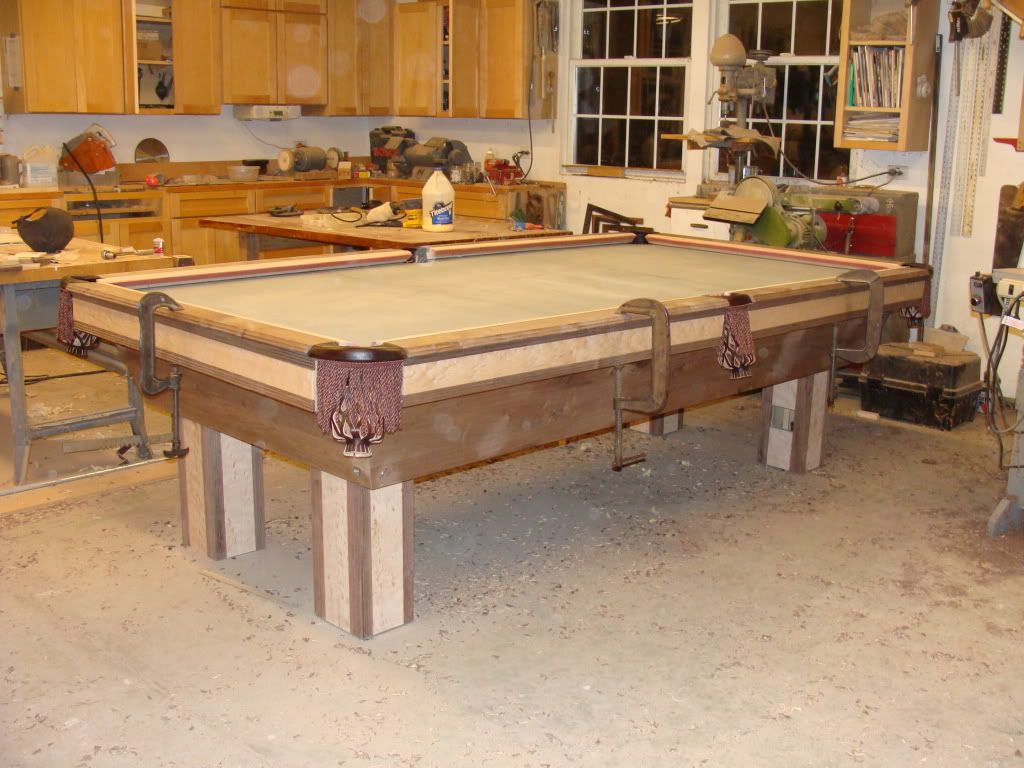
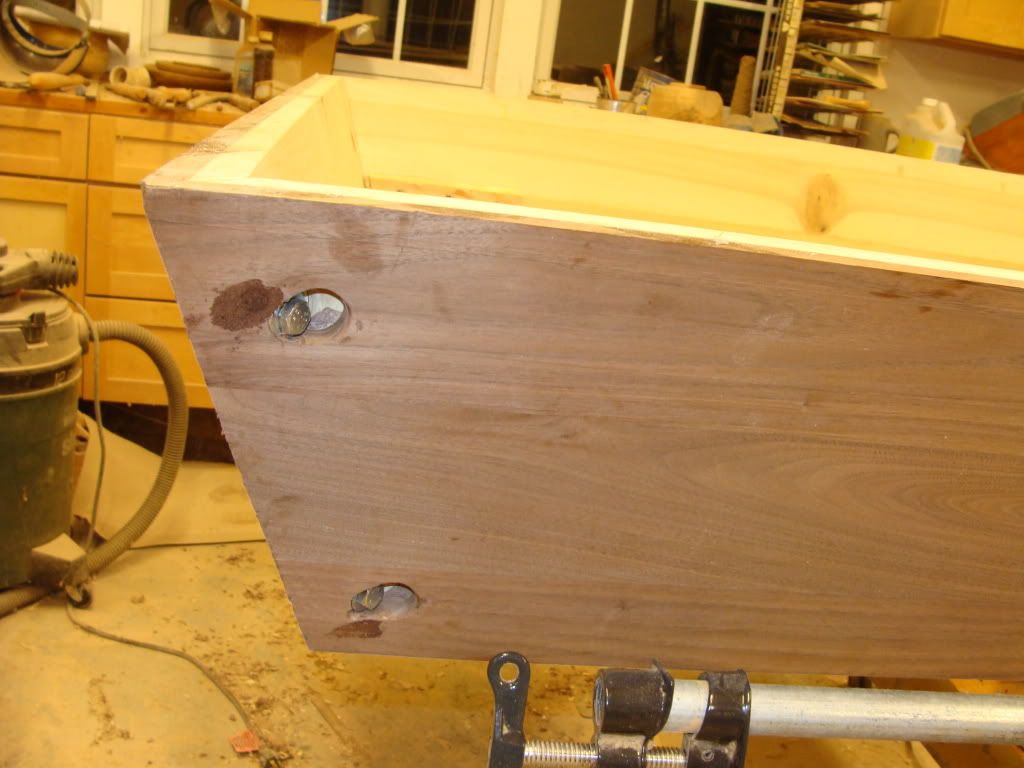
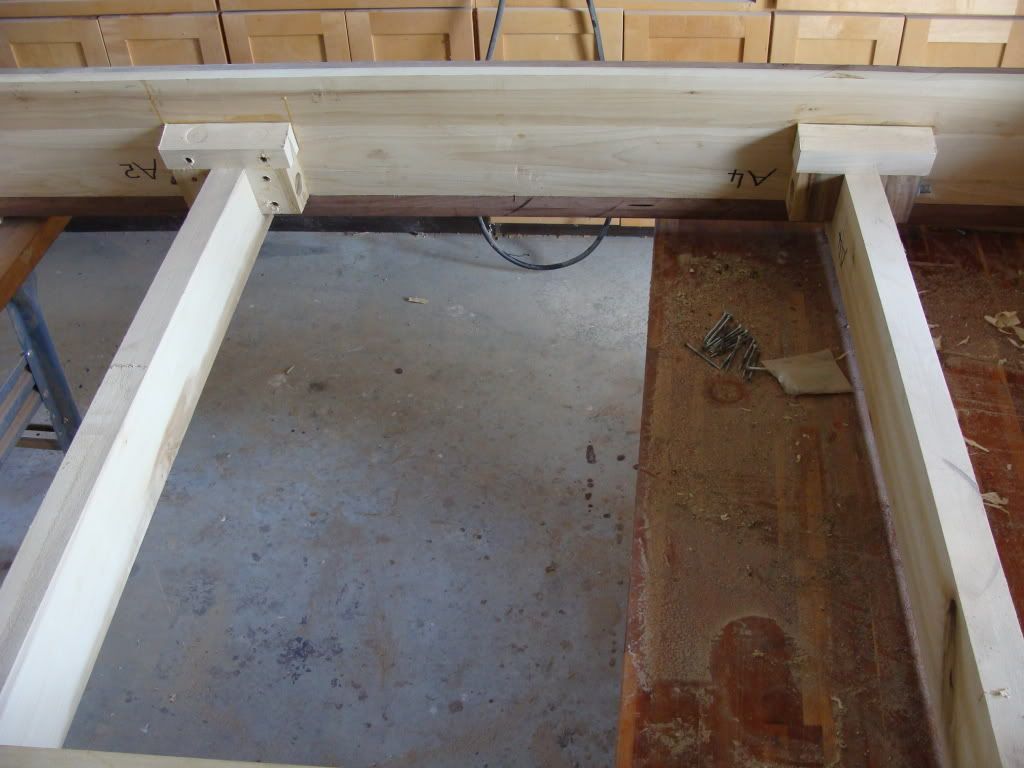
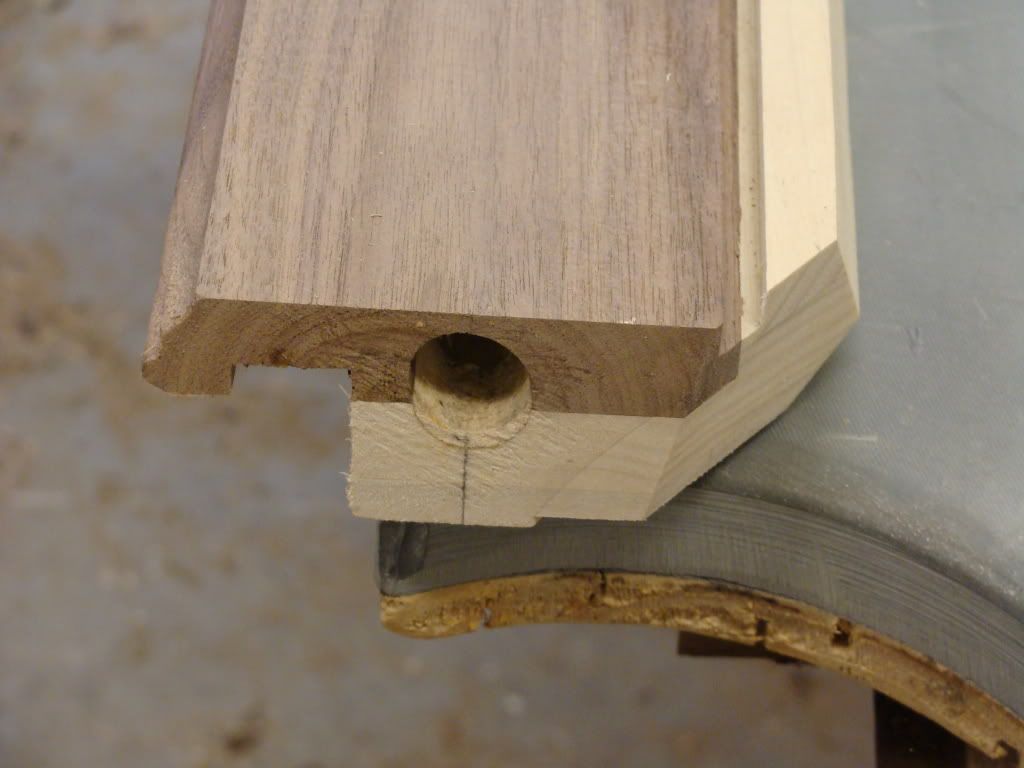
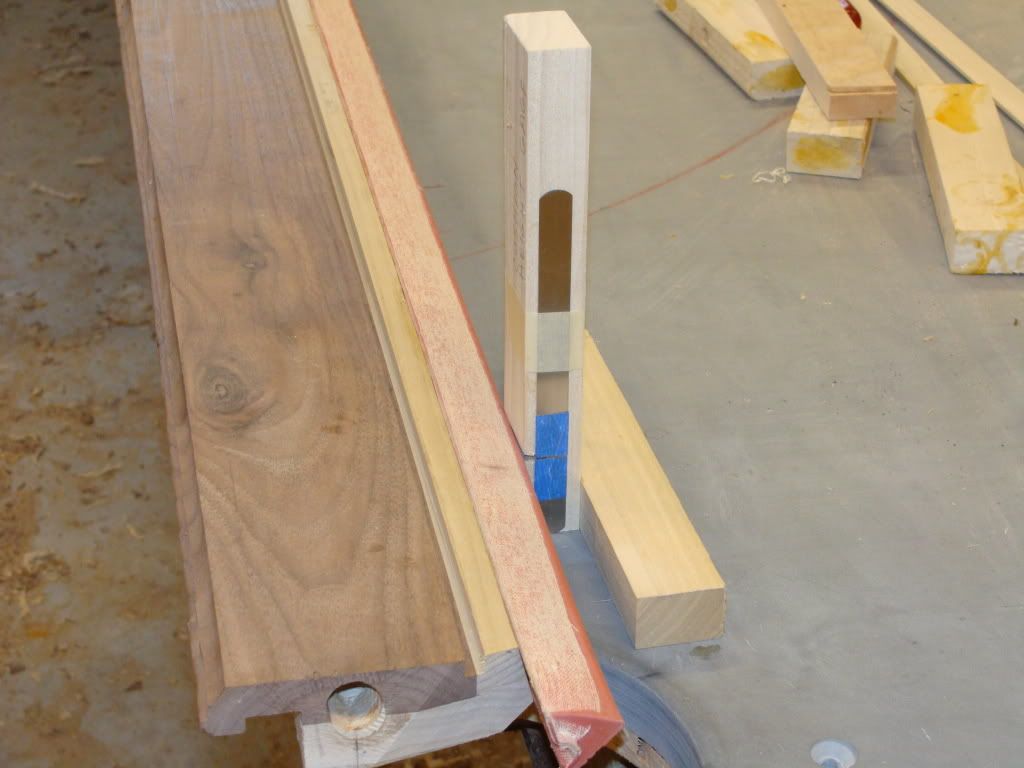
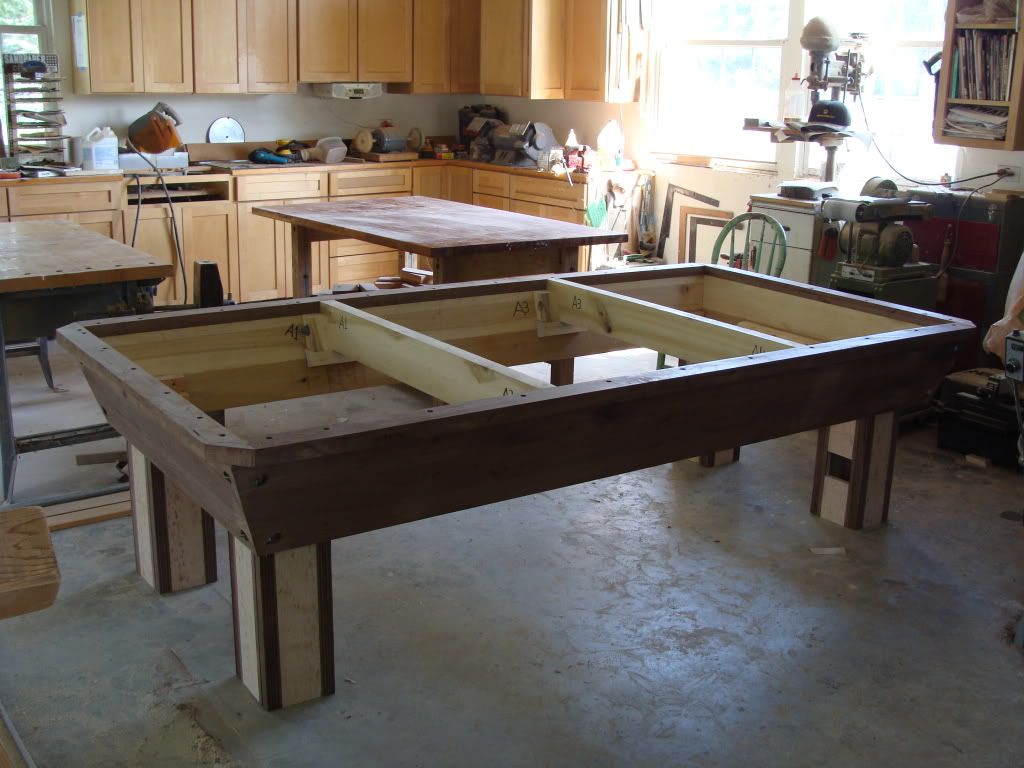
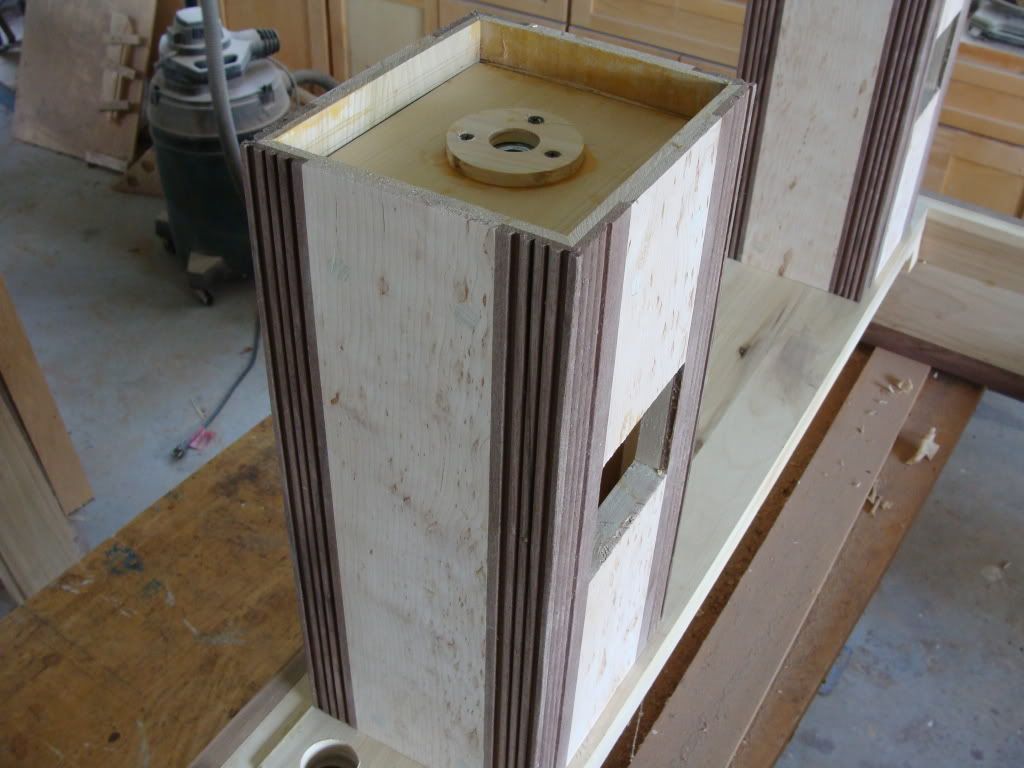
I started this 9' table the beginning of July '09. It is approximately 90% complete. The primary wood is 3/4" walnut glued to 3/4" poplar for rigidity and stability. The accent wood is birdseye maple.
It will weigh somewhere around 1800 pounds when finished.
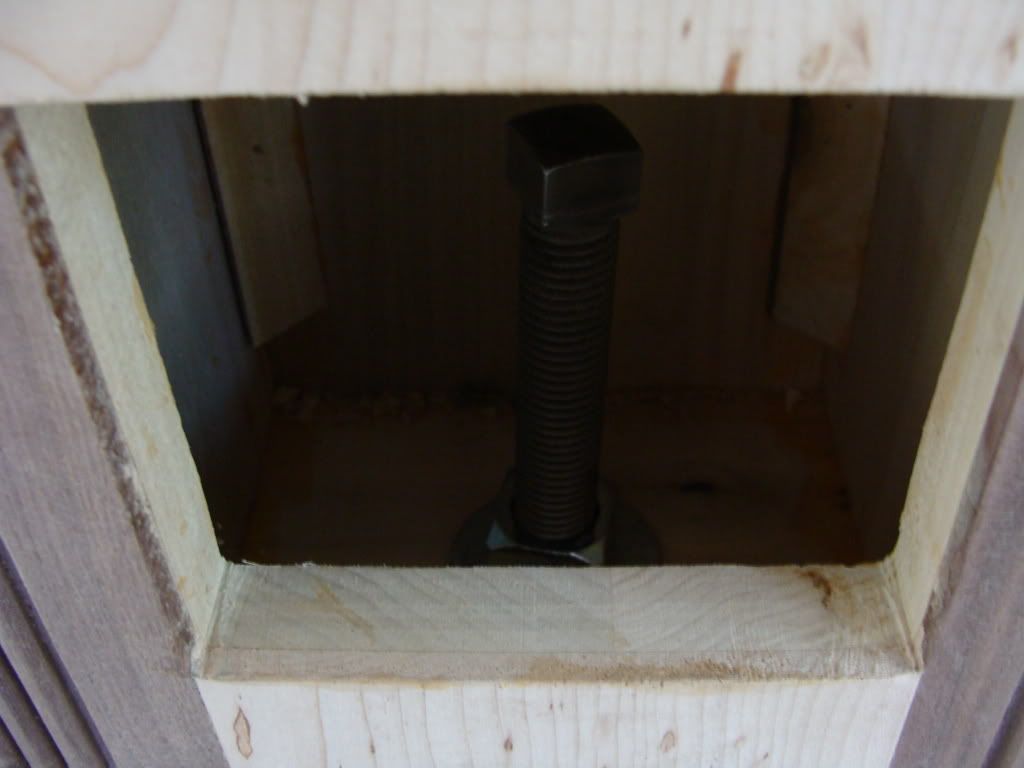
I didn't want to use shims for leveling the frame so I installed 3/4" diameter, 6" long screws, with captured nuts, in each leg. I simply use a ratchet wrench to move the frame up or down and side to side. The weight of the table is taken up by 5" diameter, 1" thick steel plates that rest under/inside each leg. It took me less than 2 minutes to initially level the frame once I turned it right side up and set it on my shop floor.
I have many other photos showing how I cut the rail angles, established cushion height, slate support crossmembers, leg supports inside the frame, etc., etc. If anyone is interested I will try to post them for you.
Many thanks to Mantool and others who helped me finally get a photo posted, although I pasted several more into this thread and they didn't show up. Why? I don't have clue.
The plan and working method to build this table were in a 20 year old Fine Woodworking magazine that I initially put aside with the comment, " Who would be crazy enough to try to build their own pool table?" Me!!
If anyone has questions I will be happy to try to answer them.
Speedi
Last edited:

") Nice touch!
Nice touch!