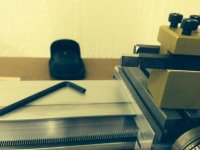
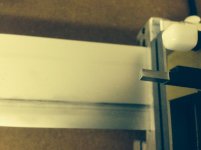
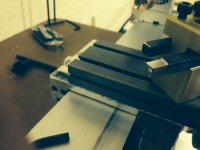
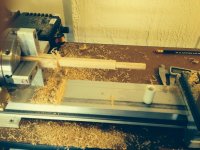
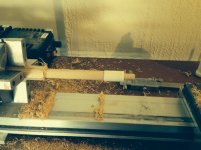
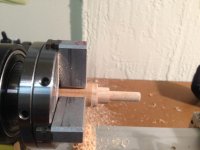
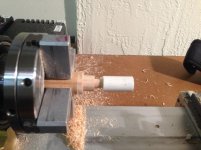
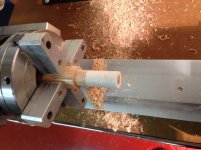
My practice debut. Cheap oak from Home depot. Does not cut clean but it is letting me get experience with the lathe and technique. The ferrule is a slip on. It fits snug. I had to twist it on gently. It had a slight resistance. The fact it is being chemically bonded(glued) not mechanically bonded by threading how tight should it be? Thanks, Frank
Attachments
Last edited:
")