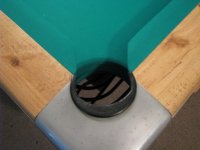
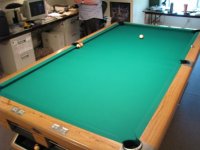
Alright, this is for all you Gandy table lovers...LOL

realkingcobra

Well-known member
Silver Member
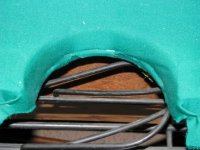
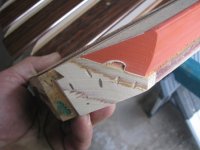
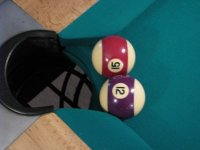
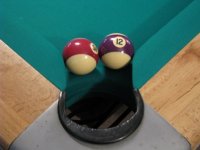
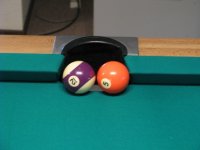
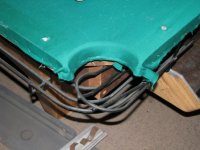
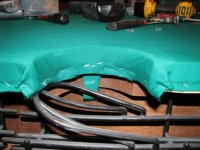
This is JimS's friend Pete's Gandy Big G. As you can see, the work in the pockets didn't look very good to begin with, and pretty much represented the rest of the work done on the table as well.
Gandy Big G (6).JPG

Gandy Big G (8).JPG

Gandy Big G (10).JPG

Gandy Big G (2).JPG

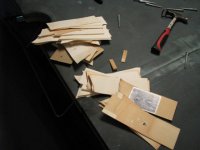
With all the shims used, one would think the table was level, the slate wasn't touching the frame of the table anywhere...LOL, and no...it wasn't level. So, I also took the slate off the frame, cleaned everything up, and started all over again leveling the slates.
 
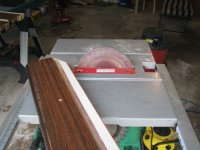
I carry around a table saw with me for more things than just making new feather strips, as in this use. With the 10" sanding disk, set at 15 degrees, I can clean up the miter cut at the same time I'm correcting the down angle.
Gandy Big G (4).JPG
 
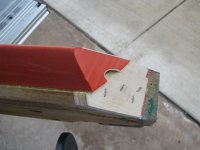
This is what the end of the cushion and rail looks like before it gets sanded. I don't try and cut the cushion as close as I can when I cut the cushions off because it cleans up so nice with the sanding disk.
Gandy Big G (7).JPG

As you can see in the second picture.

Gandy Big G (9).JPG
 
Here's the table finished. The corner pockets are 4 3/8" with a 142 miter, and a 15 degree down angle. The side pockets are 5" and set at 105 miter with 15 degree down angle. The cloth is Simonis 860HR, stretched 2 1/2" side to side first, then end to end for maximum tightness.

Gandy Big G.JPG

Gandy Big G (3).JPG

Gandy Big G (5).JPG

Gandy Big G (11).JPG

Gandy Big G (12).JPG

Glen
 
I had to recut the sub-rail bevel on all the rails because the cushions were to high at 1 1/2" nose height, so Gandy missed it using a 26.5 bevel, I had to change it to 25 degrees to get the nose down to 1 7/16" so the Artemis K66 Pool cushions would play right. What a job! Then had to replace all the rail bolts because they were to long to begin with by a 1/4" inch, as well as all the pocket casting bolts, they were to long as well. But, now the tables perfect and when Pete gets back from vacation...he'll think someone stole his old table and replaced it with a new one....40 stairs up on the 3rd floor of his house:thud:

Glen
 
Glen, you are the legend.

This is EXACTLY the kind of table we have at my local pool hall... except no ball return. All 8 of them were put together this bad, and they all have a million wood slivers and extra staples and visible cloth folds. The owner has done what he can but I wish we had a little extra scratch to pay your way down here. Looks like excellent work as always.
 
> You ever work on an old 4x8 Steepleton? I know where there's one at I'd love to turn you loose on. Tommy D.
 
All I can say is wow. I wish I could follow you around a few weeks and learn some of this stuff.
 
I'll guaran----damm---tee it was 40 steps. I"m still hurting. :)

I watched this transformation come about step by step and it was quite an education. Glen loves to teach so I got an ear-full each step of the way.. which was exactly what I wanted but didn't expect to get. I felt very privileged to get to watch most of the work and on top of that actually having it explained to me.

Pete will be thrilled Glen. Thanks and I'll be seeing you soon to do my Diamond Pro. :groucho:
 
Glen,

Your work on the Big G was amazing:bow-down:. We have a bunch of Big G's here in Rochester that are in desparate need of love and affection. Our GC III's are also a disaster:barf:. Too bad the room is up for sale. The new owner will have to have a lot of work done. Got a month open on your schedule?

Lyn
 
The reason I post my work like this in the main forum is not to show people what I can do when it comes to this line of work, but to show customers what the difference is, and what they SHOULD expect to get. If I don't show my work, how would ANYONE know what BETTER is, because they'd have nothing to compare it to!;) I've never had a problem staying busy...if I want to:D

Glen
 
Back
Top