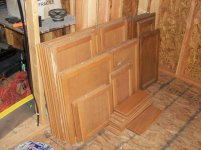
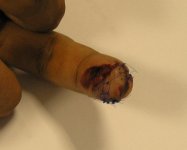
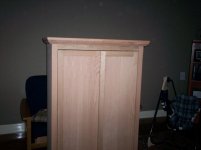
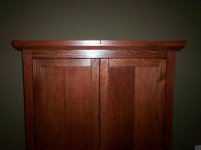
I was considering making the cabinet doors for the Bar but I found these for free on CL. Just need to strip and stain them. I know I can make nicer ones but the last doors I made I ended up in the emergency room with 11 stiches. A finger is no match for 2" raised panel router bit!
pics of the last doors I made adn the doors I picked up on CL. About 20
(Viewer discretion is advised...)
pics of the last doors I made adn the doors I picked up on CL. About 20
(Viewer discretion is advised...)
Attachments
Last edited:
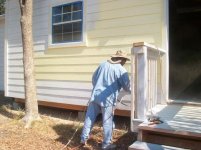
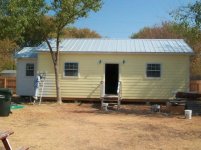
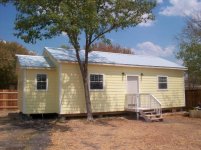
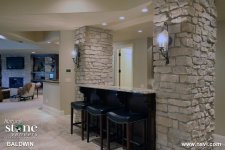
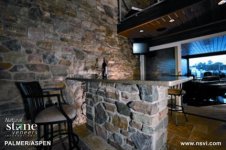
 So I guess it going to be Hardie Board.